






Avatar Maker from Photo

Upload a clear portrait, describe the style and destination, then create a recognizable avatar direction you can compare and refine in Ottermind Studio.

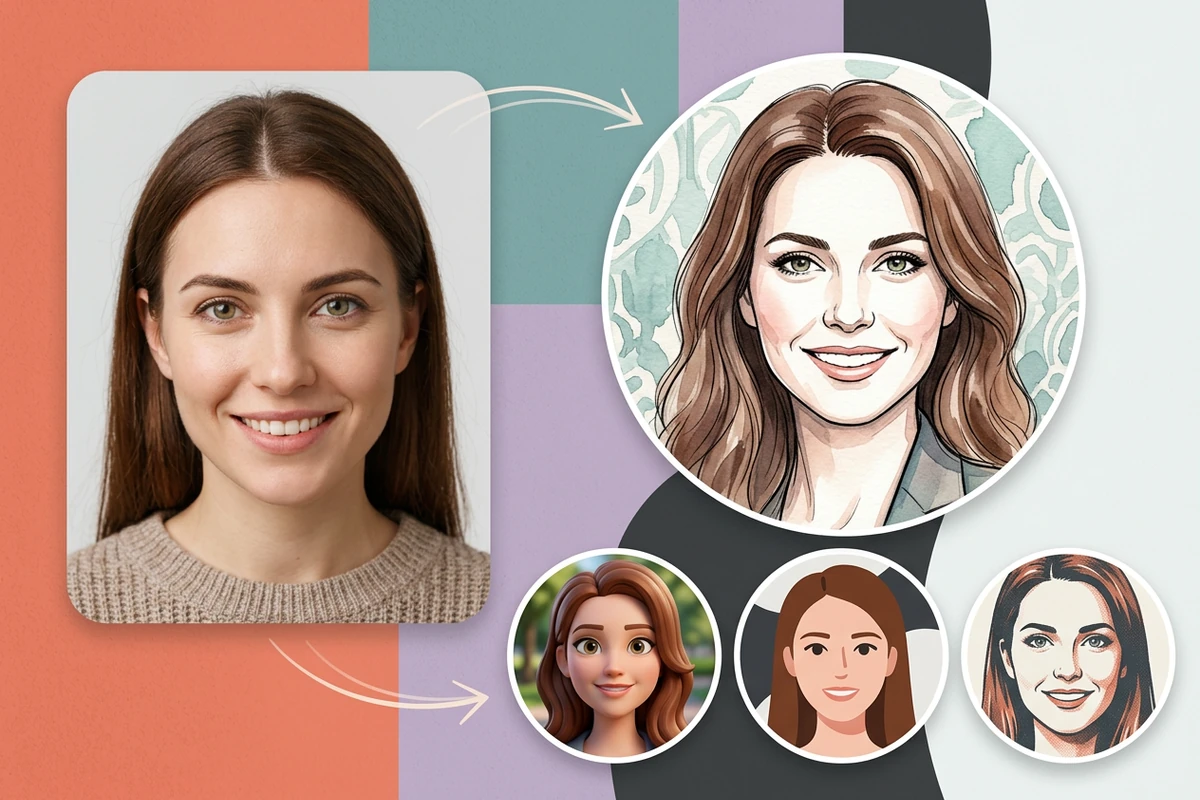
A source portrait beside matching editorial, 3D, and graphic profile avatars.
Claude
GitHub
Google
Linear
Microsoft
Monday
Netlify
Notion
OpenAI
Sentry
Slack
Stripe
Supabase
Claude
GitHub
Google
Linear
Microsoft
Monday
Netlify
Notion
OpenAI
Sentry
Slack
Stripe
Supabase

Create an Avatar That Still Reads as You

An Avatar Maker turns a clear portrait into a stylized profile image. Decide where the avatar will appear, name the visual style, and list the facial details that must remain stable before you generate. The result is an interpretation, so compare it with the source at full size and inside a small circular crop. If the source is too soft to judge, use Fix Blurry Pictures before styling it.

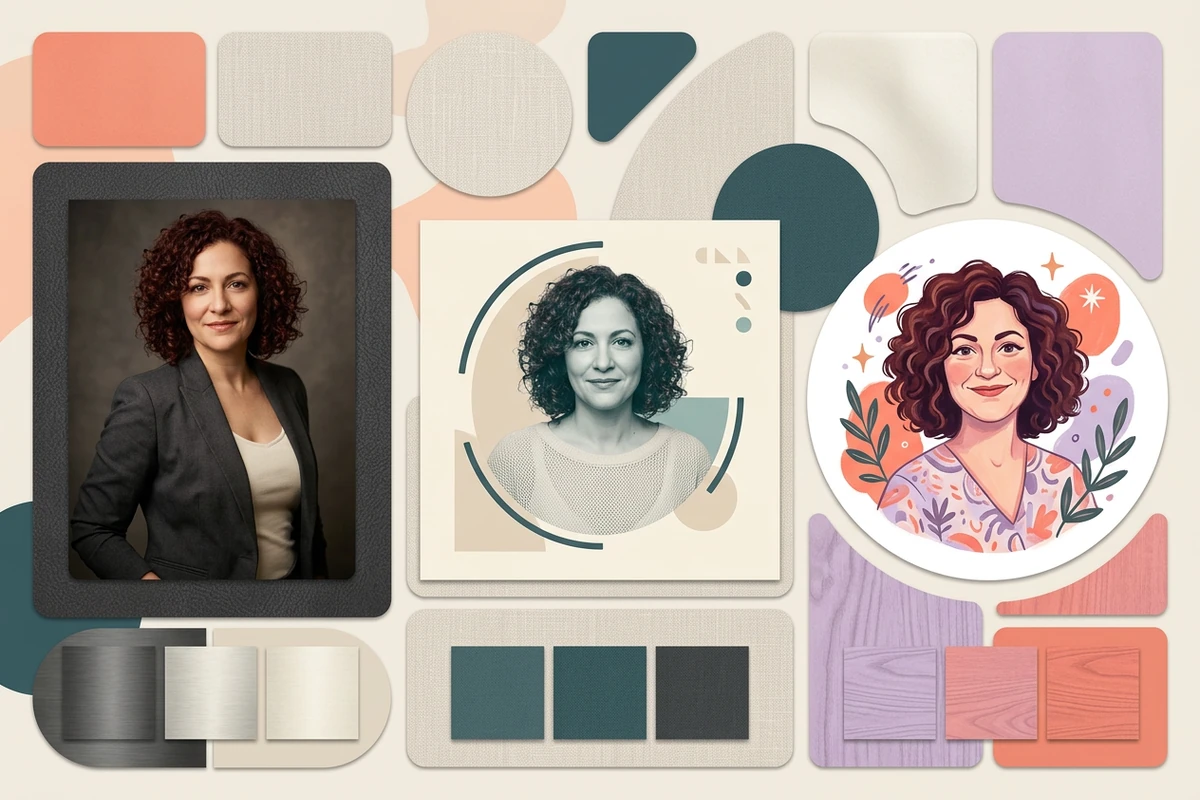
The same woman presented as creator, professional, and illustrated avatar styles.

Choose the Destination Before the Style

A creator profile, professional bio, and gaming community call for different levels of polish and playfulness. Name the destination, mood, crop, palette, and clothing before asking the Avatar Maker for a look. Use the Resume Photo Editor when the real task is a faithful career photo rather than a stylized avatar.
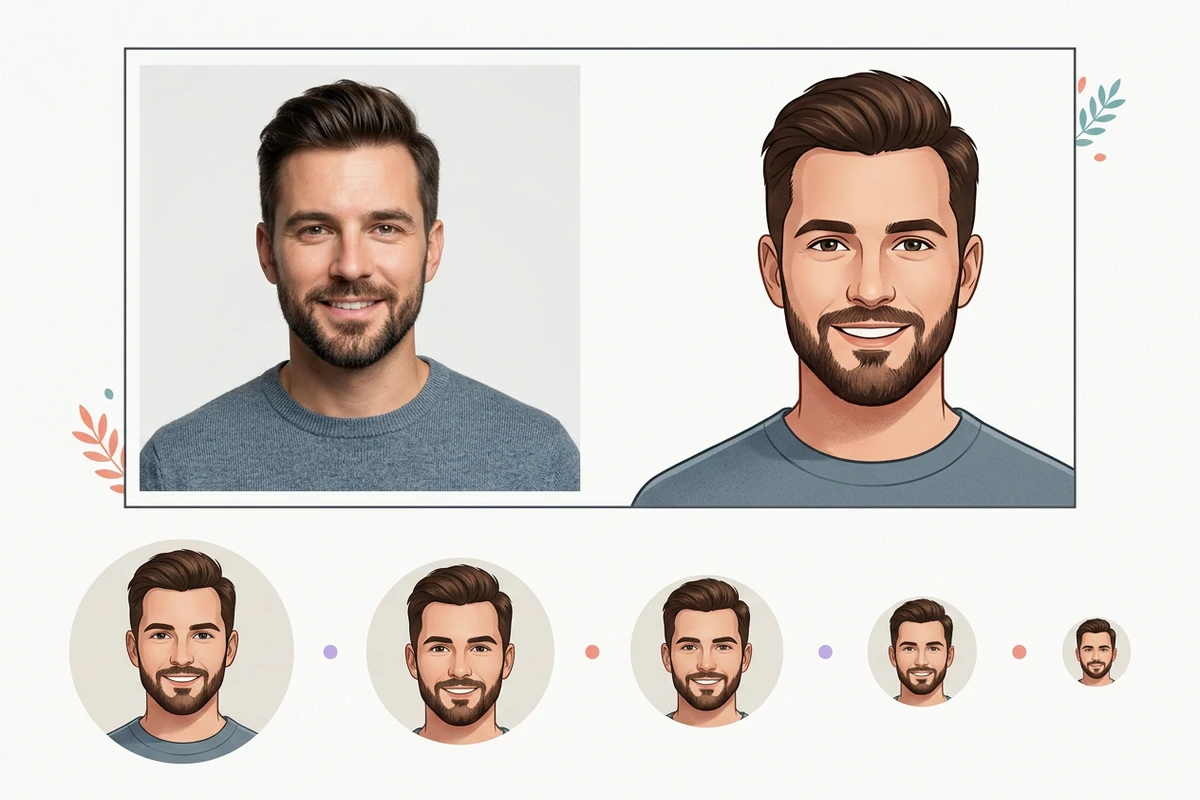
A source portrait and matching avatar shown in progressively smaller circular crops.

Run the Recognition Check at Profile Size

Zoom out before choosing a result. In a small circle, the eyes, hair silhouette, expression, skin tone, and face shape carry recognition while fine texture disappears. Reject a polished avatar that changes those anchors. Use Photo Retouching when you want measured cleanup without a new illustrated identity.

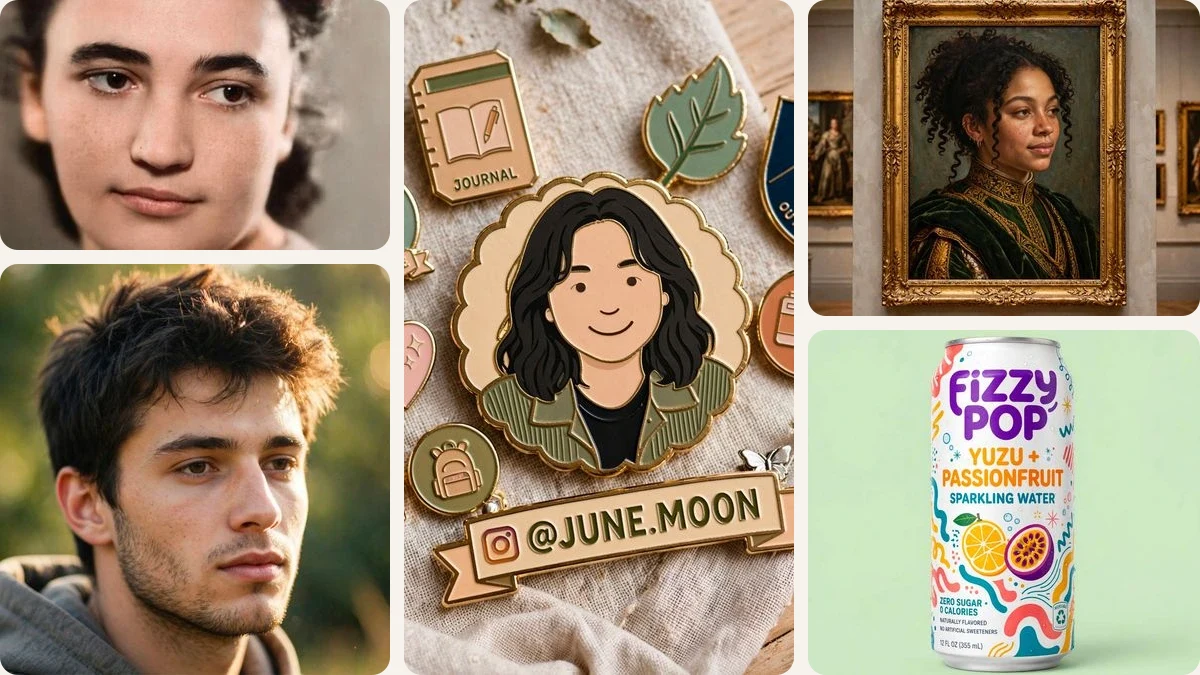
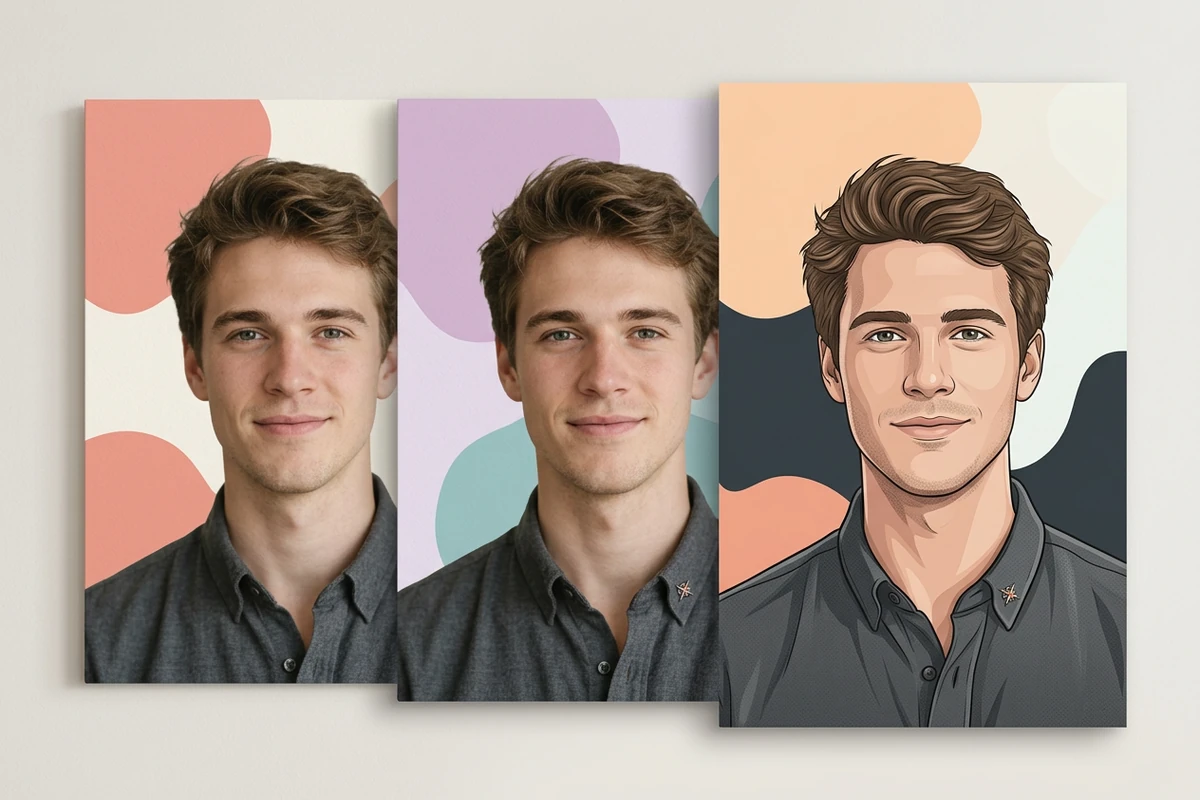
Three coordinated avatar iterations keep one man's facial identity consistent.

Refine One Variable Without Losing Identity

Keep the strongest avatar as the reference, then change only the background, outfit accent, crop, or illustration finish. Focused feedback makes drift easier to spot than restarting with an unrelated prompt. For a deliberately more dramatic transformation, move the approved source into Image Effects.

How to Make a Recognizable Avatar in 3 Steps

Step 01

Upload One Clear Portrait

Choose a recent, well-lit, single-person photo with the face visible and space around the head and shoulders. Use only your own image or one you have permission to transform.

Step 02

Set Style and Identity Anchors

Describe the destination, crop, palette, mood, and illustration finish. List the face shape, eyes, hairline, expression, skin tone, glasses, or other details that should stay recognizable.

Step 03

Compare, Crop, and Refine

Compare the source and avatar, then preview the result as a small circle. Keep the closest direction and revise one variable at a time instead of accepting identity drift.

Why creators choose Ottermind

Source Context Stays Attached

Keep the portrait, destination, protected details, preferred direction, and feedback organized around the same project.

Options Stay Comparable

Develop each avatar direction from the same source and separate style decisions from identity checks.

Feedback Stays Focused

Ask agents to revise one visual variable while keeping accepted facial anchors and the intended profile crop in view.

Work Remains Visible

Inspect agent output, compare it with the source, and approve critical connected-tool actions before using the image.

The Identity Can Continue

Pair an approved avatar with a consistent handle from the Username Generator while keeping both decisions in context.

FAQ

What Photo Works Best in an Avatar Maker?

Use a recent, sharp, single-person portrait with even light, a visible face, and enough room around the head and shoulders. Avoid group shots, tiny crops, heavy filters, blocked eyes, and strong motion blur. A simple source makes likeness changes easier to detect.

Will an AI Avatar Look Exactly Like Me?

Not necessarily. Stylization can alter proportions, age cues, hair, expression, or skin tone. Treat each result as an interpretation and compare face shape, eyes, hairline, expression, and distinctive features with the source before using it as your identity.

Which Avatar Style Should I Choose?

Choose from the destination backward. A professional bio usually needs restraint and easy recognition; a creator profile can carry a stronger palette; a community or gaming avatar can be more playful. Keep the crop simple enough to read at thumbnail size.

How Do I Keep the Same Face Across Avatar Variations?

Use one source, name the facial anchors that must remain stable, and change one variable at a time. Compare every variation with the source and the strongest approved avatar. Restart from that approved direction when a revision changes identity.

Can I Make an Avatar from Someone Else's Photo?

Only use a portrait you own or have permission to transform, and confirm the person agrees with the intended use. Do not treat a public photo as automatic consent. This matters especially when an avatar could be mistaken for that person's real profile or endorsement.

What Should I Do after Choosing an Avatar?

Save the approved source, prompt, crop, and color direction together. Test the avatar in its actual profile placement before publishing. When you need matching launch copy, continue with the AI Social Media Post Generator without changing the accepted visual identity.

Discover more

What they say about Ottermind

I uploaded my lecture notes before an exam and asked for a simple study guide. It pulled the main ideas together and gave me a much clearer place to start reviewing.

Jamie Lee - University Student

More from the blog

Create an Avatar You Can Recognize

Upload one clear portrait, name the destination and protected facial details, then compare the result at full size and inside its final profile crop.

Upload My Photo