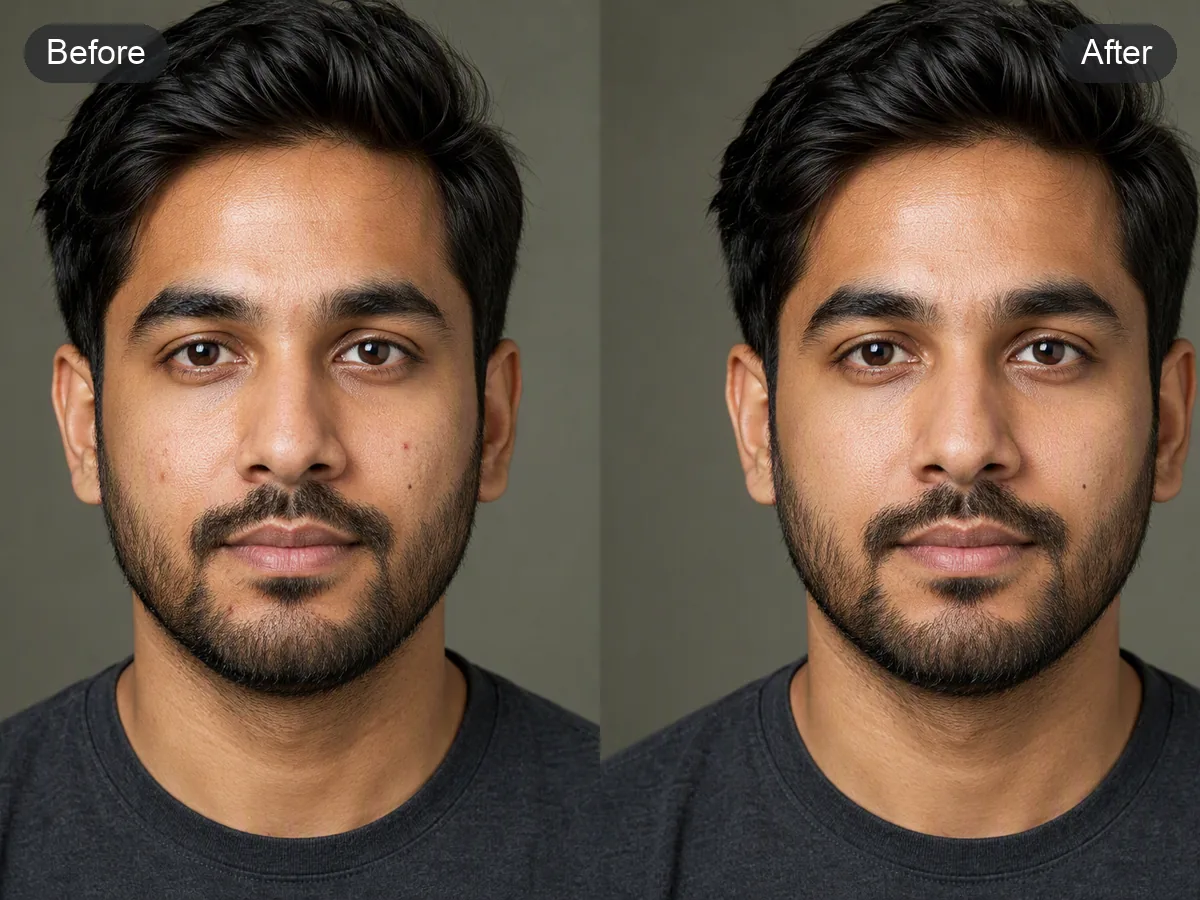
Photo Retouching
Upload a portrait, describe restrained corrections, and send it to Studio for a retouched interpretation you can compare with the source.
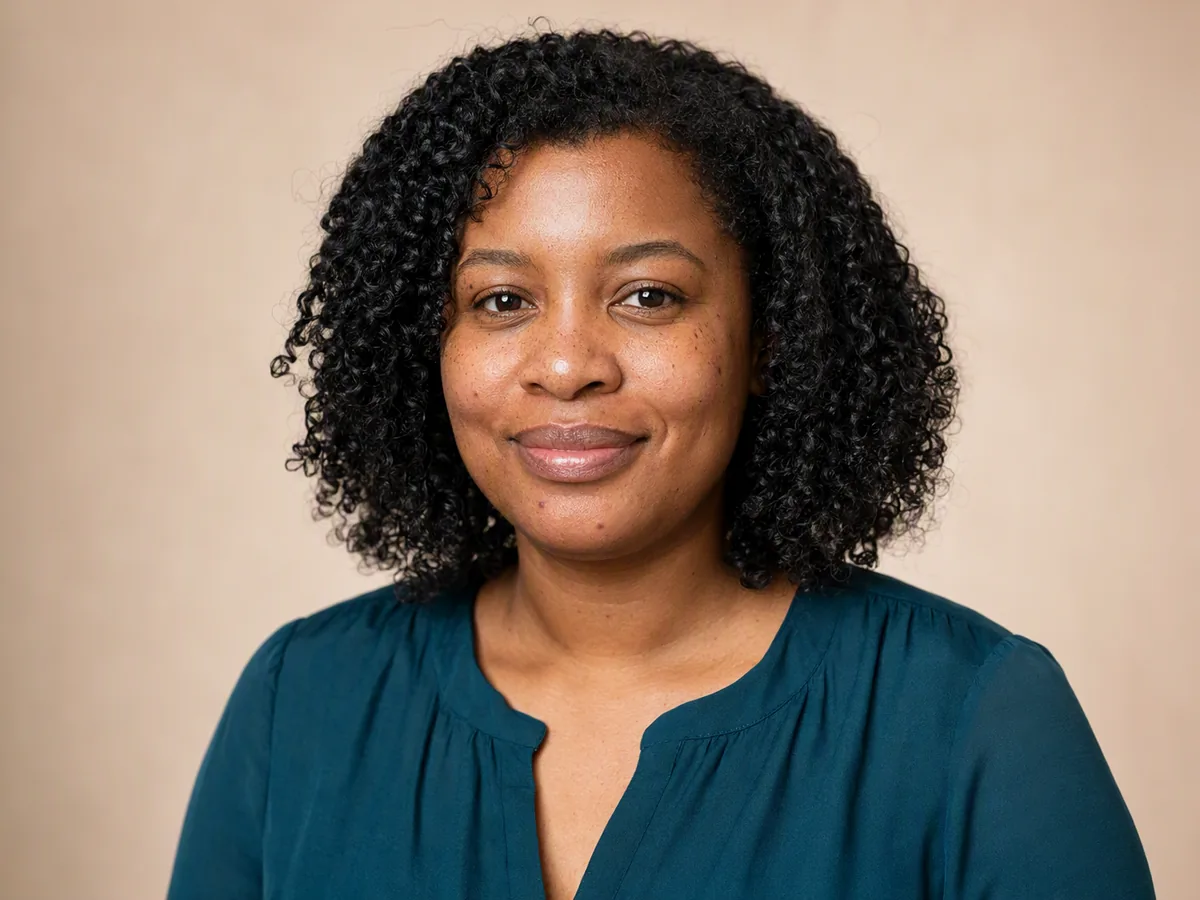
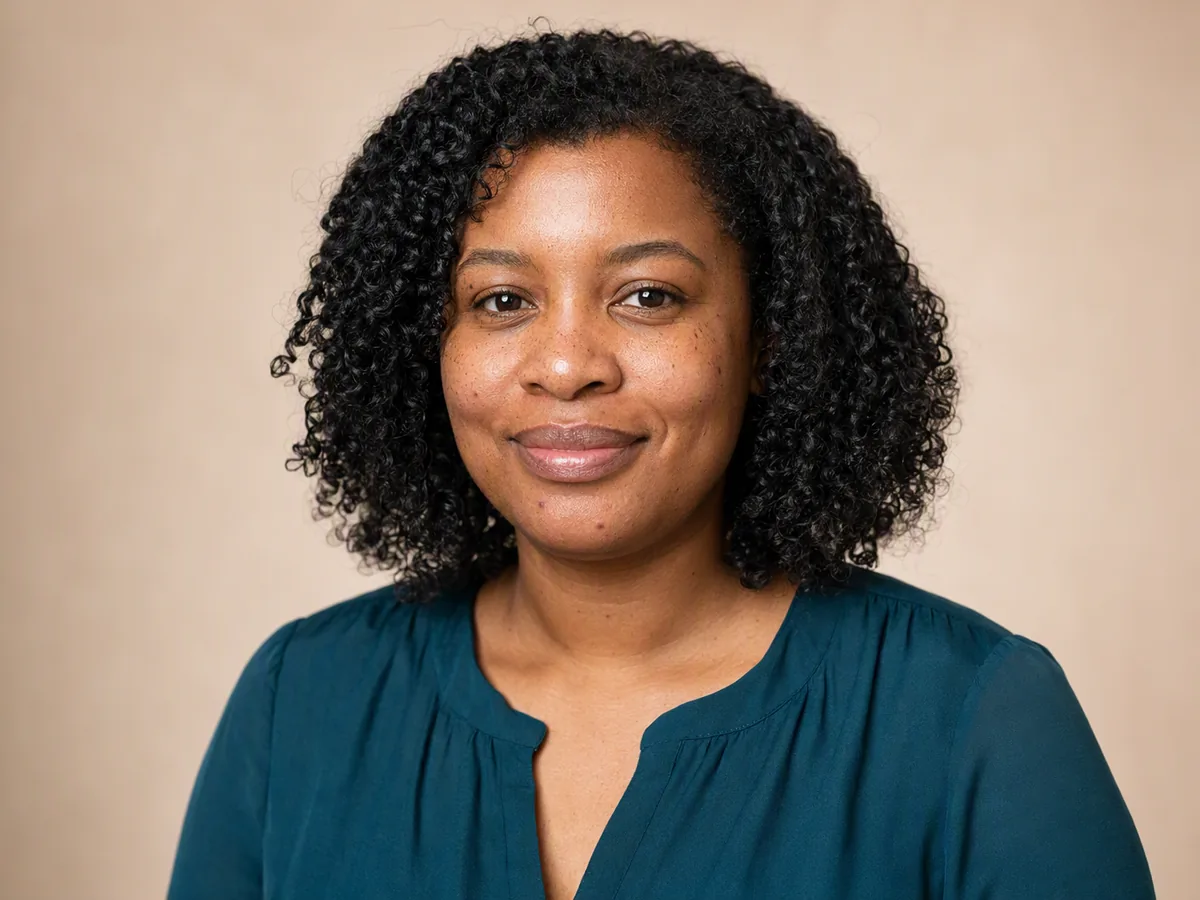
Drag an image here or click to upload












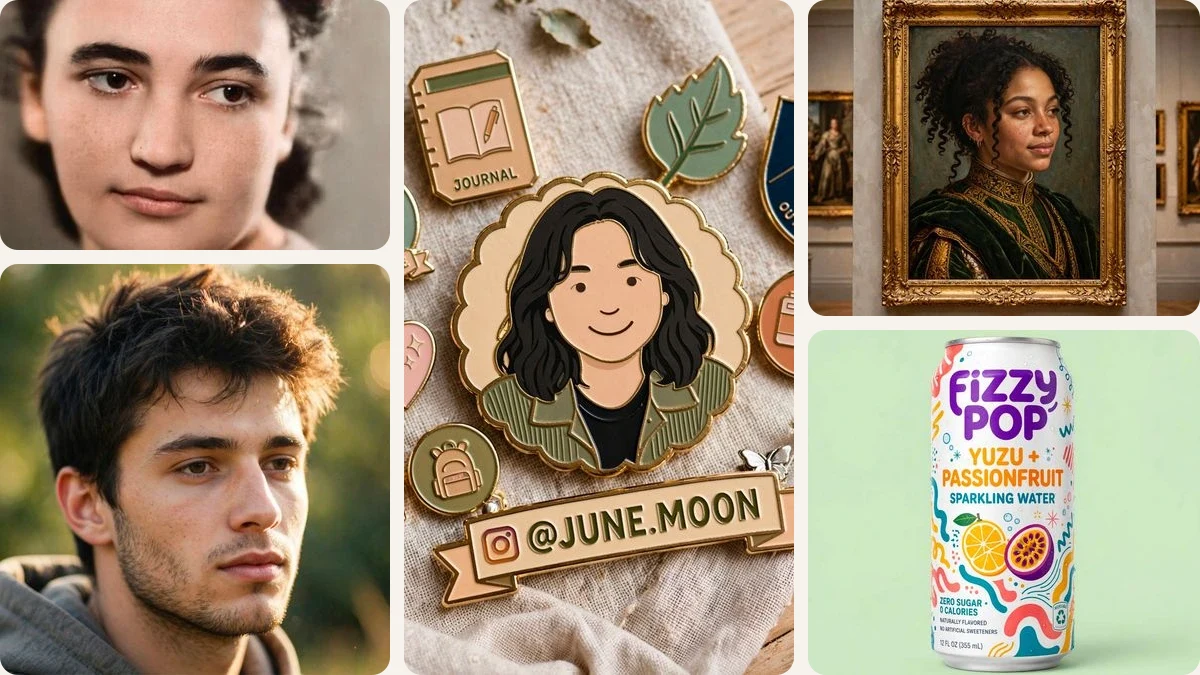
Explore image transformation styles
Explore a range of image transformations and find the look that fits your idea.
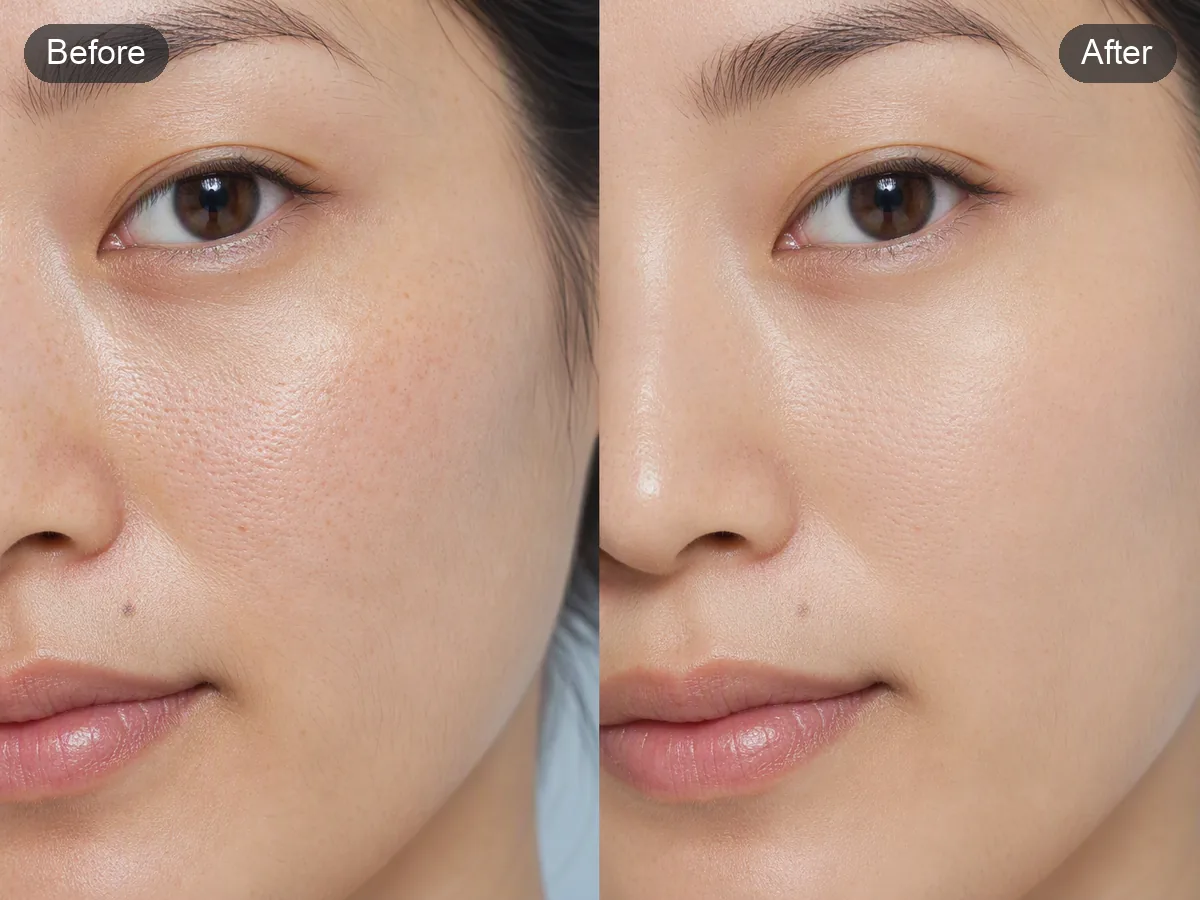
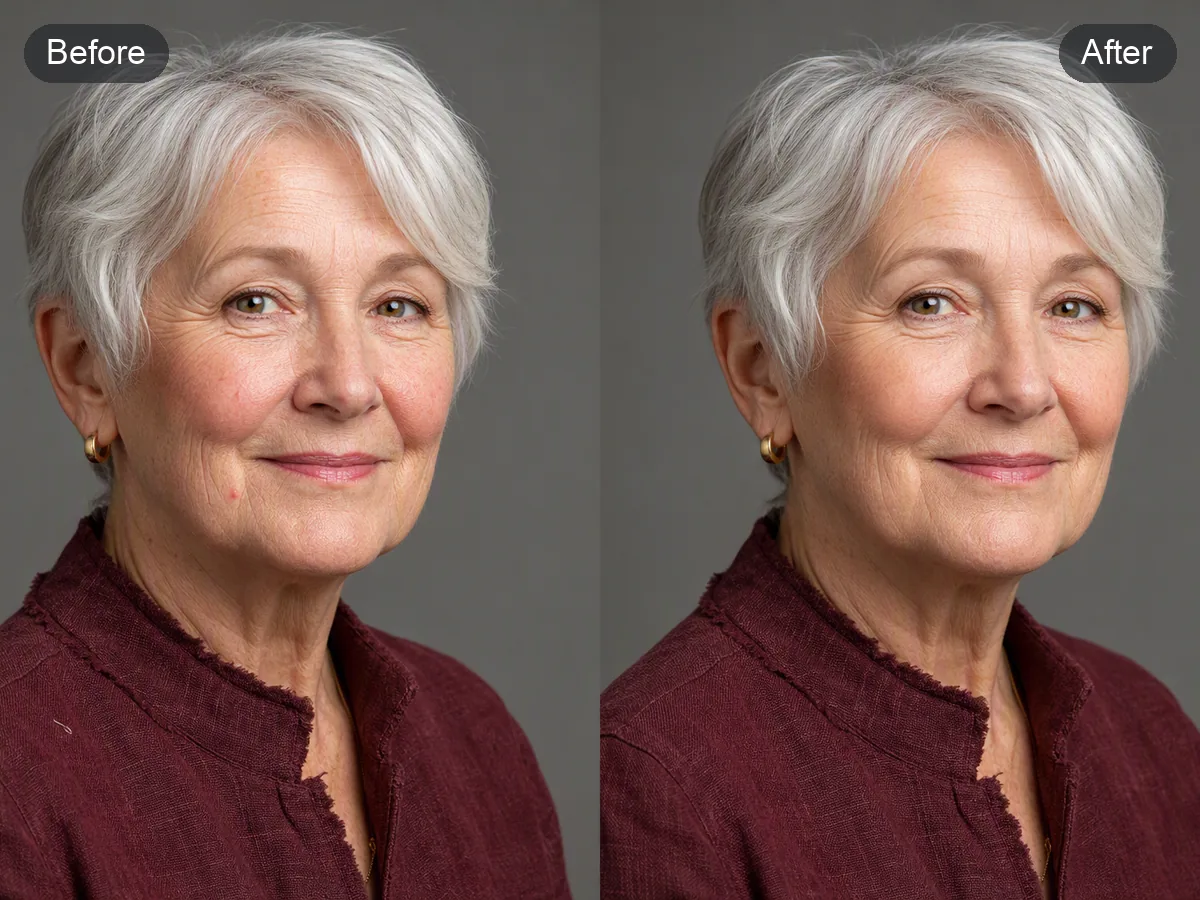
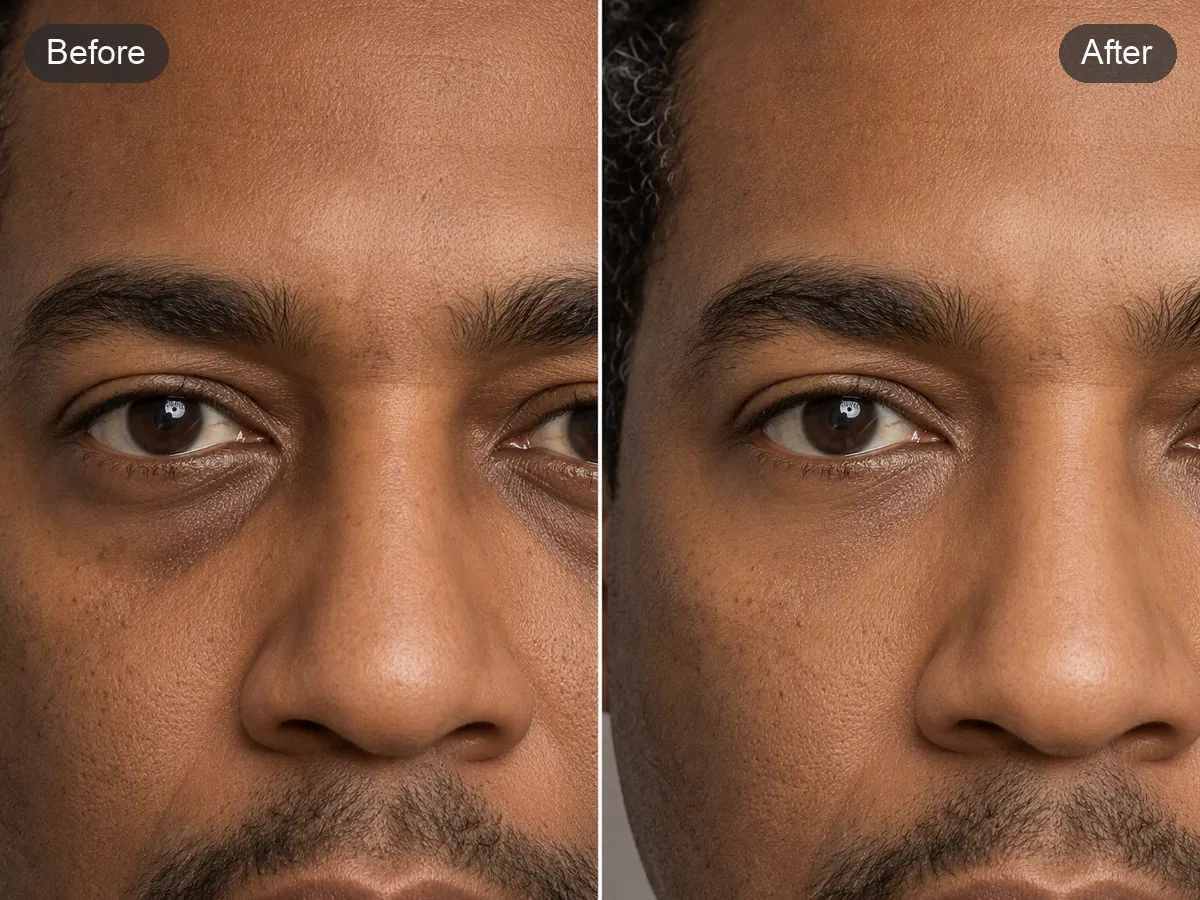
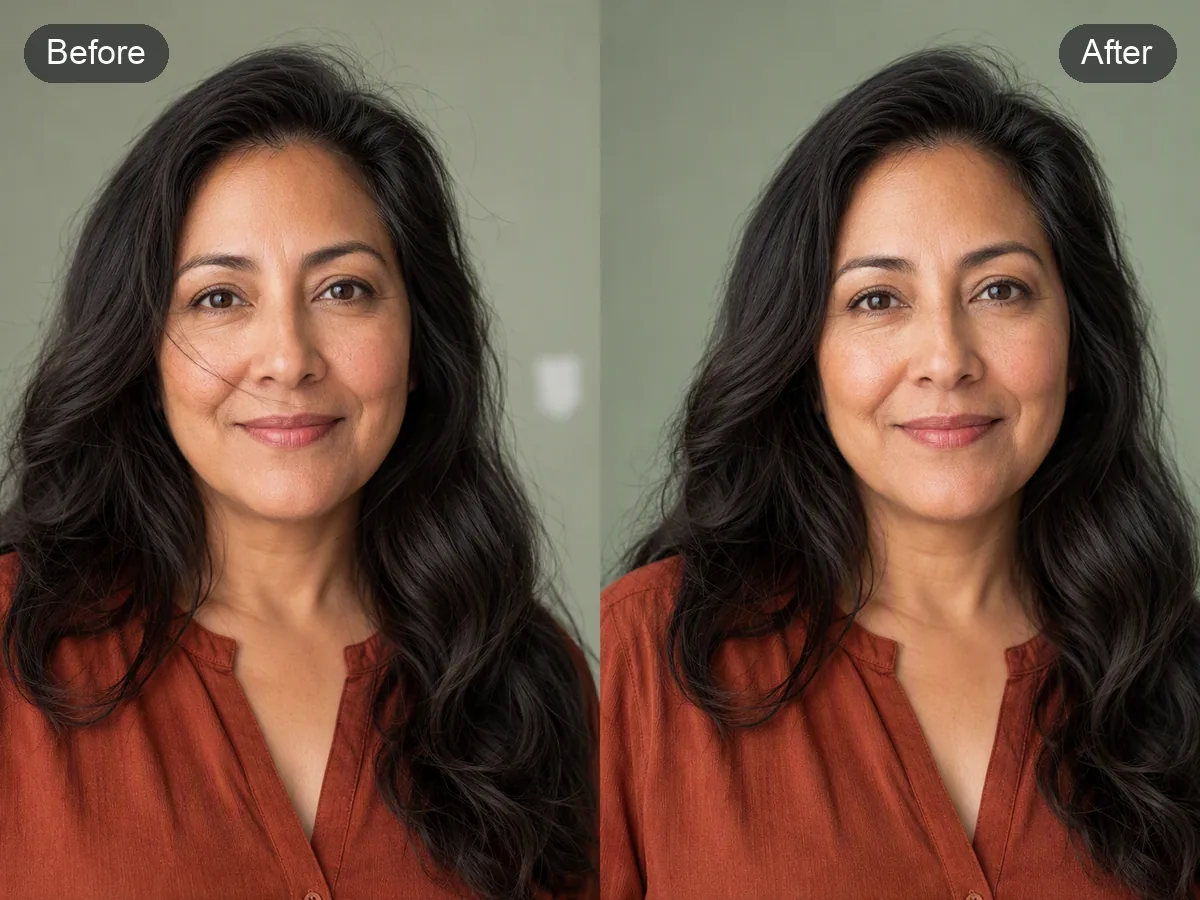
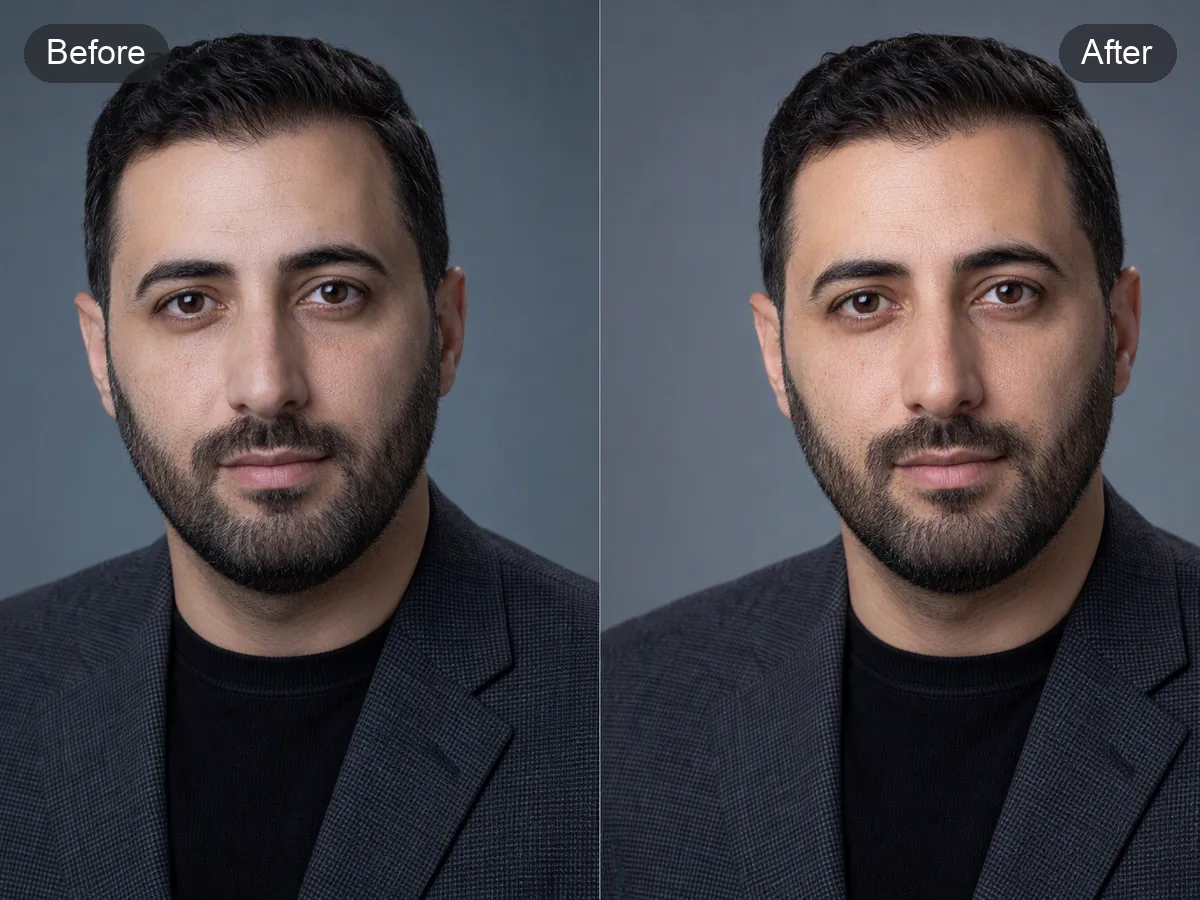
Retouch the Distraction, Not the Person
Useful photo retouching separates temporary distractions from identity-defining detail. Ask for specific changes such as reducing shine, softening a recent blemish, or tidying one stray hair, then compare the result with the source. Keep pores, freckles, age lines, facial proportions, and expression unless the subject explicitly requests otherwise. For overall softness rather than local cleanup, use Fix Blurry Pictures as a separate workflow.
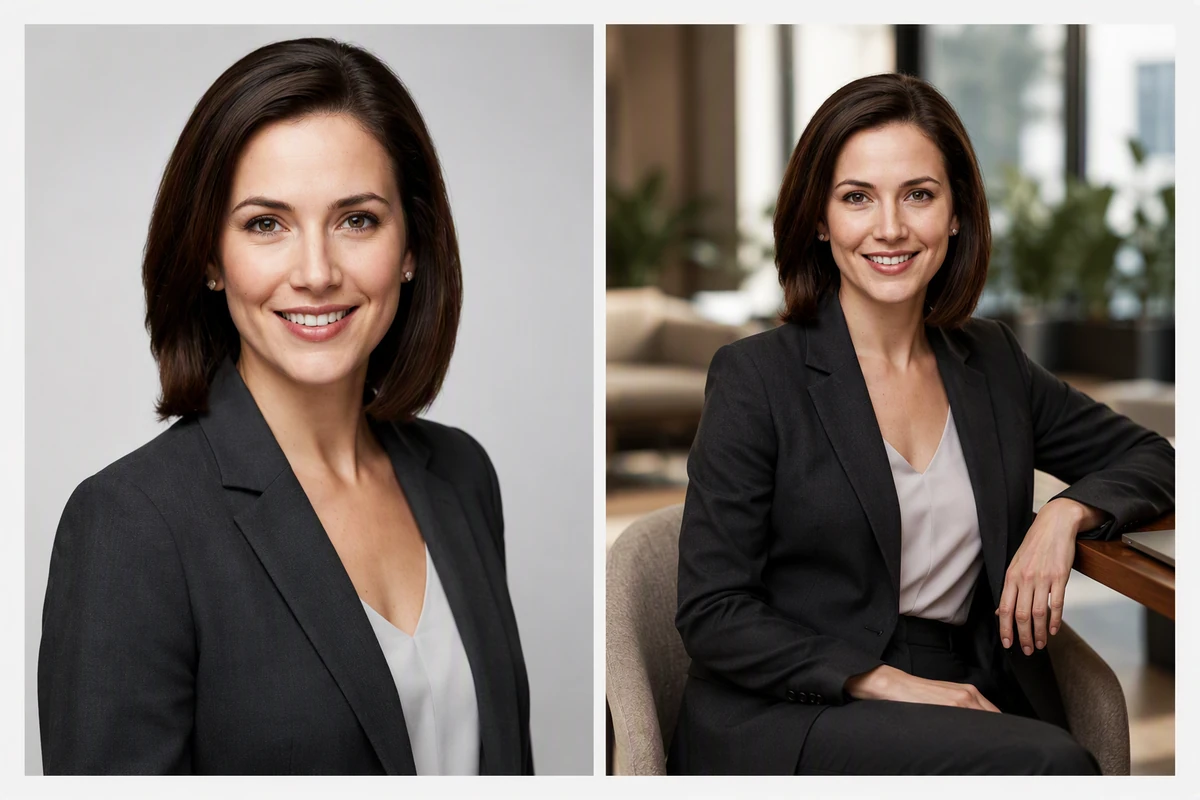
Polish Headshots without Rewriting Identity
For a professional photo touch up, name the temporary distractions and the permanent details to protect. Check expression, face shape, hairline, and clothing against the source. If the main task is creating a new professional visual rather than cleaning the source, use AI image generation separately.
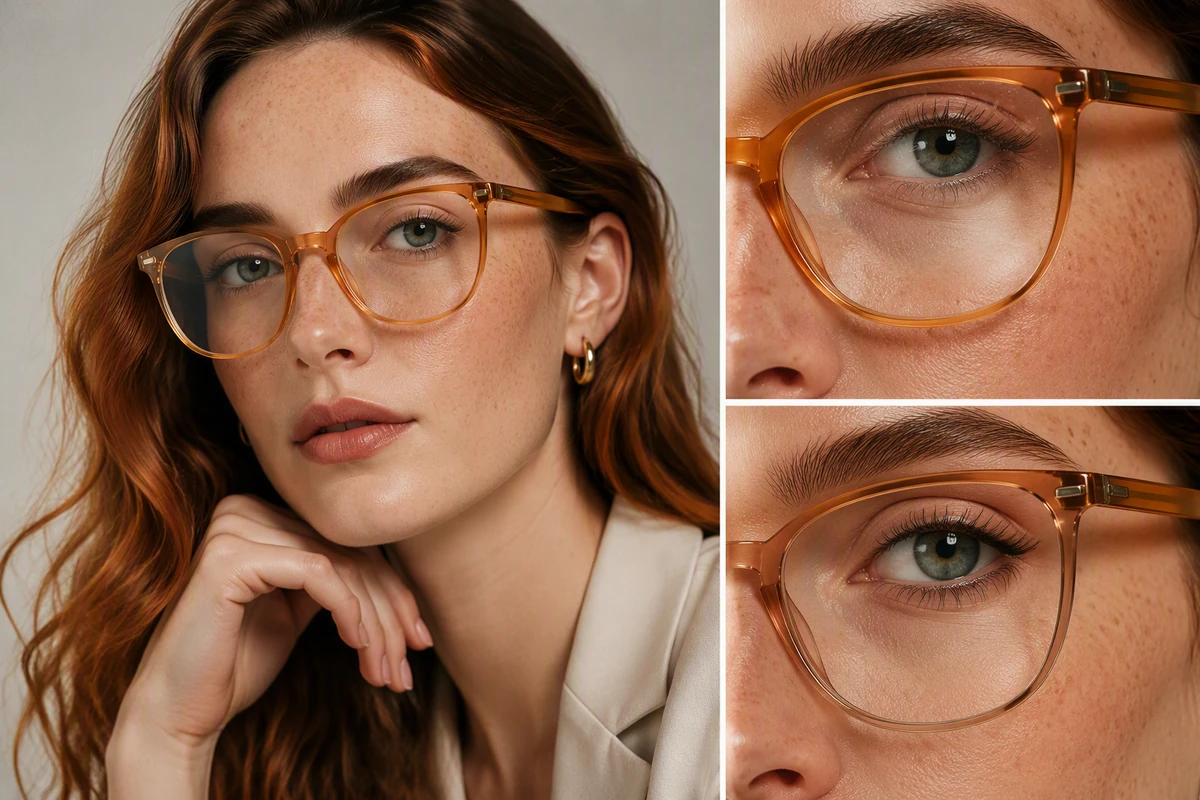
Clean Details without Inventing Surfaces
A retouch picture brief can identify dust, smudges, glare, or background clutter while protecting material texture and edges. Inspect eyewear, jewelry, logos, and repeated patterns at normal size. For a deliberate stylistic treatment rather than cleanup, explore Image Effects separately.
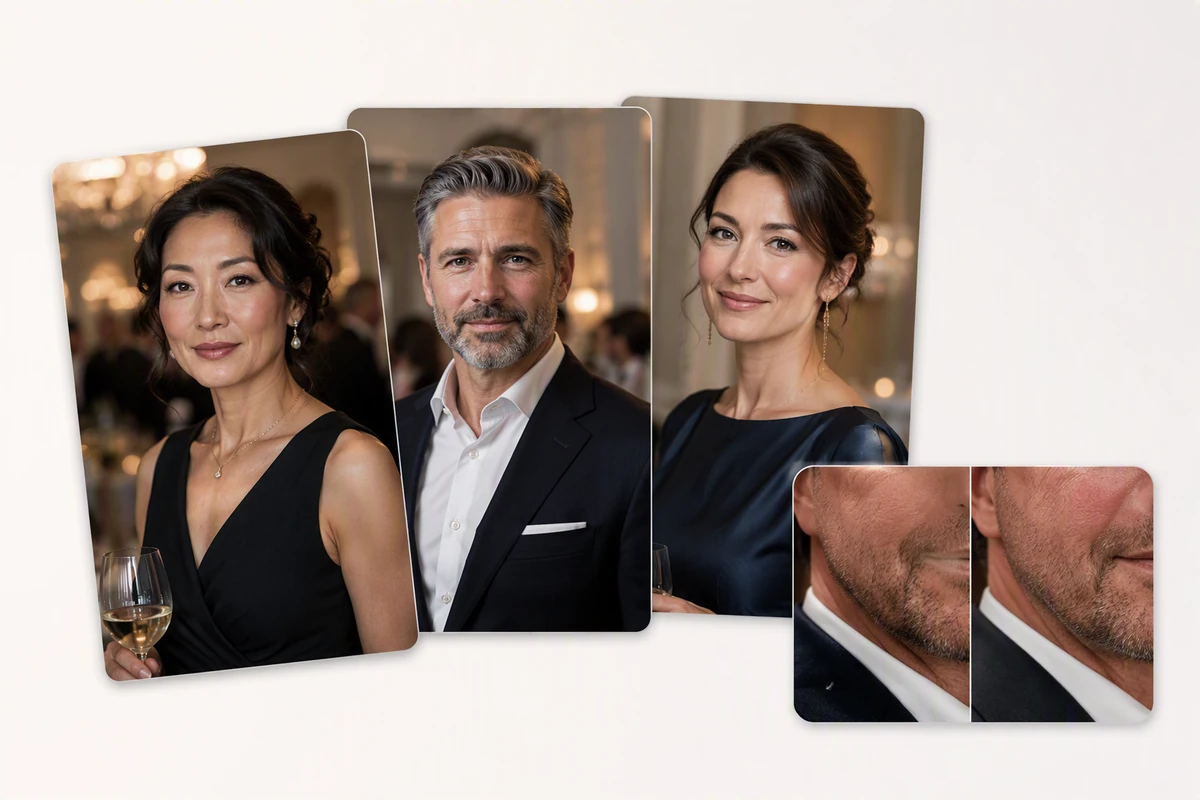
Use One Review Standard across a Series
When several portraits belong together, write one picture touch up checklist: protected features, acceptable temporary cleanup, lighting target, crop, and stopping point. Process and review each image individually. This keeps decisions consistent without pretending every face or frame needs identical corrections; a Free Online Photo Collage Maker can place approved results together for comparison.
What you can do with Ottermind
Polish a professional headshot
Reduce temporary distractions, balance light, and clean the background while preserving identity, skin texture, and clothing.
Clean an ecommerce photo
Remove dust, smudges, glare, or small setup distractions without inventing product surfaces or changing labels.
Prepare an event portrait set
Apply one restrained review standard across many images while keeping natural differences in people and lighting.
Restore a valued photograph
Address scratches, fading, and local damage carefully, then compare every face and important object with the source.
How to Retouch a Photo in 3 Steps
Step 01
Choose the Source
Upload a photo you are authorized to edit. Prefer a clear source where skin texture, eyes, hair, clothing edges, and the intended background can be checked reliably.
Step 02
Define Changes and Protections
Describe the temporary details to reduce and the identity features to preserve. Send the image and prompt to Studio, where the photo retouching request can continue with context attached.
Step 03
Compare before Publishing
Compare at normal size for recognizability and light, then inspect skin texture, hairlines, and edges. Check untouched regions against the source and revise any correction that crosses a boundary.
Why creators choose Ottermind
Specific Briefs
Describe the exact photo touch up and protected details instead of asking for vague perfection.
Source Comparison
Keep the original visible while checking identity, texture, edges, lighting, and untouched areas.
Focused Refinement
Revise one questionable area while retaining useful context and the approved direction.
Honest Boundaries
Treat generated detail as an interpretation, especially when the source is compressed or unclear.
Connected Next Steps
Carry an approved still into Image to Video as a separate creative task.
Visible Decisions
Review agent output and approve critical actions before the retouched image moves forward.
Frequently asked questions
What Counts as Natural Photo Retouching?
Natural photo retouching reduces distractions without changing who or what the image depicts. Preserve pores, freckles, age lines, facial proportions, expression, and meaningful product texture. Compare the source and result; if attention moves to the edit itself, scale the request back.
How Should I Write a Retouching Prompt?
Name the subject, the temporary detail to reduce, the intended use, and protected features. For example: reduce mild shine and two recent blemishes, keep freckles and face shape, and preserve neutral studio lighting. Avoid broad instructions such as make flawless.
Can I Use a Face Smoother Tool Naturally?
Yes, when the brief asks for restrained local changes and you inspect the output. A face smoother tool should not erase all texture. Review pores, hairlines, eyelids, teeth, and transitions around the edited area before accepting a result.
Does This Page Promise Free Photo Touchup Access?
No. This page does not establish pricing, account requirements, file support, or download terms. It provides the upload-to-Studio workflow and a review method. Check the current product interface for access details before starting a free photo touchup search-driven task.
What If My Source Photo Is Blurry?
Separate clarity from cosmetic cleanup. First decide whether the source has enough reliable detail; generated texture is not recovered fact. Use the Fix Blurry Pictures, then retouch photo details only after reviewing the clearer interpretation.
What Can I Do after the Retouch?
Keep the approved source, prompt, result, and review notes together. You can make a Free Online Photo Collage Maker for comparison or use AI image generation for a clearly separate creative visual rather than rewriting the retouched photograph.
Discover more
AI pet portrait generatorAI Product Image GeneratorGemini Watermark RemoverImage Text EditorImage TranslatorPicture Outline MakerPhoto into WatercolorPhoto to Anime ConverterConvert Photo to Oil PaintingPhoto to SketchReplace Color in ImageWatermark RemoverAI Resume BuilderAI Receipt TrackerPC Builder AIAI Logo Generator
More from the blog

Start a Natural Photo Retouch
Upload your source, describe the temporary distractions and protected details, then send the retouching brief to Studio for a result you can compare carefully.
Retouch My Photo