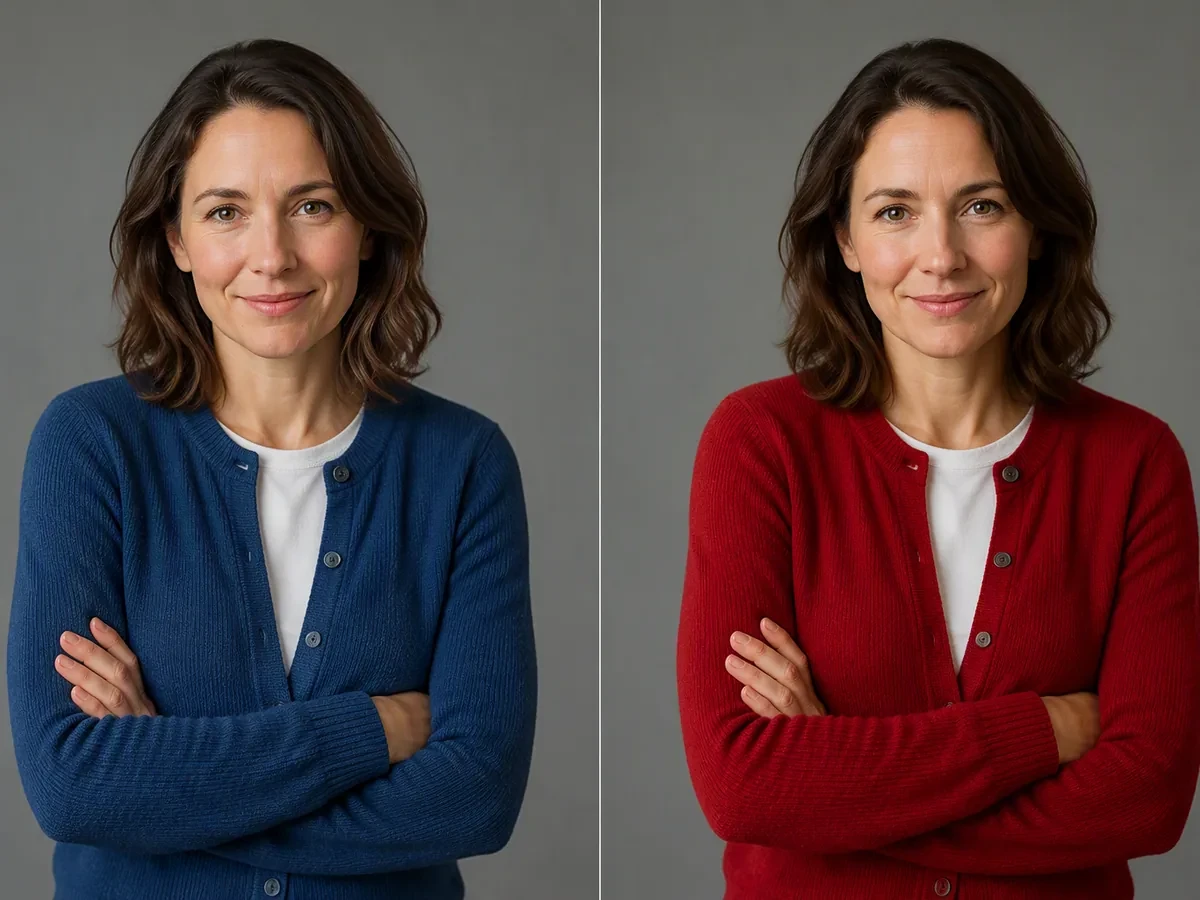
Replace Color in Image
Upload a photo, name the object and target color in Studio, then review a focused recolor while keeping unrelated details intact.
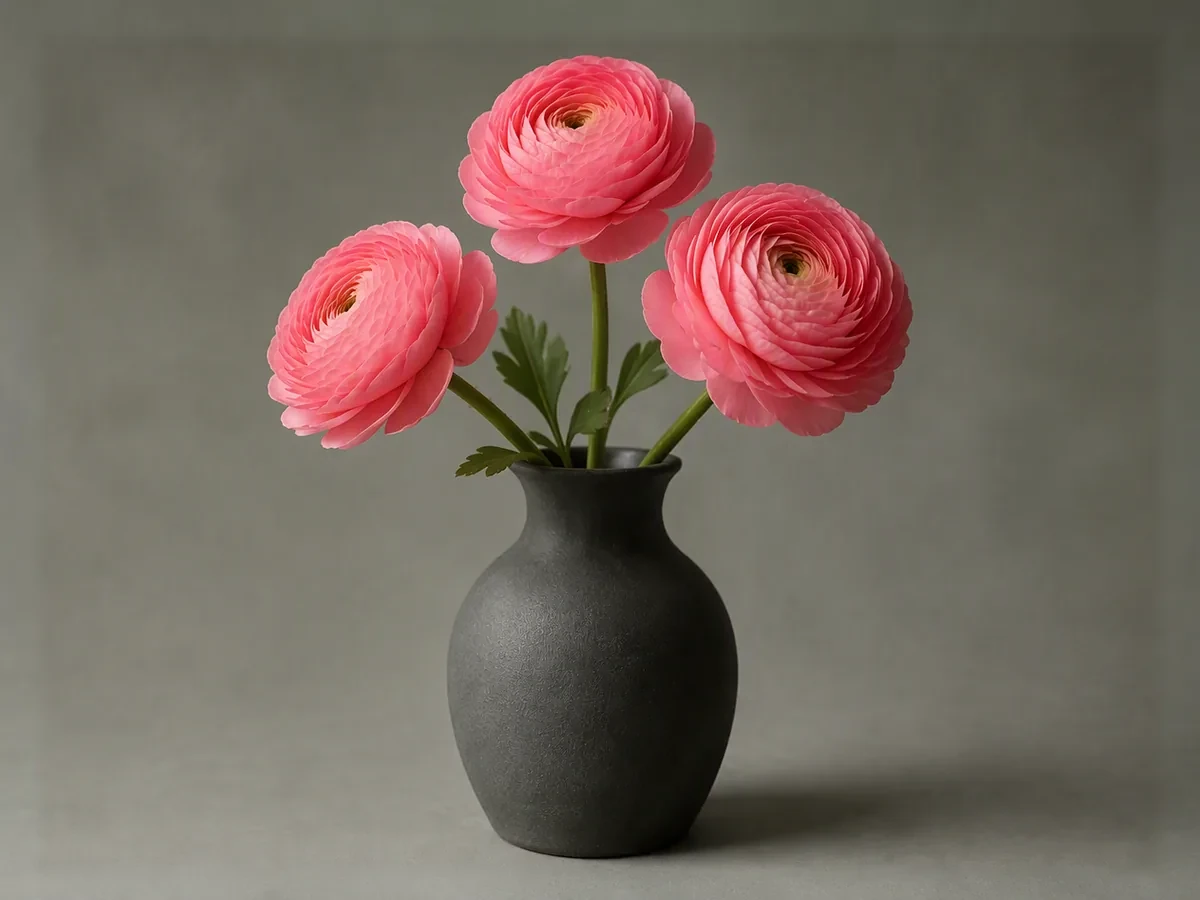
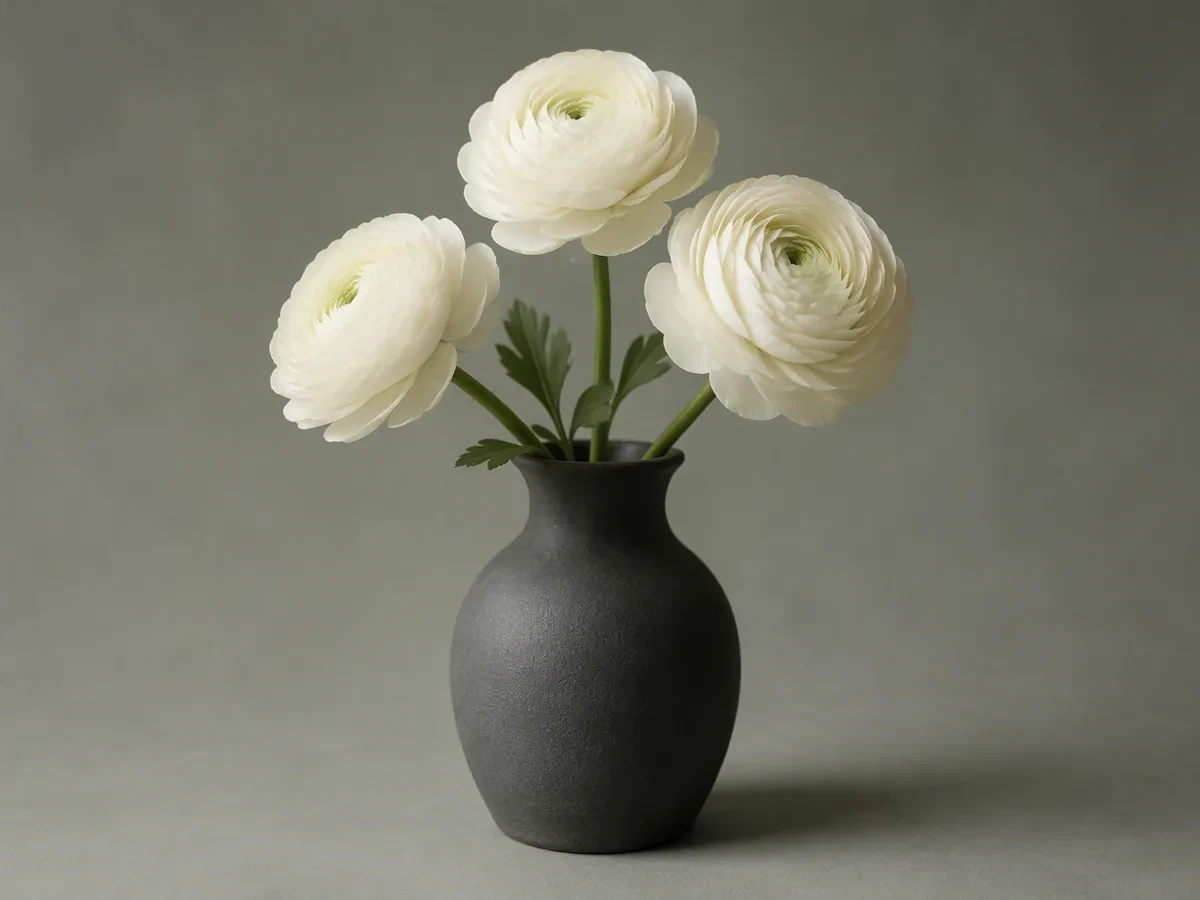
Drag an image here or click to upload












Explore image transformation styles
Explore a range of image transformations and find the look that fits your idea.
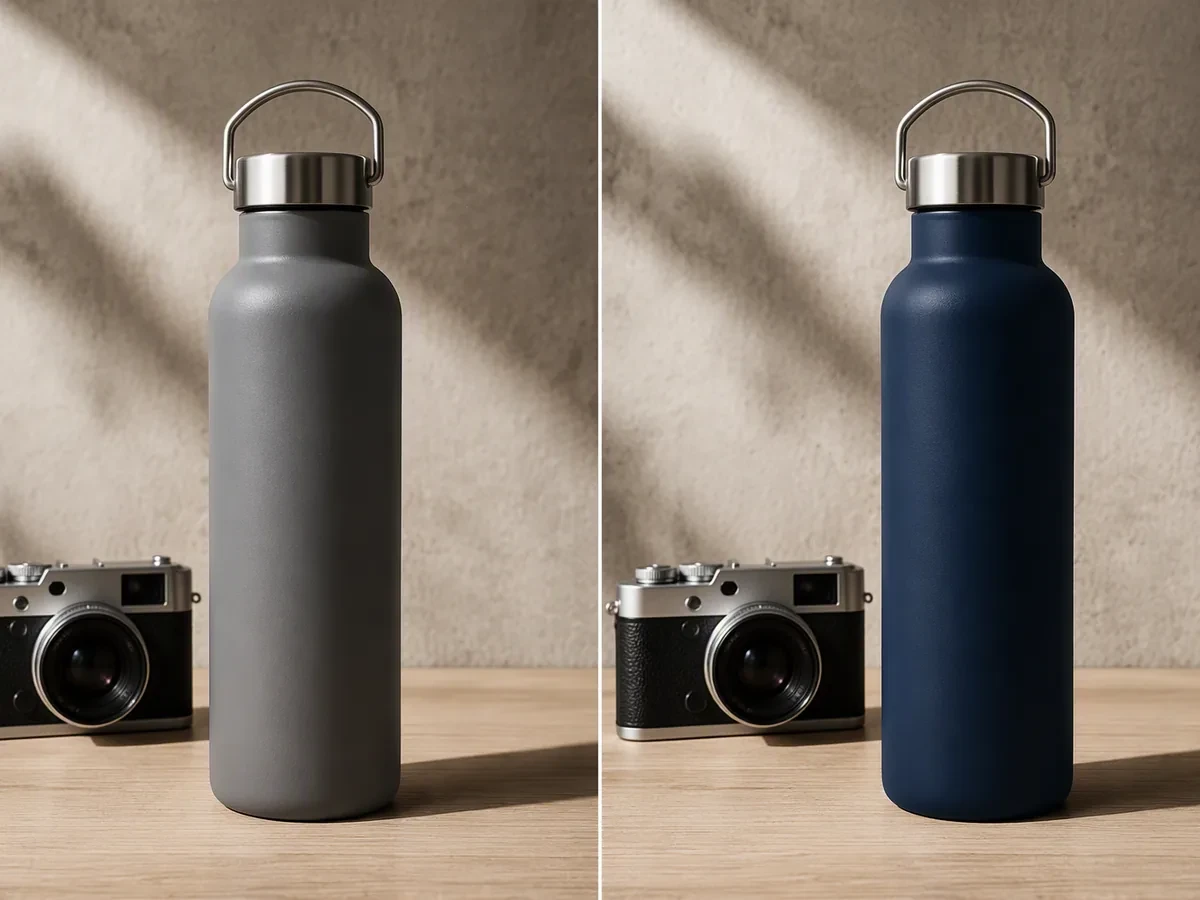
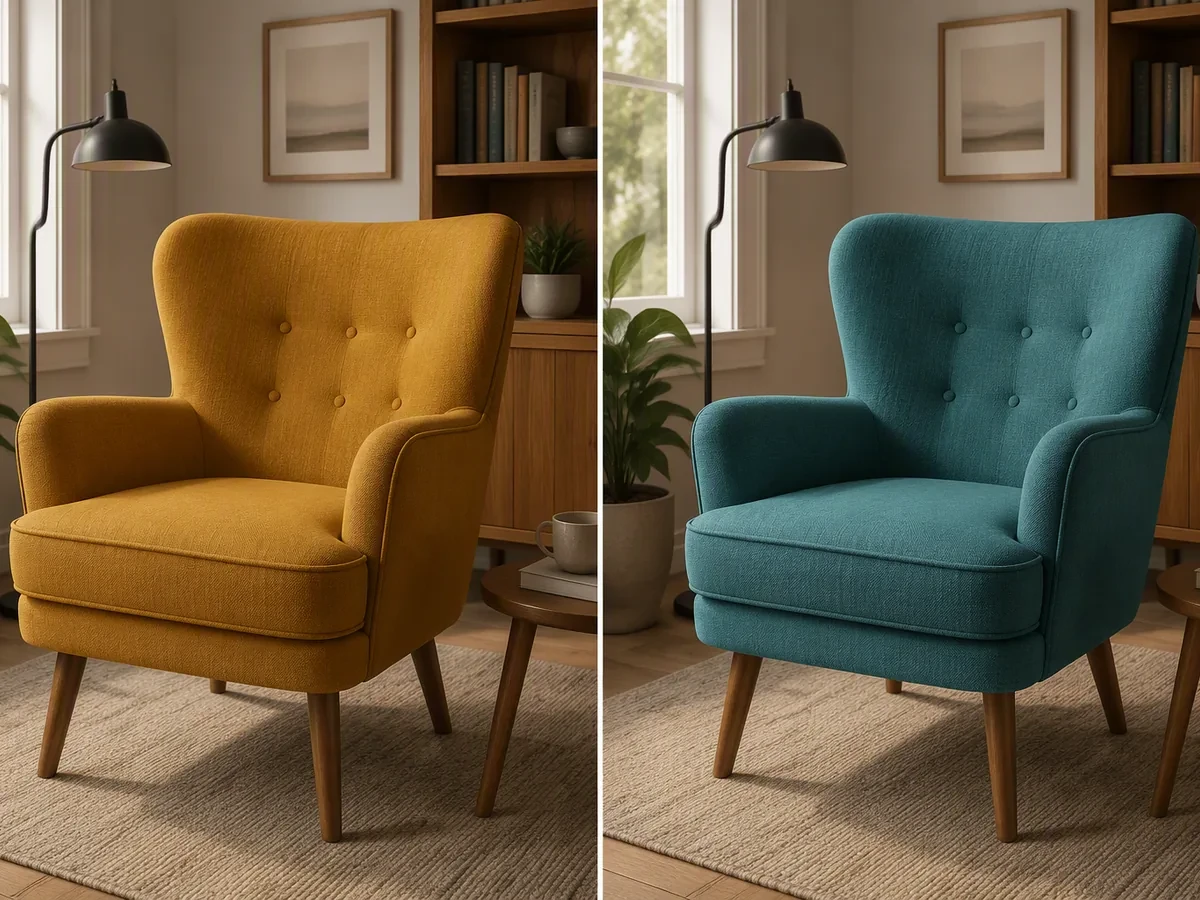
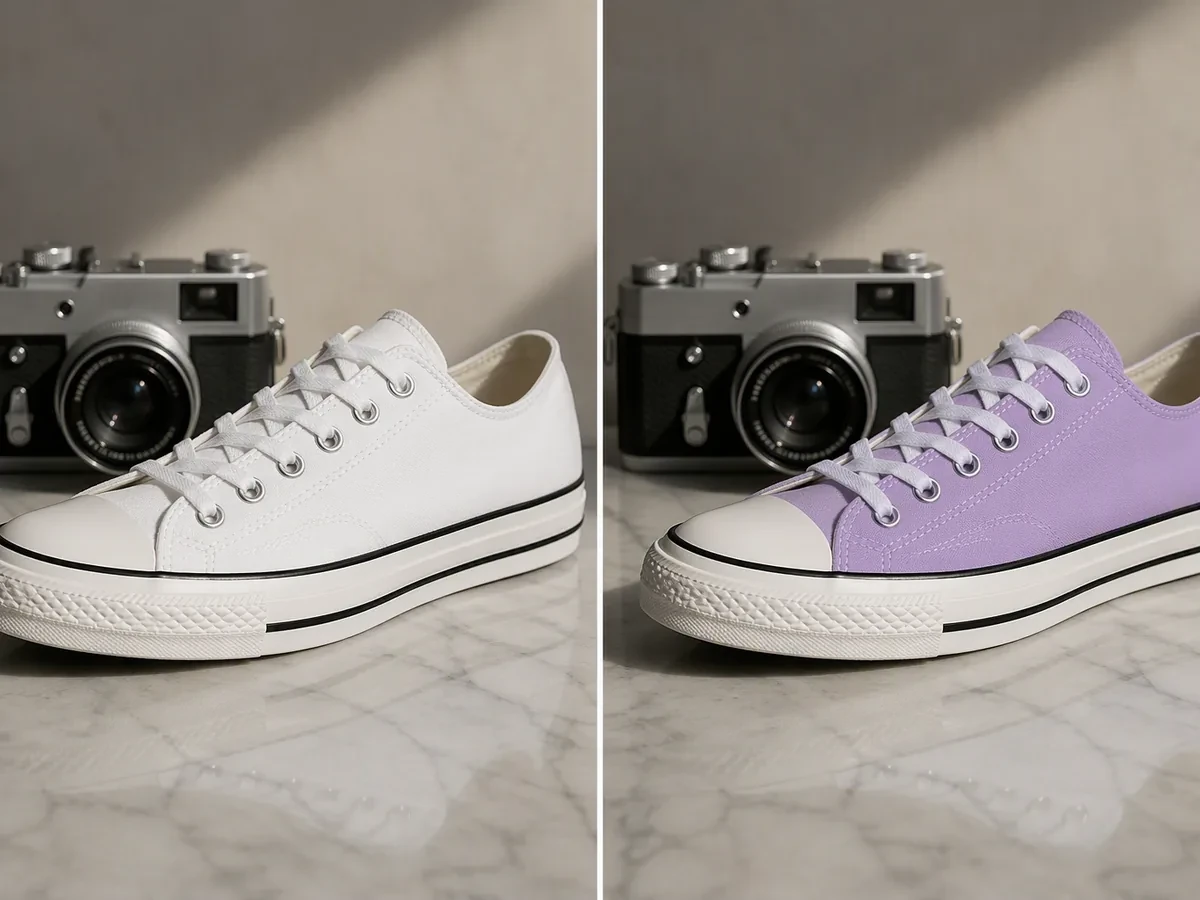
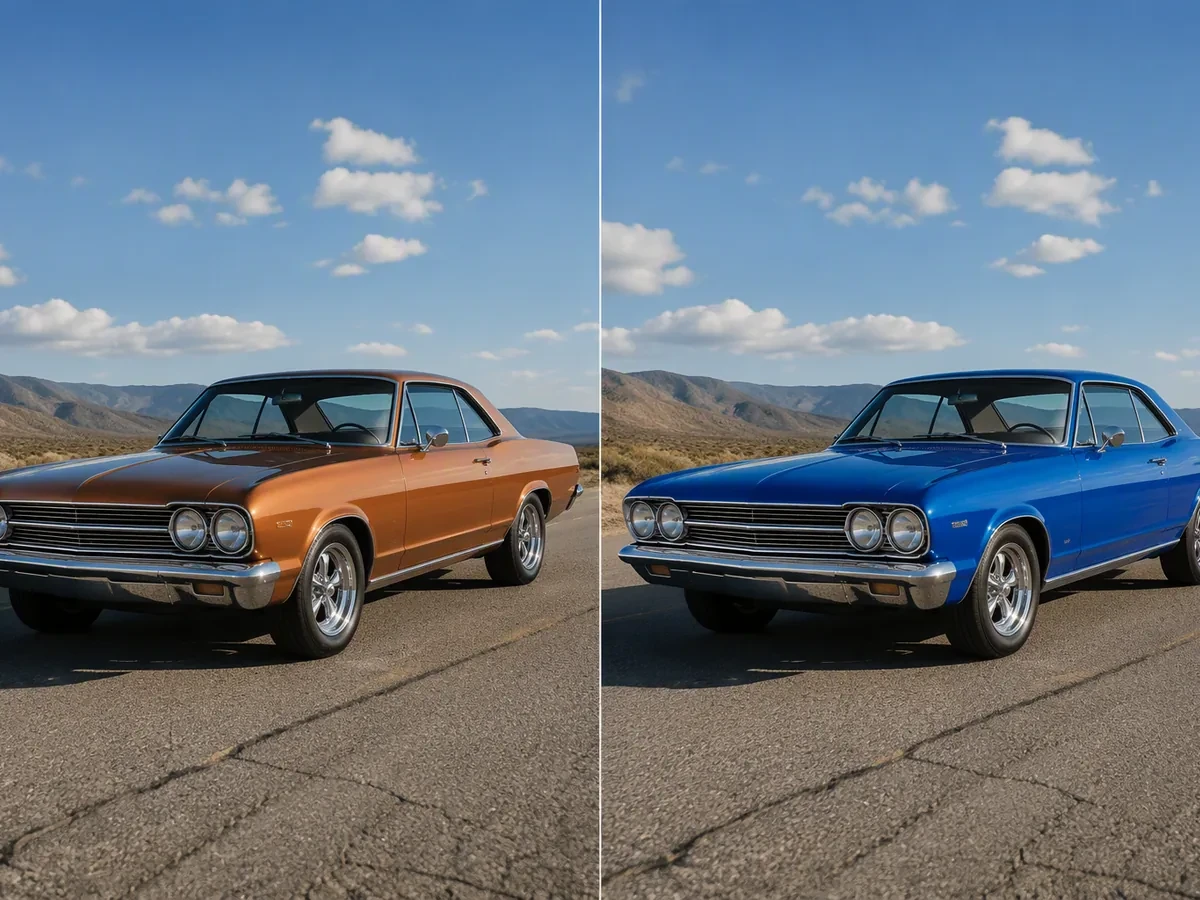
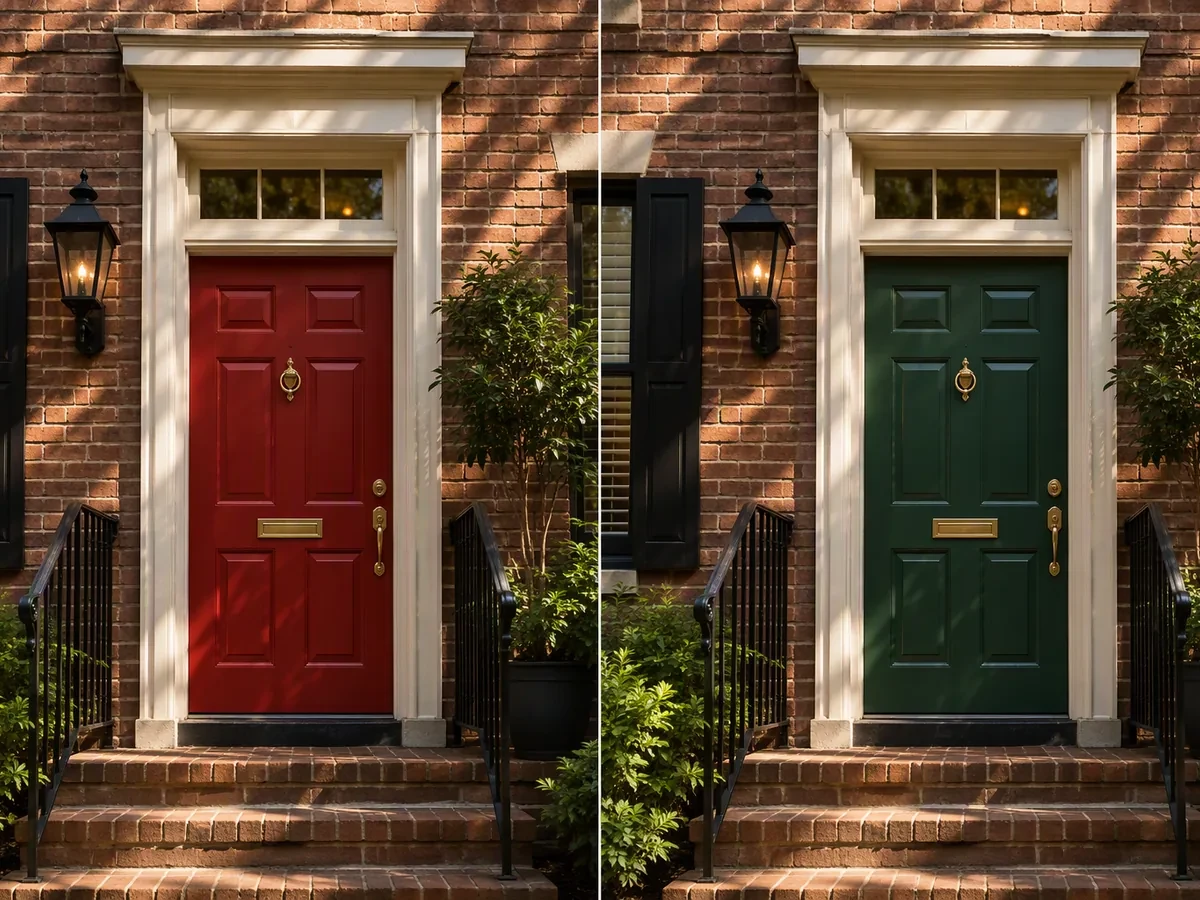
Replace One Color Without Losing the Photograph
To use Replace Color in Image, upload a source you can use and treat the task as a local edit: name the exact object, name the target color, and state what must remain unchanged. Ottermind carries the file and that brief into Studio for review and refinement. If you need a new composition instead, begin with AI image generation; for a whole-picture look, use Image Effects.
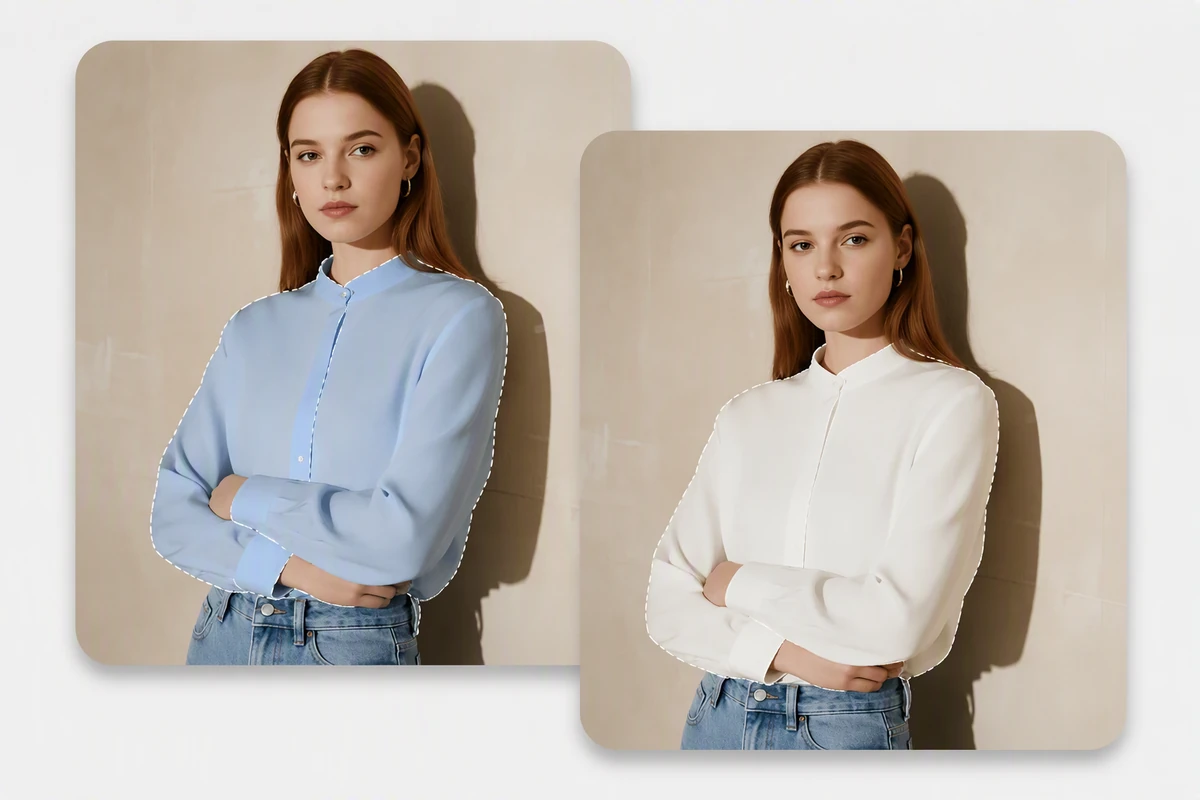
Name the Exact Area to Change
Color names alone can affect every similar hue. Identify the semantic target—the blouse, bottle, chair, or door—and describe nearby details that must stay fixed. That direction gives the agent a clearer boundary than a broad request to change image color.
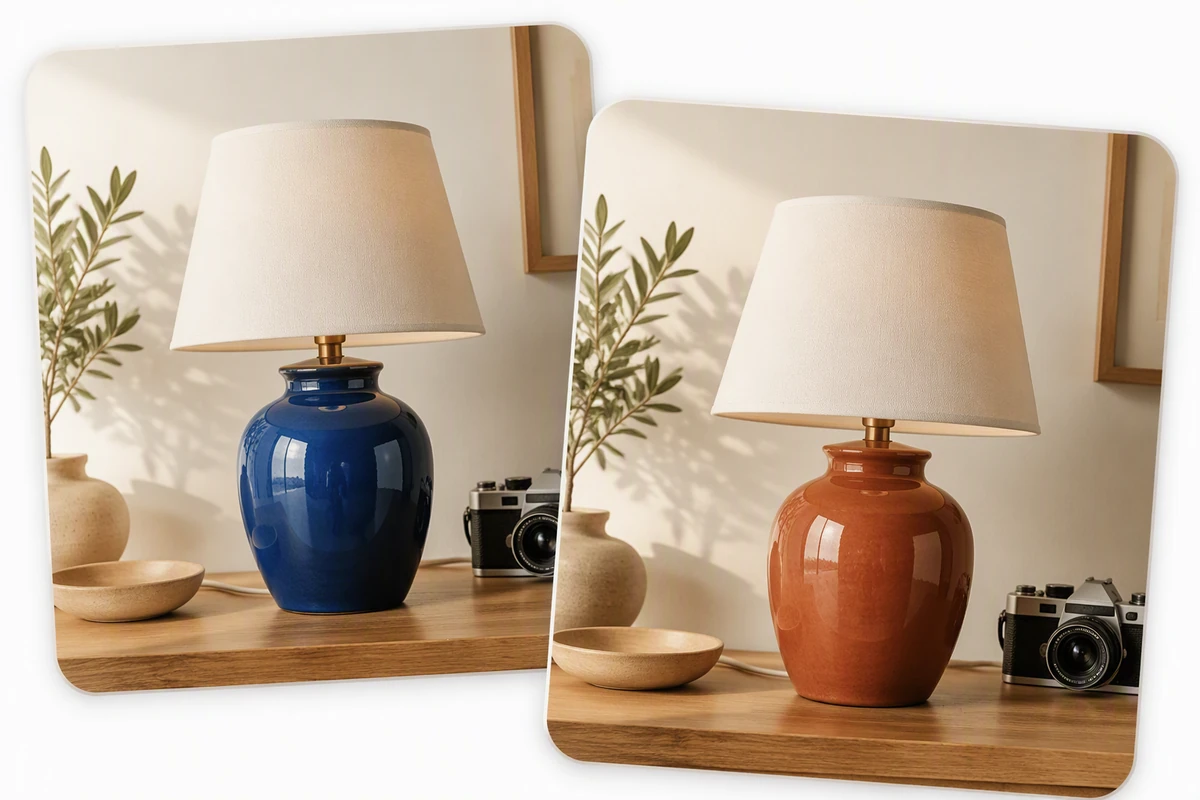
Check Edges, Texture, and Light
A useful image color replacement preserves highlights, shadows, material texture, and edge detail instead of painting the target flat. Compare the edited object with the source at normal size and close up. If you want a different full-image treatment, continue with Image Effects.
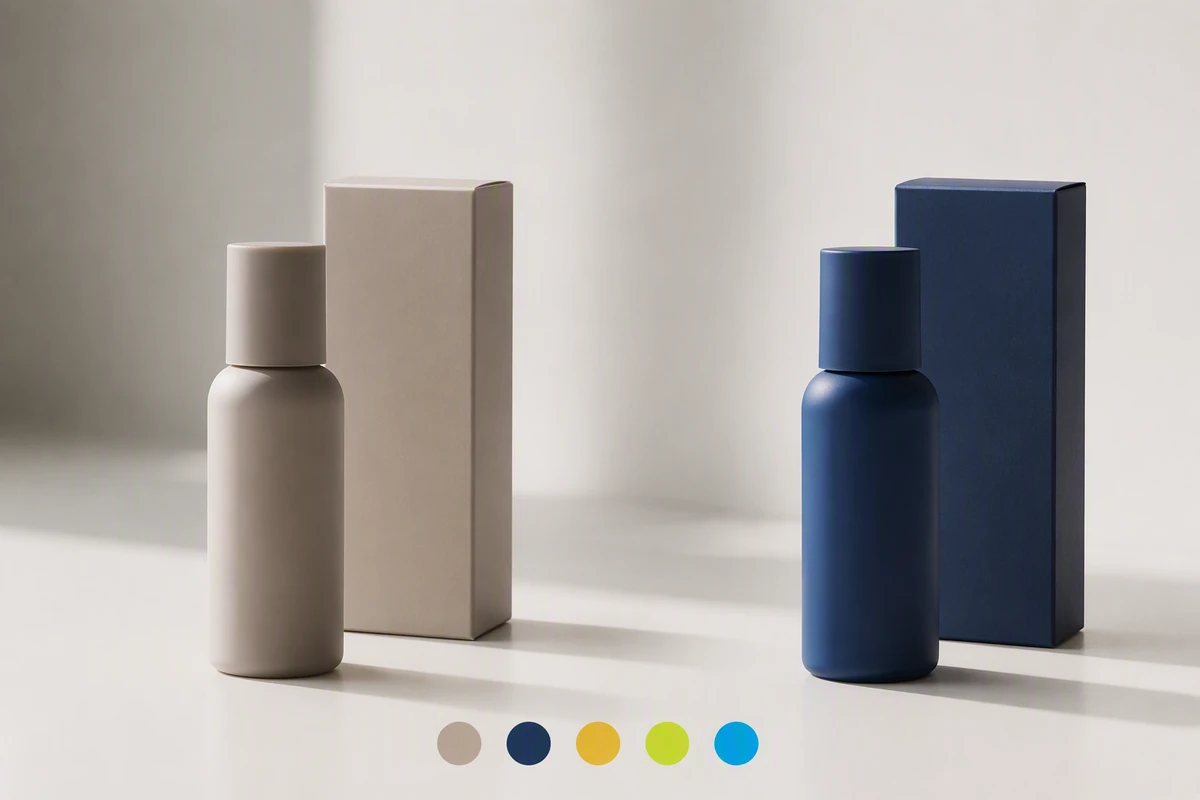
Build a Reviewable Color Direction
For product or campaign variants, record the chosen color description, the approved source, and the details that cannot move. Keeping those decisions with the project makes later feedback more specific. Arrange approved variants with the Free Online Photo Collage Maker only after each recolor passes the same checklist.
What you can do with Ottermind
Preview a product colorway
Change one product area to an approved color while preserving texture, highlights, shadows, labels, and surrounding objects.
Test an interior finish
Compare wall, cabinet, fabric, or furniture colors in the same room without shifting the lighting or unrelated materials.
Coordinate campaign wardrobe
Adjust a garment or accessory to match the palette while protecting skin, hair, edges, and realistic folds.
Correct one distracting color
Target a sign, prop, background element, or accent precisely instead of changing every similar hue in the image.
How to Replace Color in Image in 3 Steps
Step 01
Upload the Source
Choose a photo you can use, upload it here, and keep the original available as the fixed reference for composition, identity, and detail.
Step 02
Define the Recolor
In Studio, name one object or area, specify the target color, and list the nearby subjects, materials, lighting, and shadows that should remain unchanged.
Step 03
Compare and Correct
Inspect edges, texture, highlights, shadows, and unrelated colors against the source; request one focused correction at a time before approving the result.
Why creators choose Ottermind
Context-Aware Brief
The uploaded image and instructions stay connected as the recolor moves into Studio for review.
Source-Led Review
Keep the original beside each result so unintended changes in shape, light, or texture remain visible.
Focused Feedback
Ask for one correction at a time, which can make each review easier to judge.
Reusable Project Memory
Retain approved colors, constraints, and feedback around the project when preparing related visual work.
Motion-Ready Handoff
After approving the still, carry its color direction into Image to Video as a separate task.
Visible Approval Boundaries
Agent work stays reviewable, and critical actions remain subject to your approval before the image moves forward.
Frequently asked questions
How Do I Use Replace Color in Image?
Upload the photo, then identify one object or area and the target color in Studio. State what must not change, review the edited result against the original, and request focused corrections for spill, edges, texture, or lighting.
Can I Enter a HEX Color?
A HEX value can clarify the intended hue, but this page does not promise colorimetric output. Highlights, shadows, materials, and display conditions affect appearance, so compare the result with your reference and approve it visually.
Why Did Other Areas Change Color?
Similar hues or an ambiguous target can widen the edit. Name the object, not only the source color, and list nearby areas to protect. If spill remains, ask for a narrower selection or one specific correction.
How Do I Keep Shading Natural?
Describe the target as a material, not a flat patch, and ask to preserve highlights, shadows, reflections, grain, and surface texture. Compare bright and dark regions with the source before accepting the image color replacement.
Should I Recolor Several Items at Once?
Start with one target because several simultaneous changes make unintended drift harder to diagnose. Approve the still first, then carry it into Image to Video without reopening the color decision, while keeping the approved source available for comparison.
Which Image Files Can I Upload?
The upload control accepts PNG, JPEG, WebP, HEIC, and HEIF images. Choose a clear source where the target object, its edges, and nearby colors are visible; keep the original file available for a source-to-result comparison in Studio.
Discover more
AI pet portrait generatorAI Product Image GeneratorFix Blurry PicturesGemini Watermark RemoverImage Text EditorImage TranslatorPhoto into WatercolorPhoto RetouchingPhoto to Anime ConverterConvert Photo to Oil PaintingPhoto to SketchResume Photo EditorAI Resume BuilderAI Receipt TrackerPC Builder AIAI Logo Generator
More from the blog



Upload a Photo for a Focused Recolor
Bring the source image, identify one target and the color you want, then compare the result with a practical preservation checklist before approving it.
Upload an Image