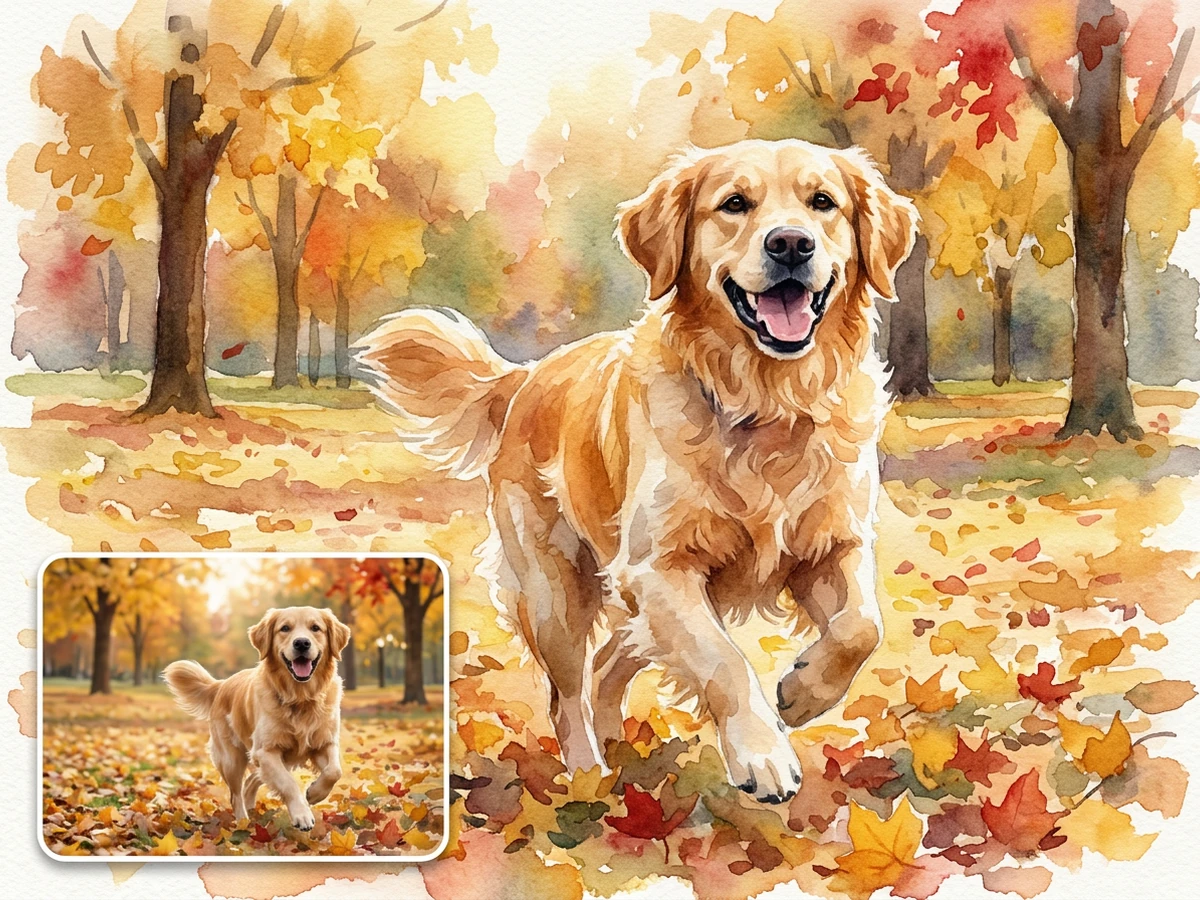
Photo into Watercolor
Upload one clear image to create a watercolor painting, compare it with the original, and continue refining the artistic direction in Ottermind Studio.
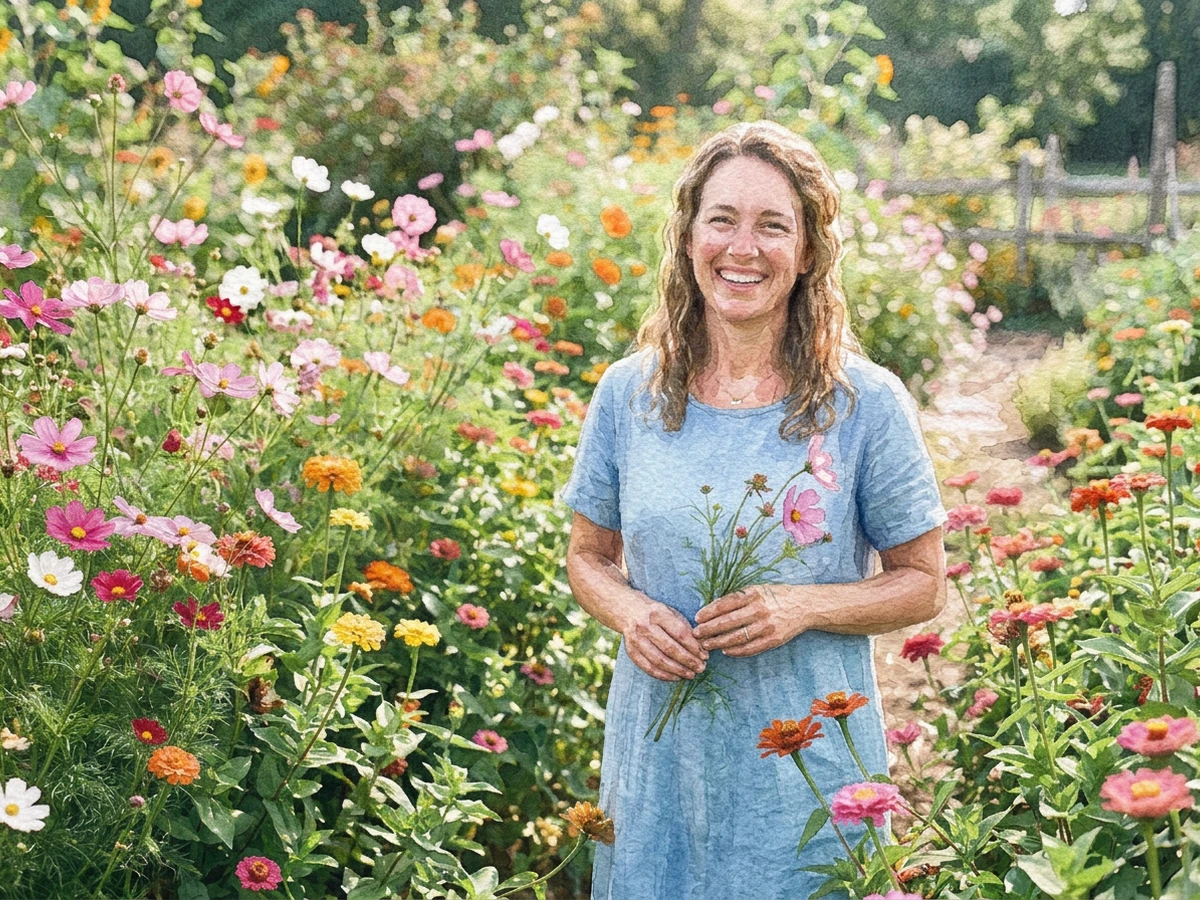
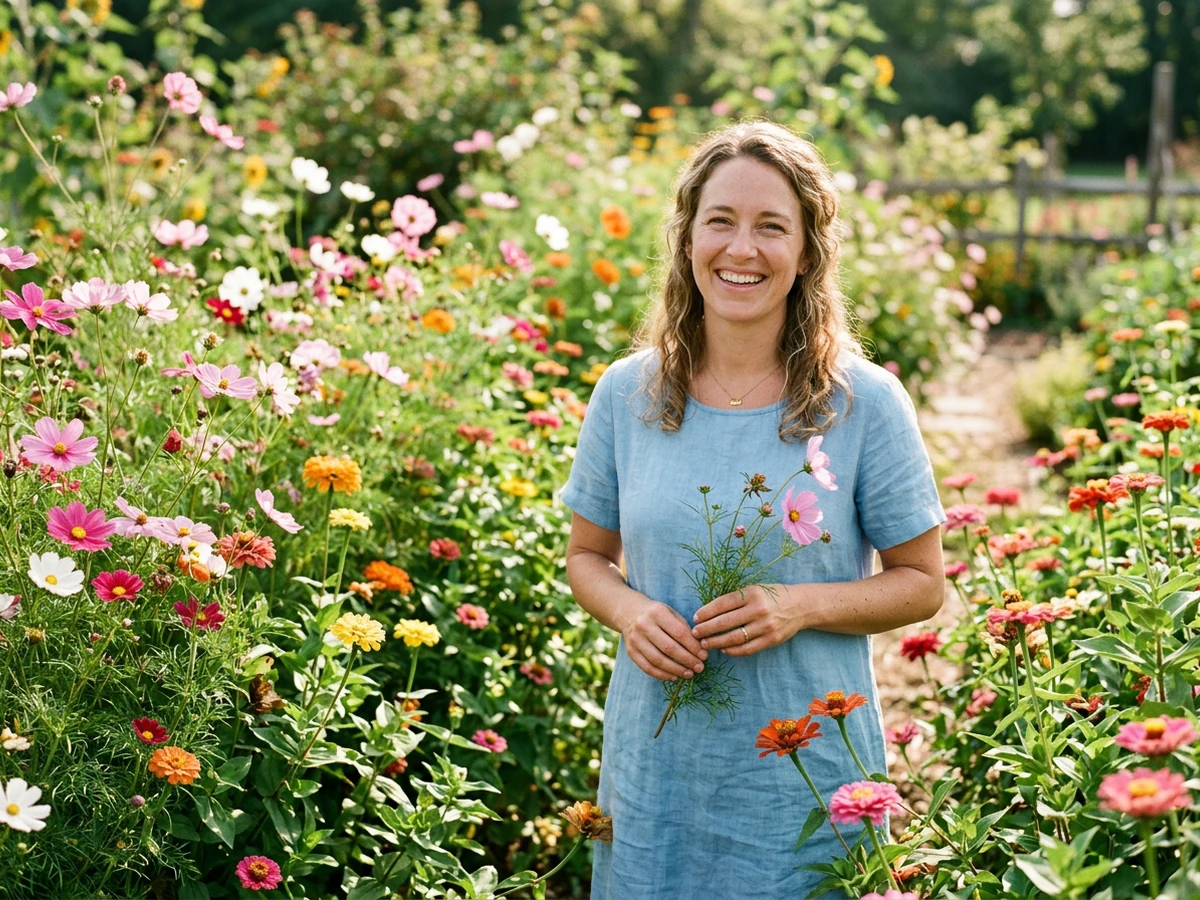
Drag an image here or click to upload












Explore image transformation styles
Explore a range of image transformations and find the look that fits your idea.
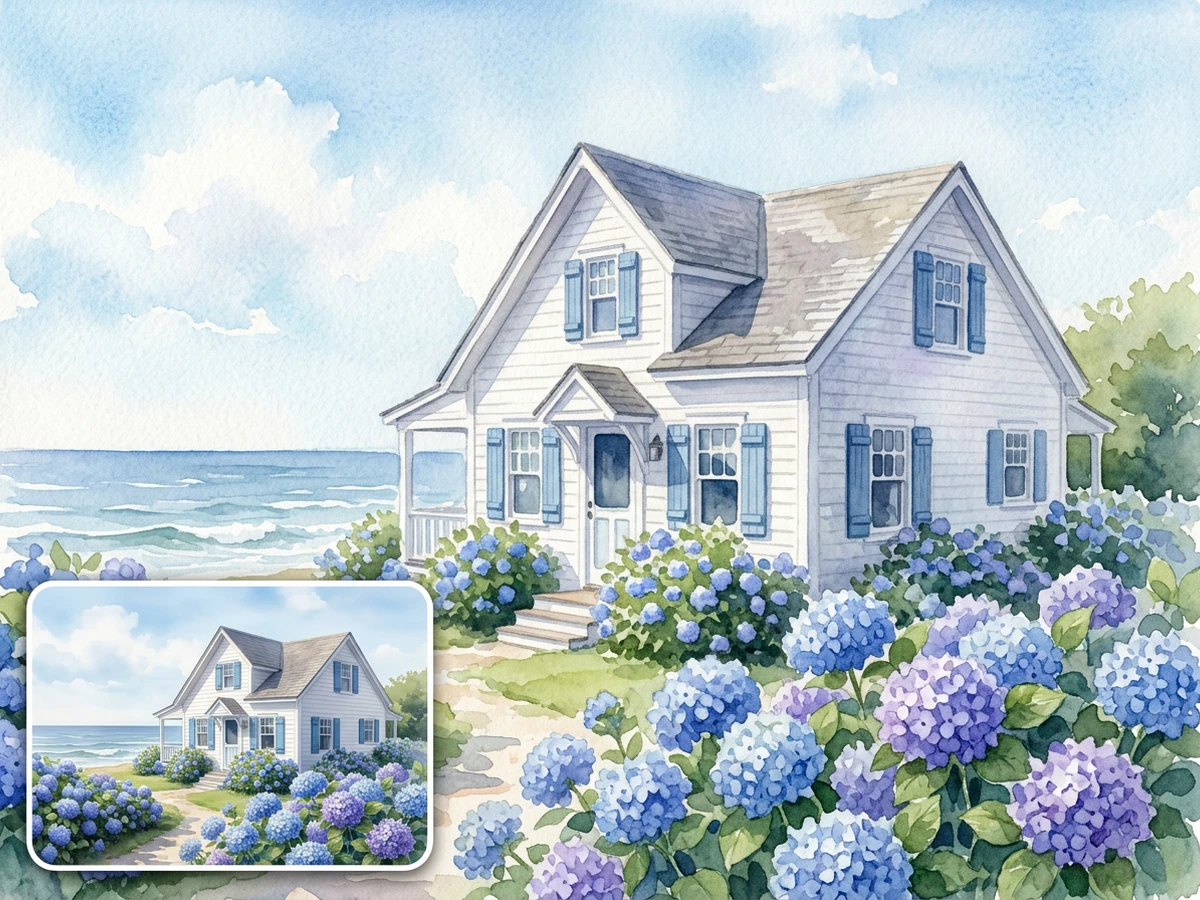
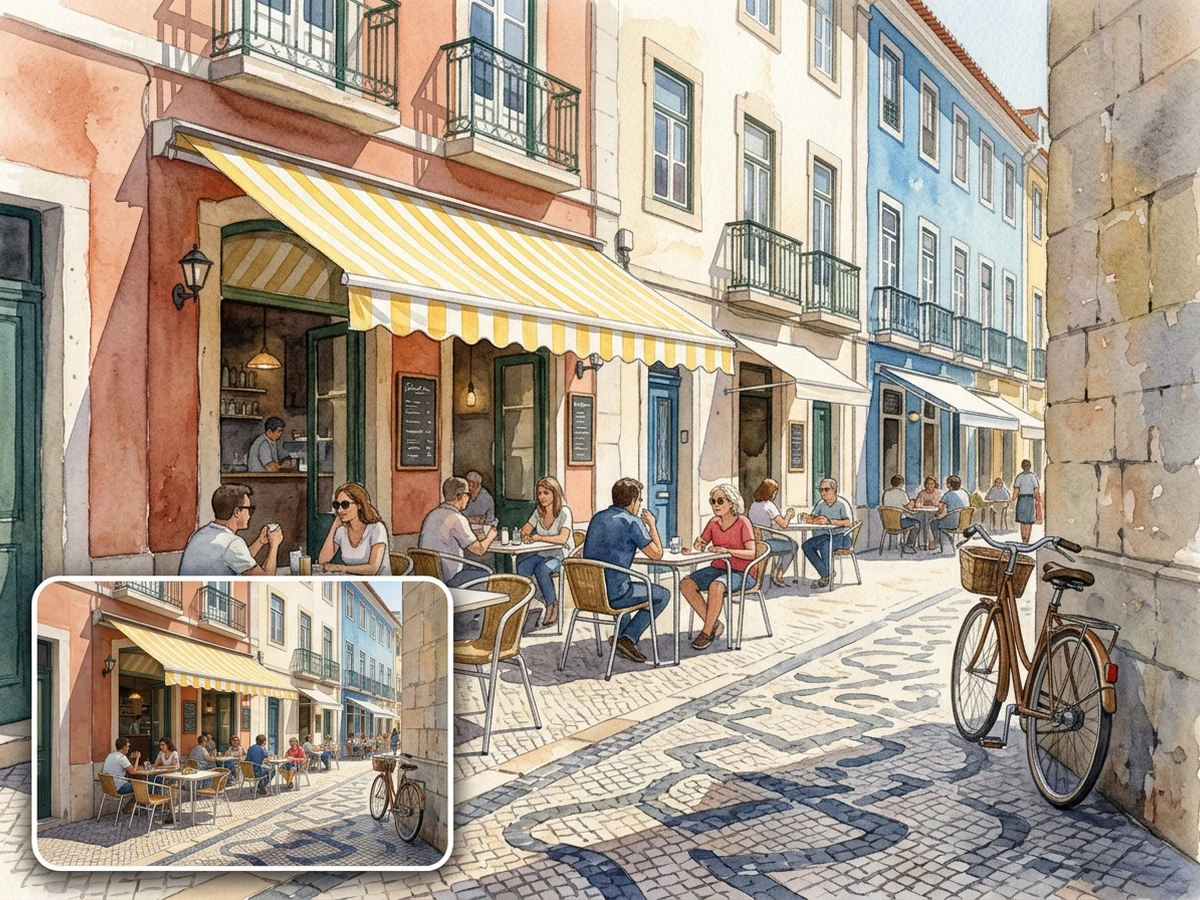
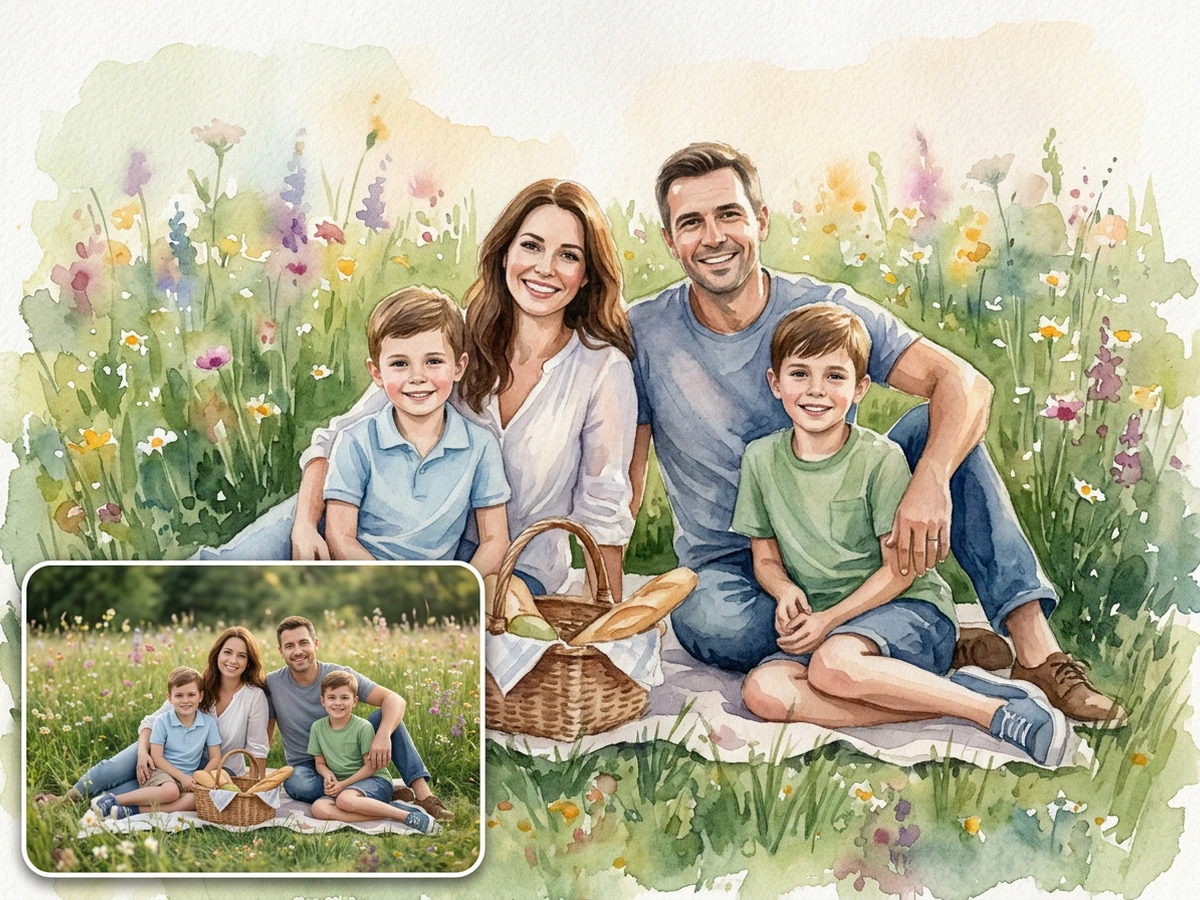
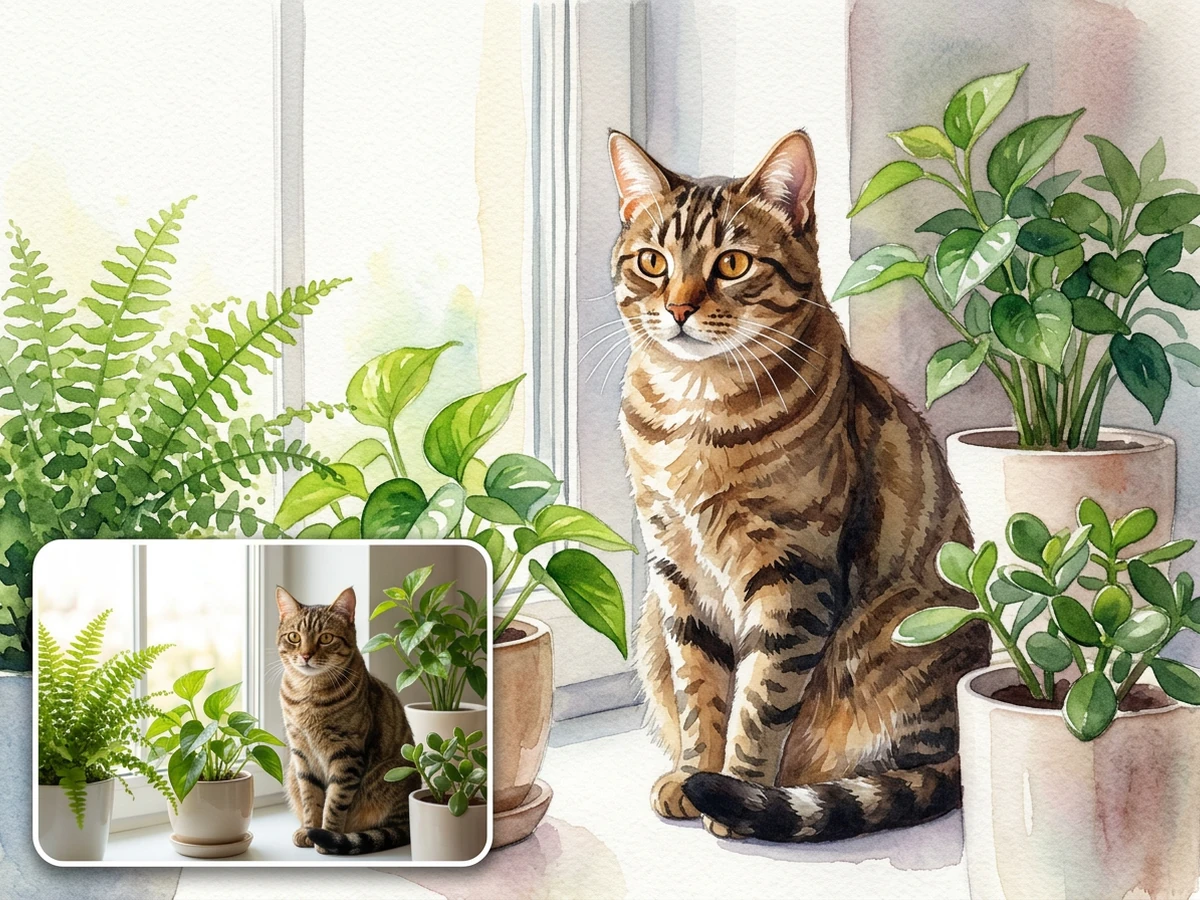
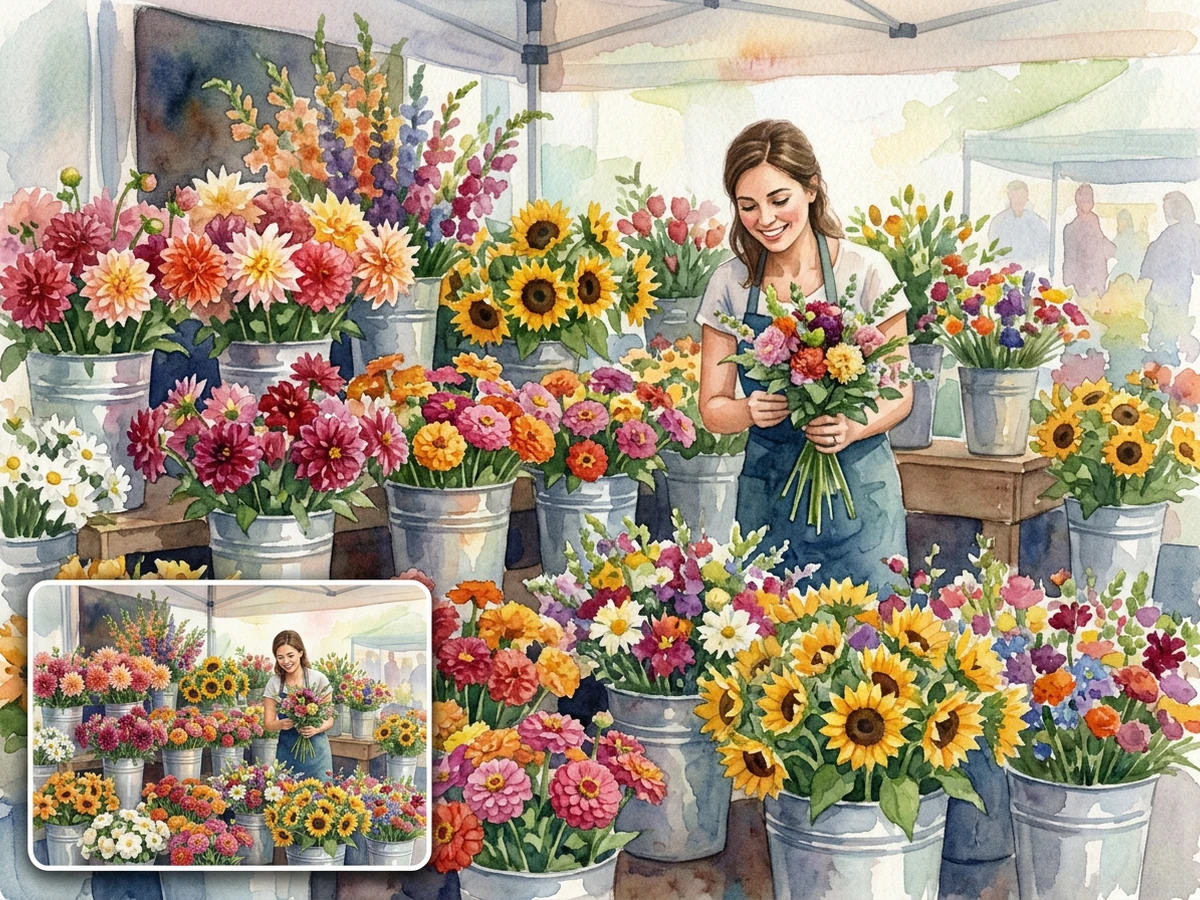
Make the Result Painterly without Losing the Subject
A useful photo into watercolor workflow changes photographic edges, color transitions, and surface texture while keeping the subject readable. Start with a sharp, well-lit image and name the look you want: translucent wash, paper grain, palette, and edge softness. Compare the result with the source before refining it. For a broader set of treatments, explore Image Effects or start a separate AI image generation task.
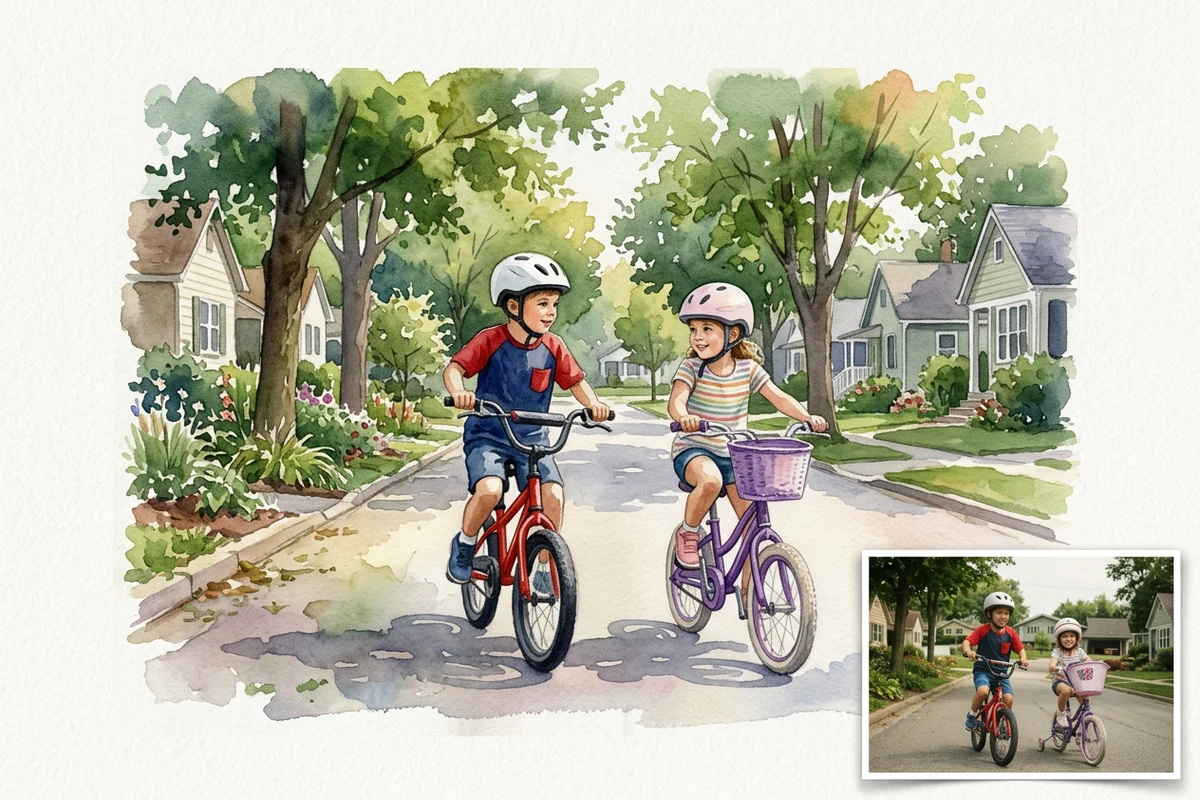
Start with One Clear Subject
The bicycle scene works because both children remain easy to identify against a simple leafy street. Choose a photo with clean light, a stable crop, and visible faces or defining features. If the source is soft, use Fix Blurry Pictures before asking the watercolor treatment to interpret missing detail.
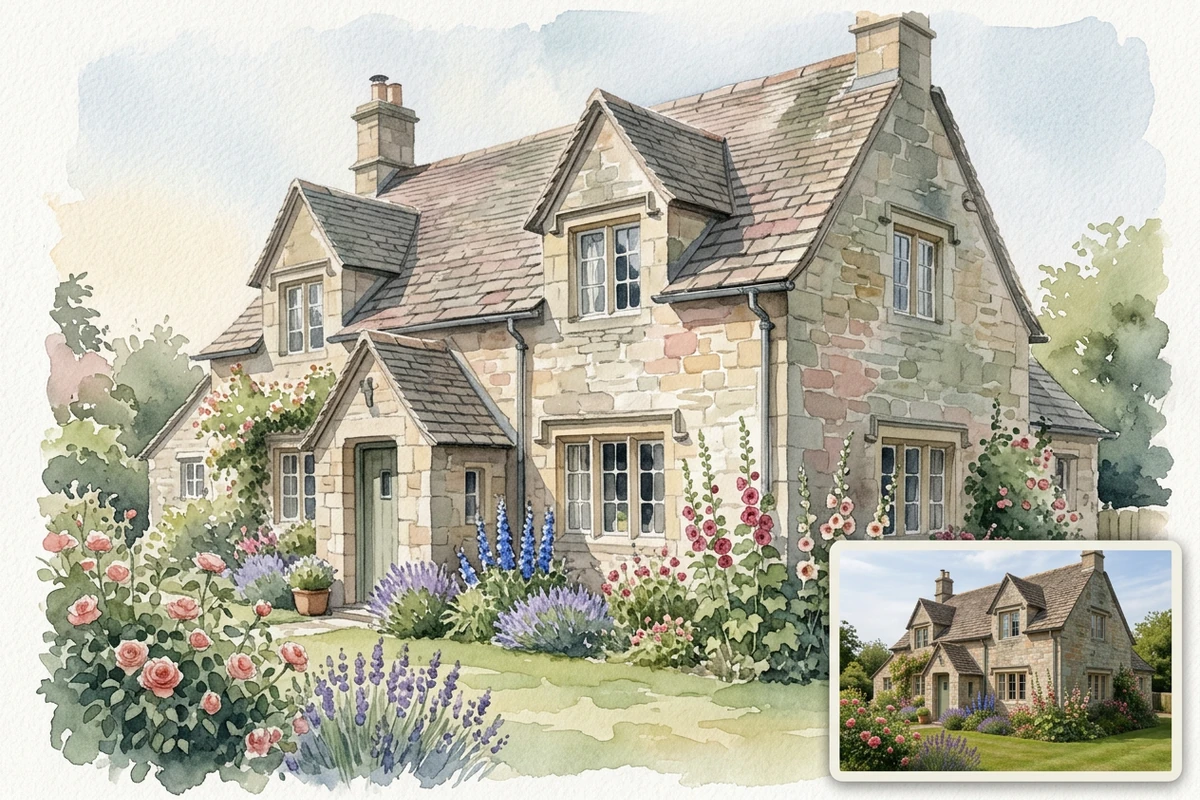
Describe the Watercolor, Not Just the Subject
For the stone house, specify a transparent botanical wash, cold-press paper grain, a restrained green-and-ochre palette, and crisp architectural edges. This four-part prompt gives Studio a clearer art direction than the word watercolor alone. Adjust color separately with Image saturation when that is the only remaining issue.
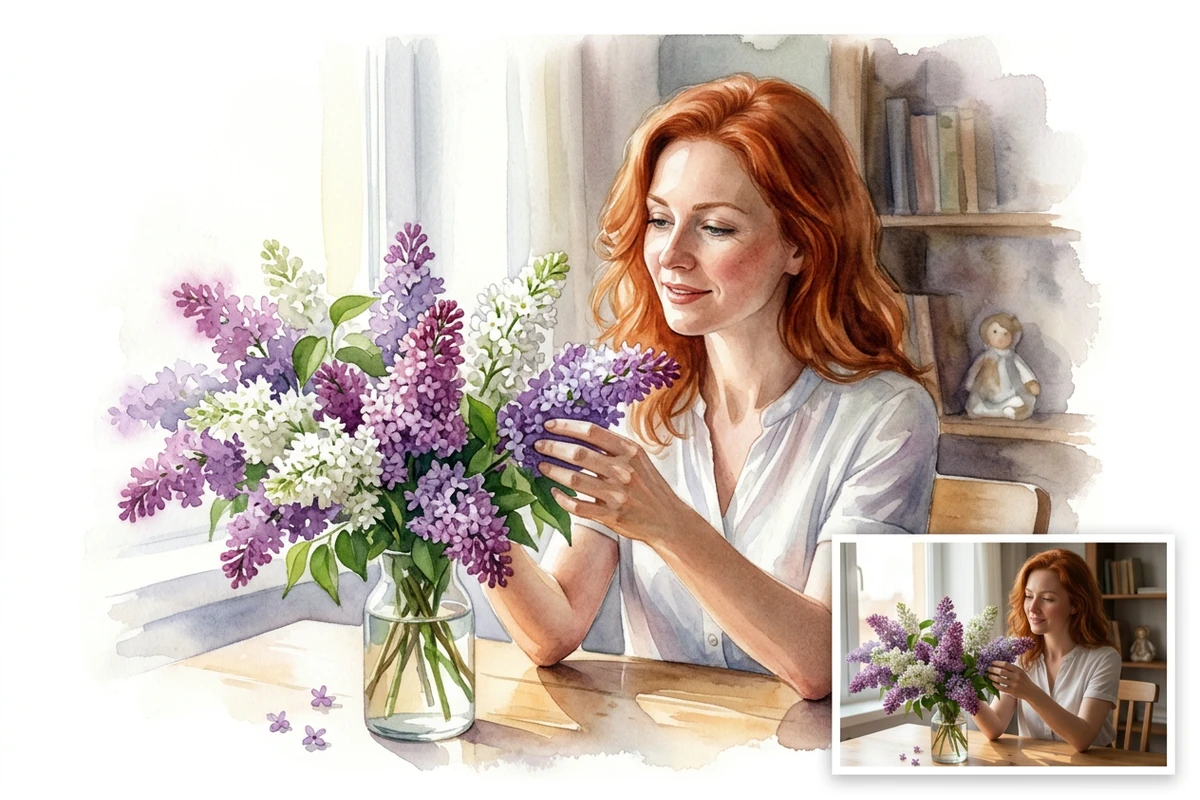
Review What Watercolor Naturally Softens
The lilac portrait keeps the woman and bouquet recognizable while letting the table, flowers, and background dissolve into looser pigment. Inspect eyes, hands, pet markings, building lines, and any tiny text before using the result. For a subject-specific animal workflow, continue with the AI pet portrait generator.
What you can do with Ottermind
Paint a wedding memory
Turn a meaningful couple or venue photo into a soft watercolor keepsake while preserving recognizable people and place.
Create a house portrait
Translate architecture, garden, season, and light into a gift-ready painting without losing defining structural details.
Make a travel print
Transform a landscape or street scene into layered washes that keep the destination’s landmarks and atmosphere readable.
Develop a portrait series
Apply a consistent palette, paper texture, and edge softness across family, pet, or team images.
Turn a Photo into Watercolor in 3 Steps
Step 01
Choose a Clear Photo
Upload one sharp image with a readable main subject, balanced light, and enough room around important edges. Avoid motion blur, crushed shadows, tiny faces, and text-heavy scenes.
Step 02
Create the First Painting
The page uses its prepared watercolor direction to create a starting result. Compare the subject, crop, palette, major shapes, and background separation with the original photo.
Step 03
Refine One Variable
Continue in Studio and change one quality at a time: wash transparency, paper texture, palette, or edge softness. Preserve the approved subject and composition while correcting a specific mismatch.
Why creators choose Ottermind
Source Comparison
Keep the original beside the watercolor result while checking identity, crop, and major shapes.
Specific Art Direction
Describe wash, paper, palette, and edges instead of relying on one vague style word.
Focused Refinement
Correct one mismatch at a time while retaining the parts of the painting that already work.
Project Context
Keep source files, decisions, preferred treatments, and feedback organized around the creative task.
Adjacent Photo Work
Correct source-photo distractions before applying the watercolor direction, then compare the transformed image with that approved source.
Human Review
Inspect faces, hands, markings, geometry, and text before sharing, printing, or animating the image.
Frequently asked questions
What Kind of Photo Works Best for Watercolor?
Use a sharp, well-lit image with one readable subject and a clean silhouette. Portraits, pets, buildings, flowers, and travel scenes can all work. Busy backgrounds, motion blur, tiny faces, deep shadows, and text-heavy compositions give the watercolor interpretation less reliable detail to preserve.
How Do I Write a Better Watercolor Prompt?
Name four things: wash, paper, palette, and edges. For example, request translucent wet-on-wet washes, cold-press paper grain, a muted botanical palette, and crisp edges around the face. The How to Write AI Prompts That Actually Work can help structure more detailed creative directions.
How Do I Keep a Face Recognizable?
Start with a front-facing or three-quarter portrait in even light, then explicitly preserve the eyes, face shape, expression, hairline, and pose. Compare the result with the source. If one feature changes, refine that mismatch before changing the palette, background, or brush treatment.
Why Did Small Details or Text Become Soft?
Watercolor styling often emphasizes washes, paper texture, and softened edges, so tiny lettering, distant faces, fine architecture, and intricate patterns need close review. Use a simpler crop or preserve critical edges explicitly. For finished lettering, handle that separate task with Image Text Editor.
Can I Make a Pet, House, or Landscape Watercolor?
Yes, these subjects suit the same photo into watercolor workflow when the source is clear. Preserve pet markings, keep a building's roofline and windows readable, or specify the horizon and focal point in a landscape. Review those subject-specific anchors before judging the looser background wash.
What Should I Check before Sharing or Printing?
Confirm your right to use the source, then inspect faces, hands, pet markings, building geometry, text, logos, crop, and output dimensions. Approve the still image first. If you want motion afterward, carry the accepted artwork and its constraints into Image to Video.
Discover more
AI Product Image GeneratorGemini Watermark RemoverImage TranslatorPicture Outline MakerPhoto RetouchingPhoto to Anime ConverterReplace Color in ImageResume Photo EditorWatermark RemoverAI Resume BuilderAI Receipt TrackerPC Builder AIAI Logo GeneratorAI Brochure MakerAI Menu GeneratorAI Quote Generator
More from the blog




Create a Watercolor That Keeps the Story
Upload a clear photo, compare the first painting with the source, and refine the wash, paper, palette, and edges while the creative context stays together.
Create Watercolor