Starting point
- Manual or template-based workflow
- Choose a template and fit each menu section into its existing structure.
- Ottermind AI menu generator
- Describe the service format, paste the approved content, and specify the design direction together.
Create a restaurant menu design from your item list, exact prices, and brand references. Describe the format you need, generate a first draft in Studio, and refine it while keeping every customer-facing detail under review.
Combine a complete brief, visual references, conversational revision, and a final accuracy check.
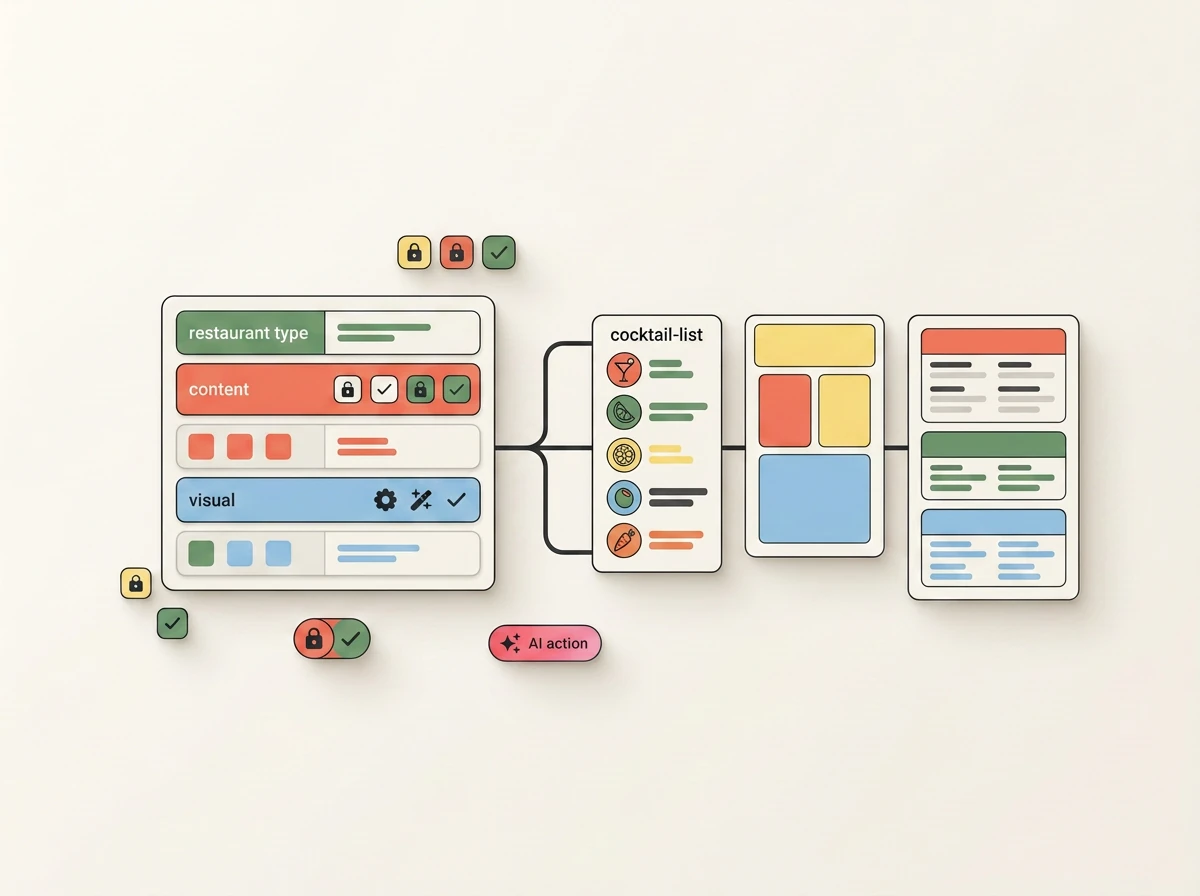
Describe the restaurant, content, orientation, and visual direction together instead of forcing the job into a generic template. A cocktail list can prioritize ingredients, while a counter menu can emphasize sizes. The design responds to the brief, but your approved list remains the authority for customer-facing details.
The visual menu is created with Ottermind's AI image generator, giving you room to explore a complete composition instead of assembling a fixed template block by block.
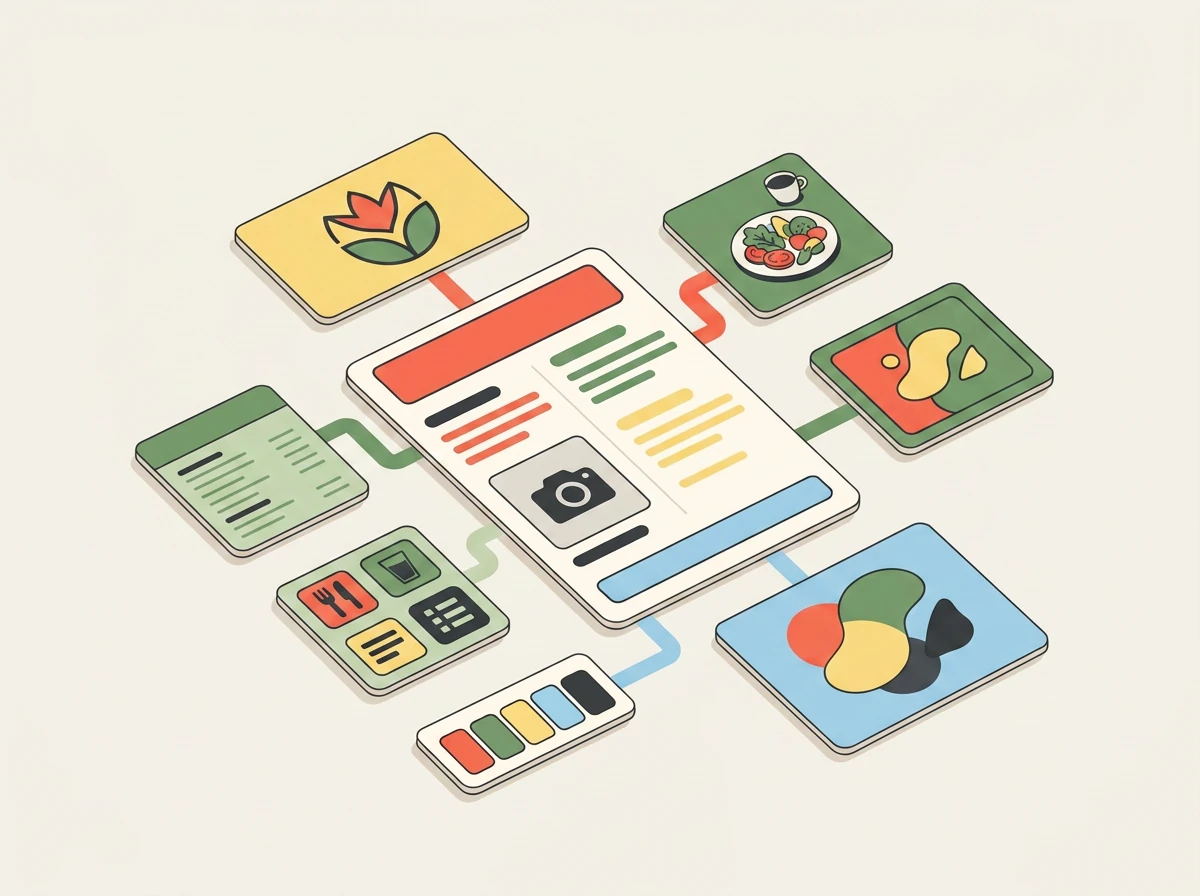
Attach a logo, existing menu, food photo, brand guide, or visual reference and explain what each file should influence. This gives the restaurant menu generator more context than a style label alone. Generated placement and reproduction can still vary, so review the logo, colors, typography, imagery, and location-specific details before use.
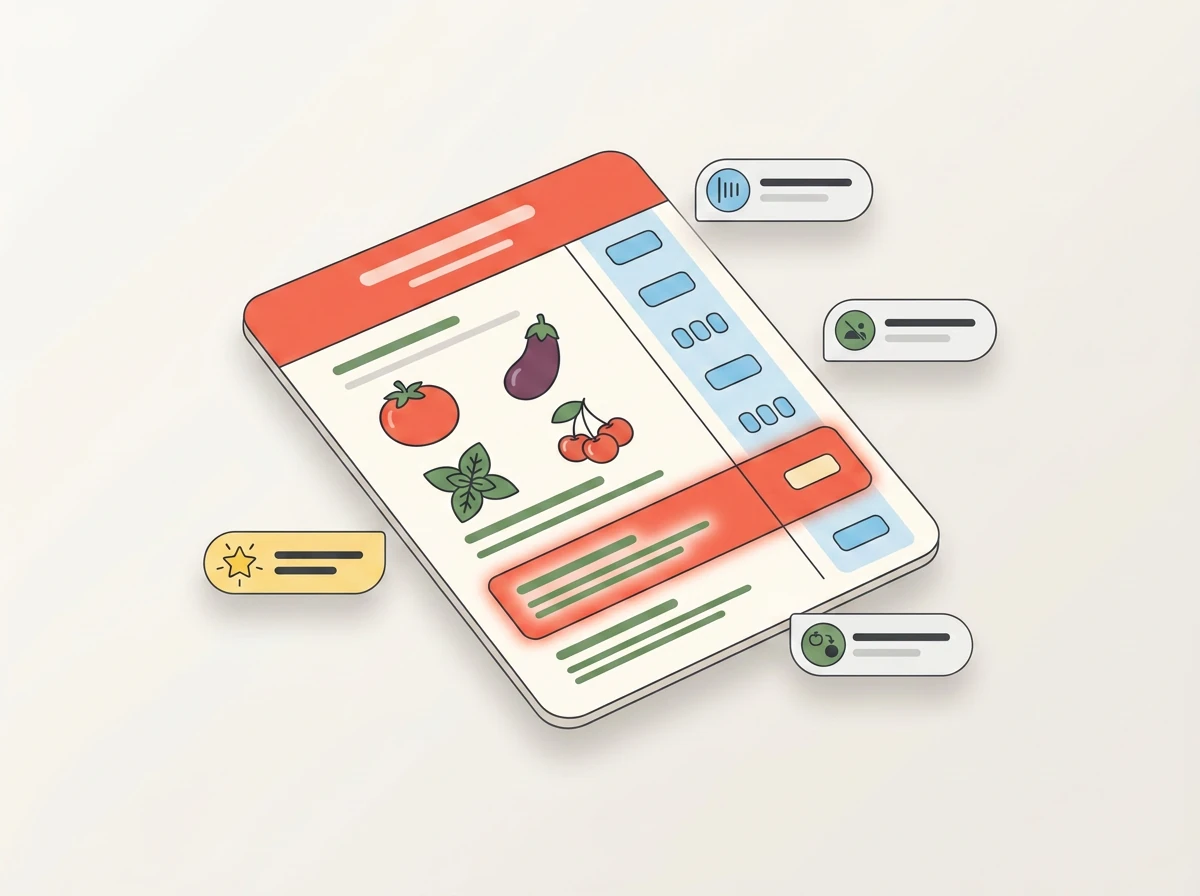
Ask for focused changes to hierarchy, color, imagery, spacing, or wording without rebuilding the brief. Make prices easier to scan, reduce decoration, or emphasize a seasonal section in the same conversation. This is conversational revision, not a drag-and-drop or element-level editor.
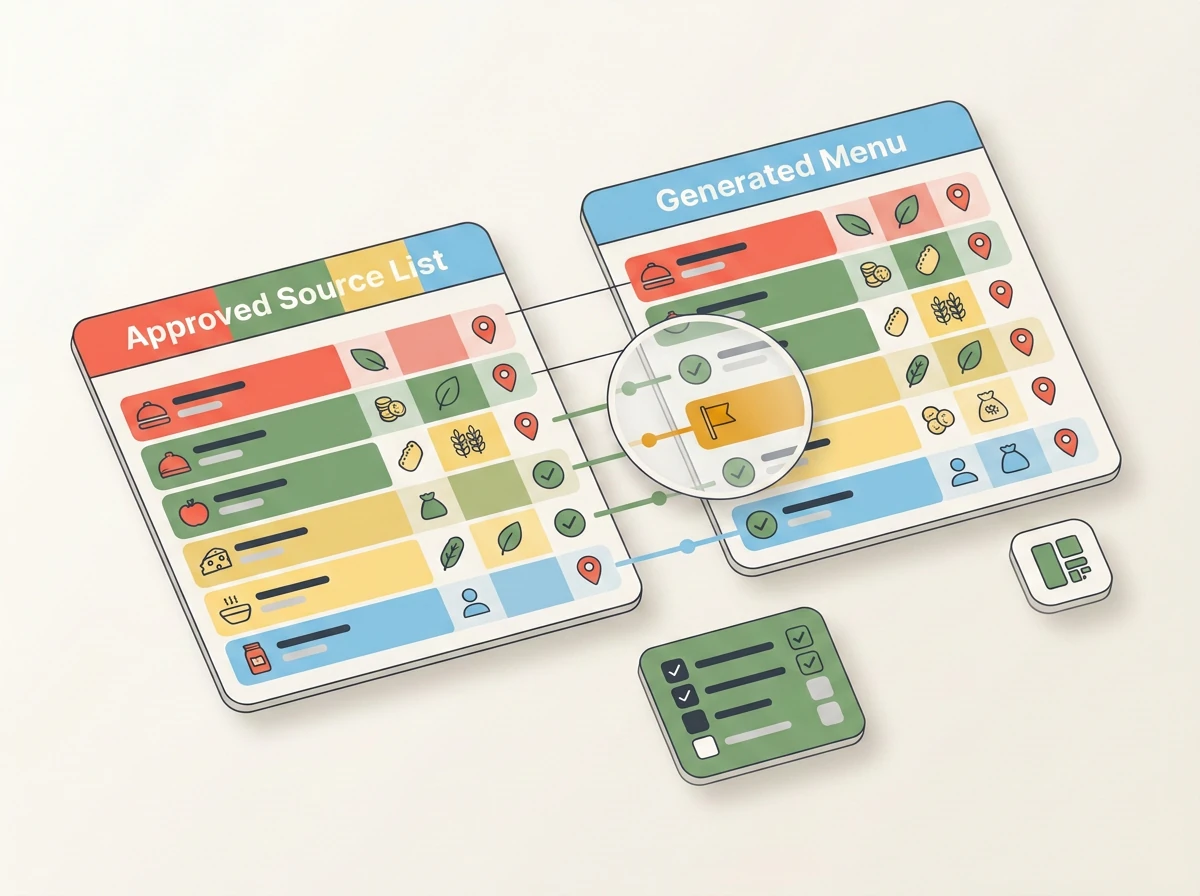
AI typography can change names, prices, currency, ingredients, or labels even when the overall design looks polished. Compare the generated menu with the source list and correct every error. A dedicated layout or production tool is the better final step when direct element control, accessibility testing, or exact print files matter.
For the brief behind the design, use our practical AI prompt guide. For the broader campaign stack around menus and restaurant launches, compare the best AI tools for marketing teams.
Both workflows need accurate source content and final approval. They differ in how the first design is created and revised.
Use the AI menu generator when approved content needs a visual direction for a specific service setting.
Organize starters, mains, tasting courses, sides, desserts, and service notes into a dining-room menu that reflects the concept and the pace of service.
Make drink sizes, modifiers, breakfast items, pastries, preorder details, and prices easier to scan on a counter board, printed sheet, or mobile graphic.
Structure cocktails, ingredients, measures, wine vintages, beer, spirits, zero-proof drinks, and approved notices without losing important product details.
Create a visual draft for packages, stations, set menus, upgrades, dietary labels, and event-specific pricing, then verify it against the approved proposal.
Add the business name, service type, sections, exact item names, approved descriptions, prices, currency, orientation, and visual direction. Attach a logo, existing menu, food photo, or brand guide when it provides useful context. Include allergens, ingredients, taxes, and required notices only when they come from an approved source.
Your prompt and references continue to the design scene in Studio. The AI menu generator uses the complete brief to create a visual direction for the supplied content. Studio handles sign-in, plan eligibility, generation, and the options available to your account; the result is not created synchronously on this marketing page.
Compare the generated menu with the source list line by line. Request focused changes to typography, colors, hierarchy, imagery, spacing, or wording, then check the revised version again. Confirm the download options available in Studio. Move the approved design into a production tool when exact dimensions, bleed, CMYK color, or editable source files are required.
Practical answers for creating and publishing a restaurant menu with AI.
An AI menu generator turns supplied restaurant information and visual direction into a menu design draft. It can organize sections, establish hierarchy, and explore a branded direction for a restaurant, cafe, bakery, bar, or event. The result still needs to be checked against the approved menu source.
Include the business name, menu type, service context, sections, exact item names, approved descriptions, prices with currency, sizes, modifiers, required labels, orientation, and visual direction. State what must remain unchanged. Add a logo, current menu, brand guide, or food photography when those references should guide the design.
Yes. Add supported file references through the prompt flow and explain how each should influence the result. For example, identify the official logo, name the colors to retain, and distinguish a layout reference from a food image. Review logo reproduction, placement, colors, typography, and imagery because generated results can vary.
You can request changes to typography, colors, composition, imagery, section emphasis, spacing, and wording in Studio. Make one focused revision at a time when accuracy matters, then compare the complete result with the source again. This page does not claim a drag-and-drop editor; use a layout tool when you need direct control over every object.
You can ask the AI menu maker to explore a concept from a short description, but generated dish names, descriptions, prices, ingredients, and dietary labels are drafts rather than approved business data. For a menu you plan to publish, supply the exact customer-facing content and ask the model to flag gaps instead of filling them silently.
Yes. Attach the existing menu in a supported format, explain what content must stay unchanged, and describe the new hierarchy or visual direction. Treat the original approved list as the source of truth. Compare the redesign with it line by line because the AI menu generator can change text during a visual task.
This page makes no free or no-sign-up promise. You can prepare the brief on this page, but generation continues in Studio. Studio handles authentication, plan eligibility, and any credit requirement associated with the method available to your account.
Confirm the current download options in Studio for the selected method and account. Do not assume the result includes an editable source file, layered layout, or print-ready PDF. Before printing, verify every line of text as well as resolution, dimensions, color mode, margins, bleed, safe areas, paper choice, and the printer's production requirements.
Use a clean source list, include currency on every price, keep each modifier next to its item, identify exact wording, and ask the model not to invent missing values. After generation, compare names, descriptions, prices, currency, allergens, and required notices line by line. Correct every error and repeat the check after each substantial revision.
It can create a visual menu or menu graphic. This page does not claim a QR ordering system, hosted digital menu, POS connection, payment flow, inventory link, automatic price update, or live menu synchronization. Use the appropriate commerce or menu-management system when customers need to place orders or see operational data that changes in real time.
Bring the item list, exact prices, service format, and brand references you already have. Use the AI menu generator to create a first design in Studio, refine the hierarchy and style, and review every customer-facing detail before publishing or printing.