AI Clothing Changer
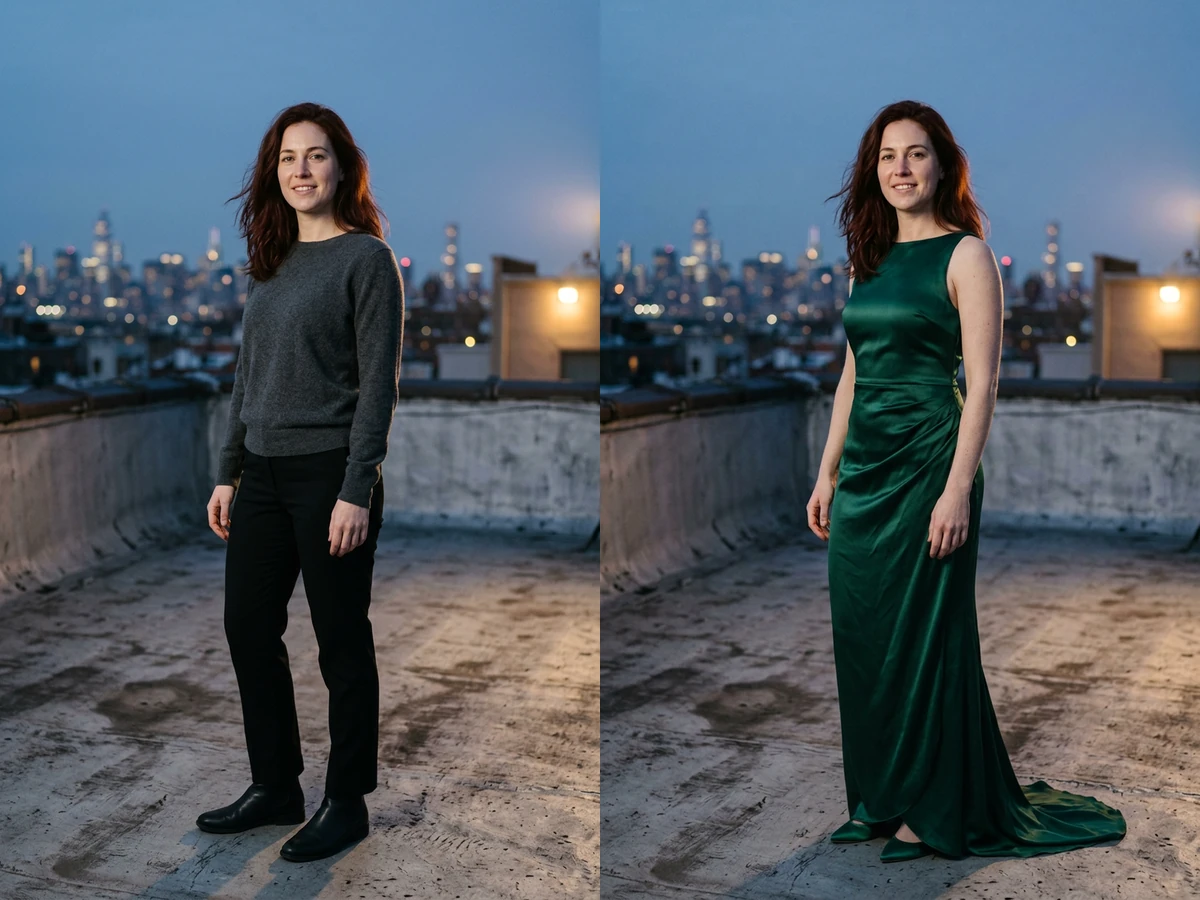
Upload a photo, describe the outfit you want, and compare the result with your original, then refine the fit and details in Studio.
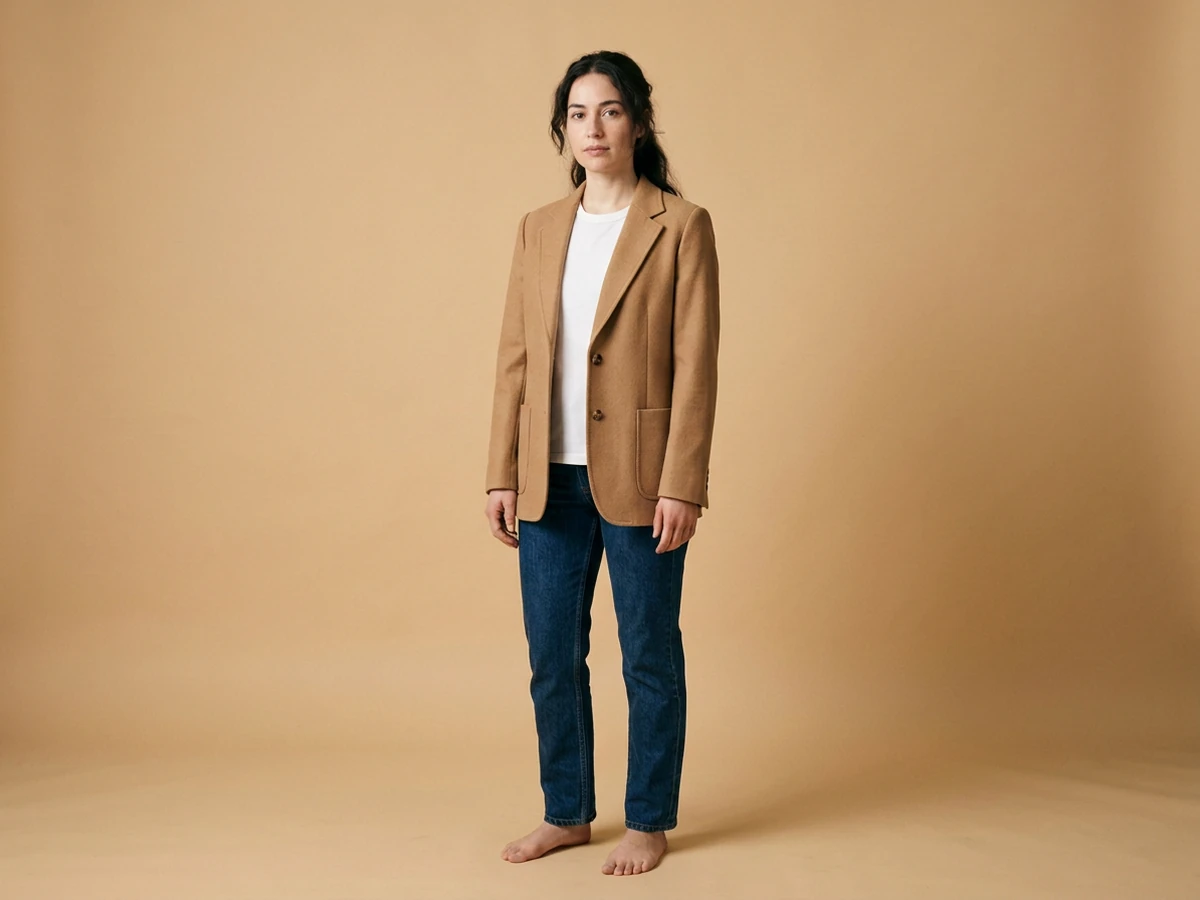
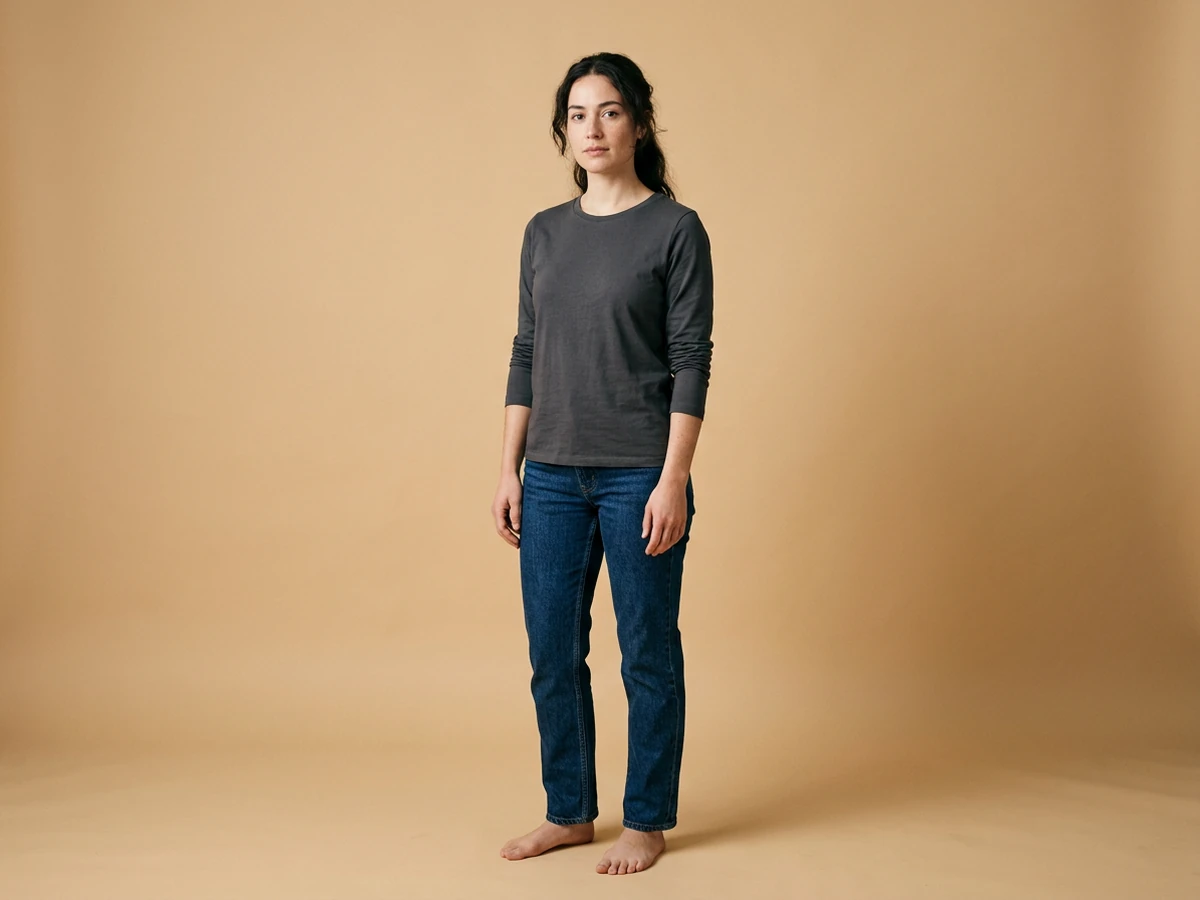
Drag an image here or click to upload


Explore image transformation styles
Explore a range of image transformations and find the look that fits your idea.
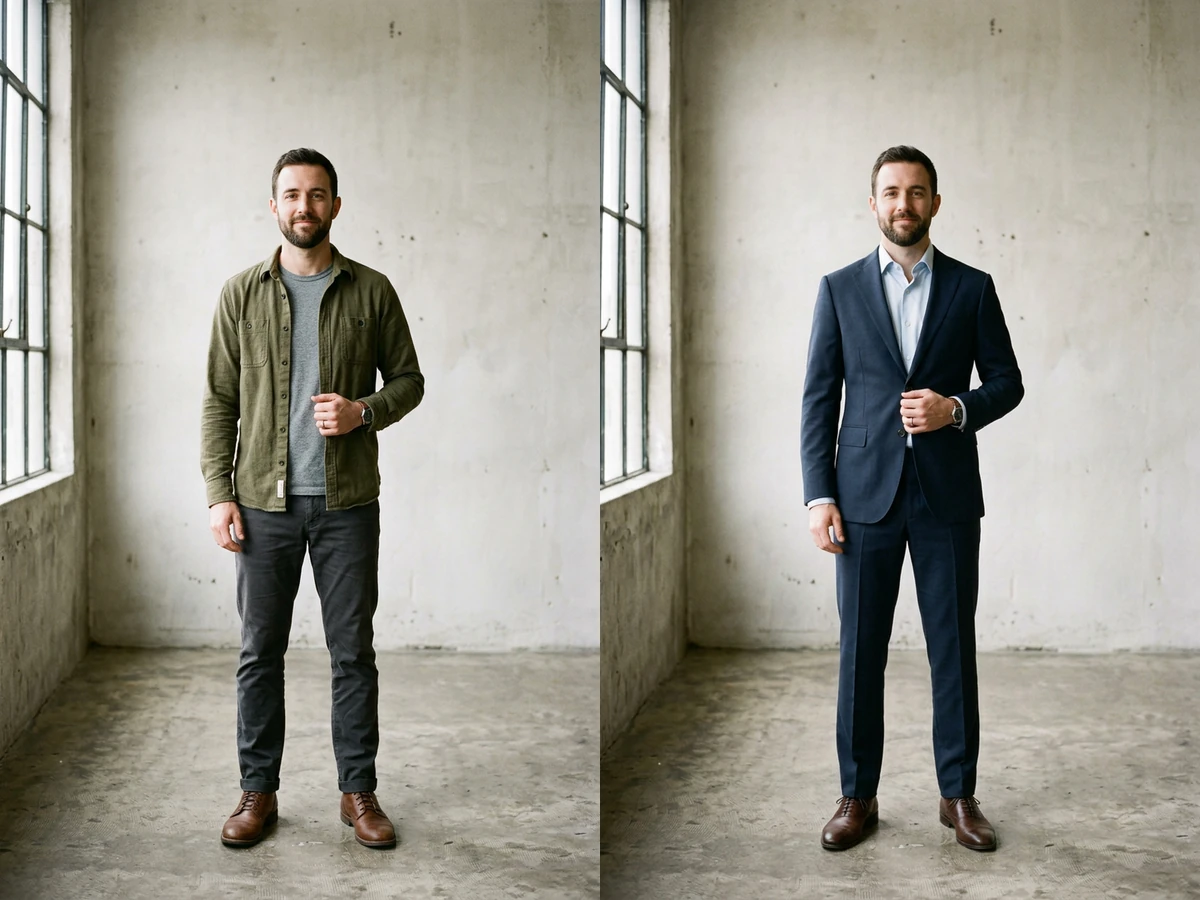
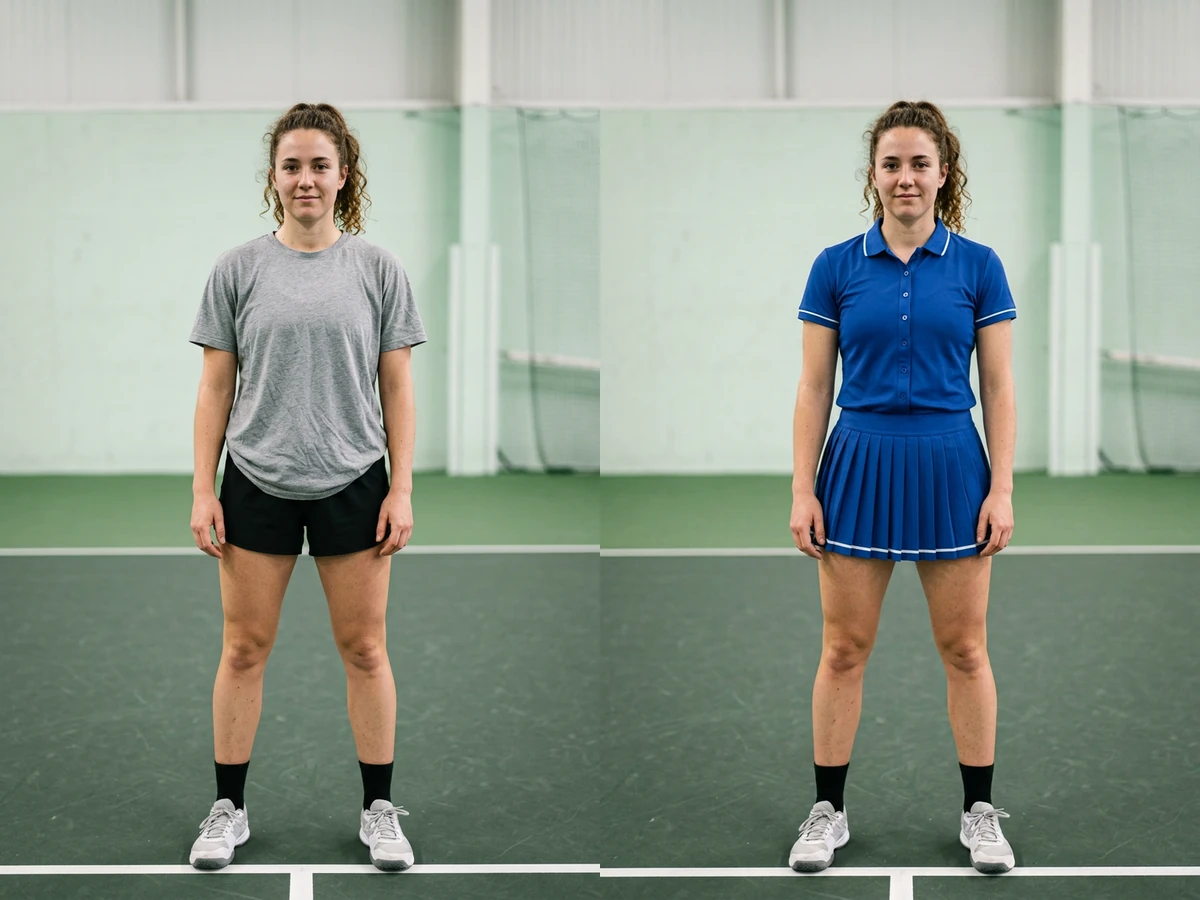
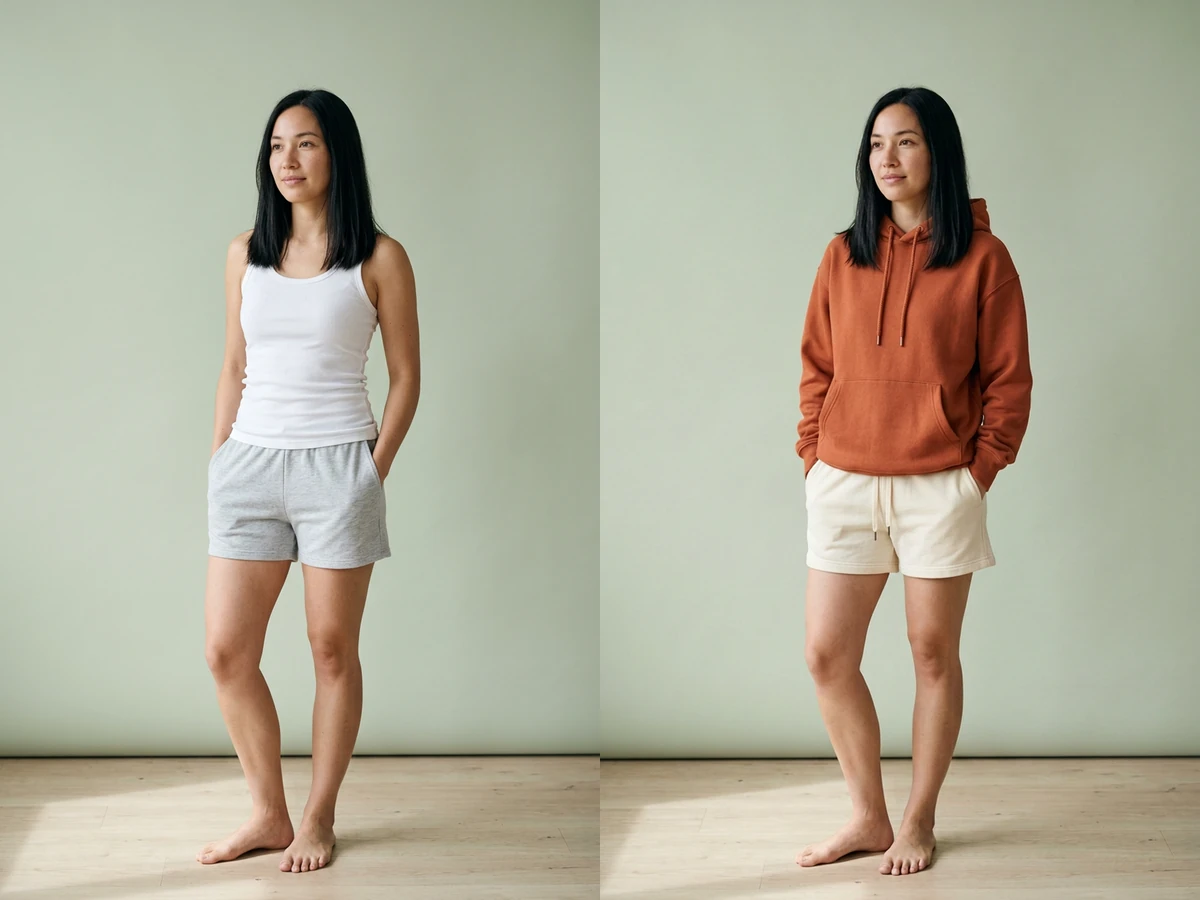
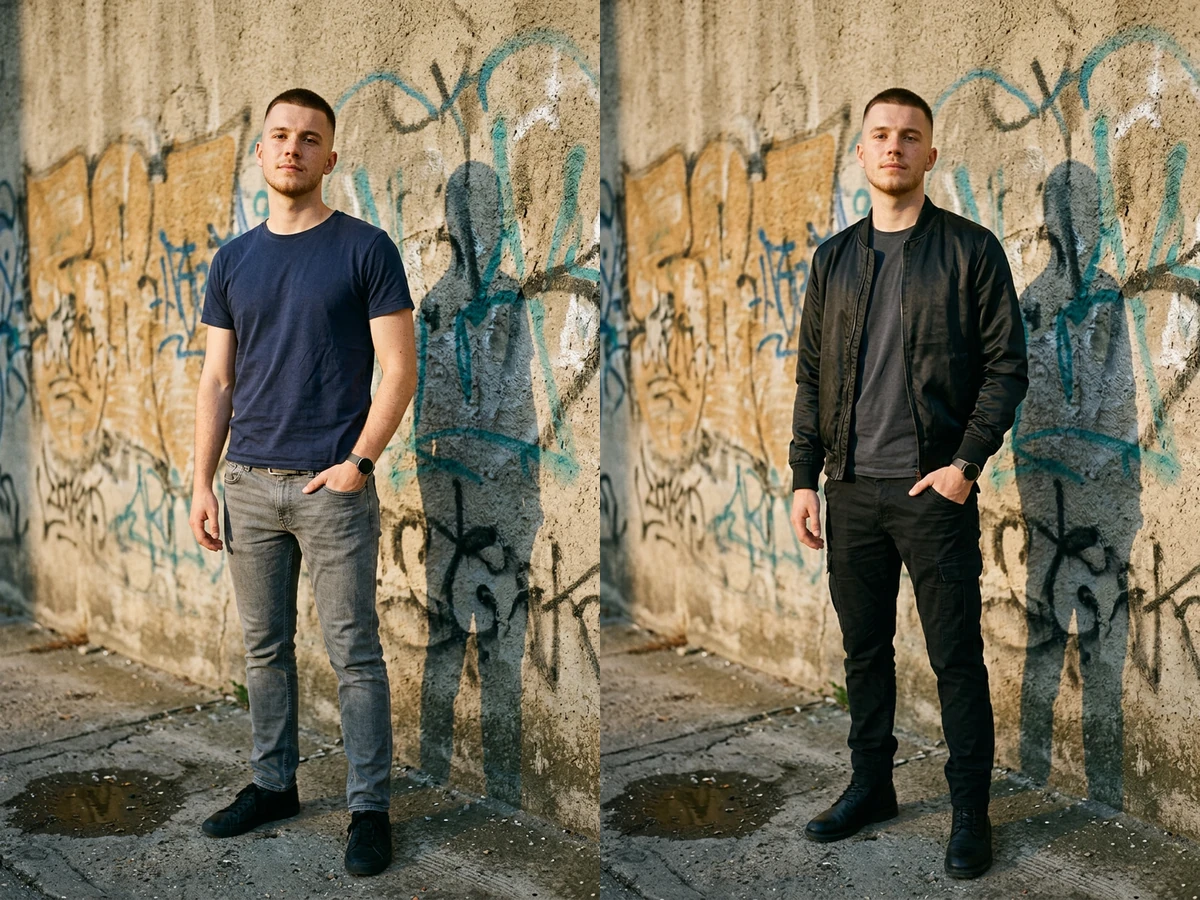
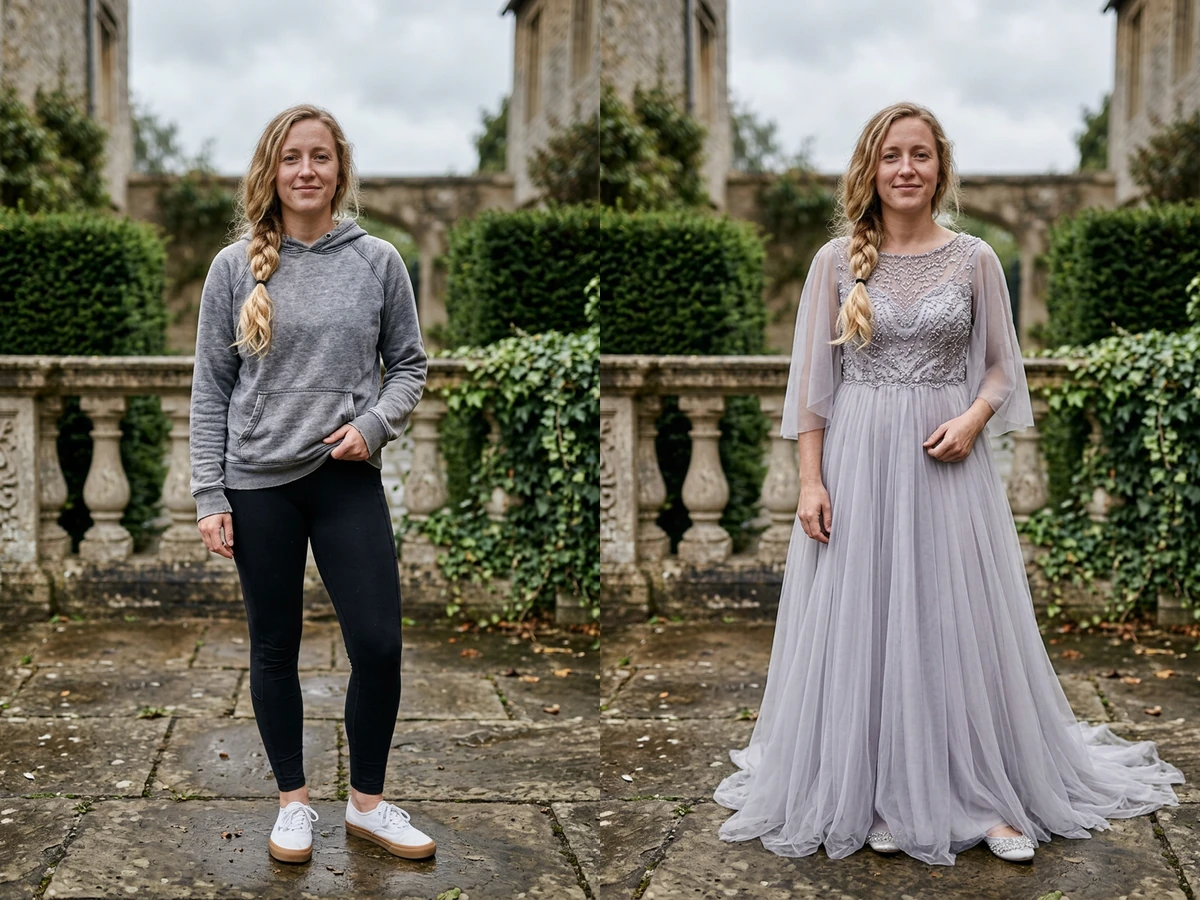
Change the Outfit Without Redrawing the Person
An AI clothing changer edits the clothes already in your photo instead of generating a new picture around them. Upload one image, name the garment you want, then state what must not move: face, hair, pose, hands, background. That second instruction carries more weight than the outfit description, because an unconstrained edit redraws the whole frame. Compare the result with your source, then correct one mismatch at a time in the AI Photo Editor.
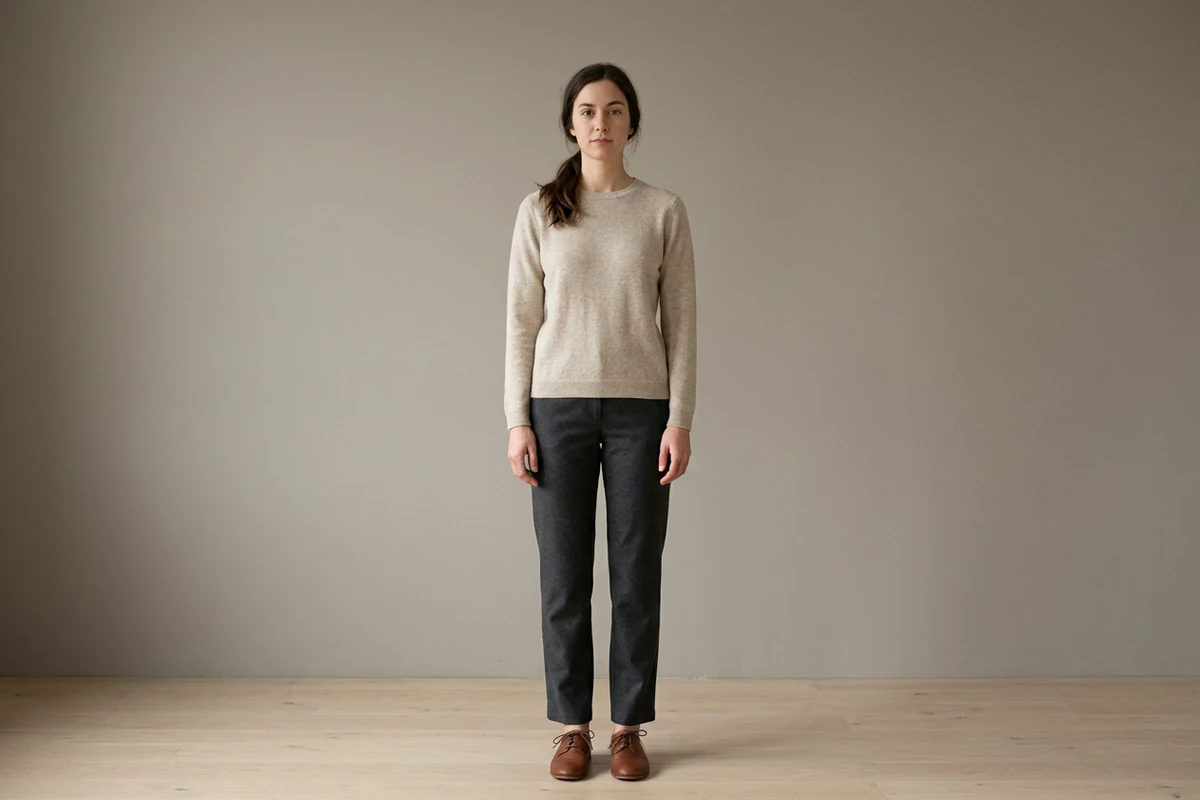
Start From a Photo You Can Judge
Even light, a plain background, and the whole outfit inside the frame give an edit clean edges. Keep arms away from the torso so the garment silhouette stays readable. Cropped hands, deep shadow, or blur near the hem turn into visible errors. If the source is dull or noisy, clean it with Photo Retouching first.
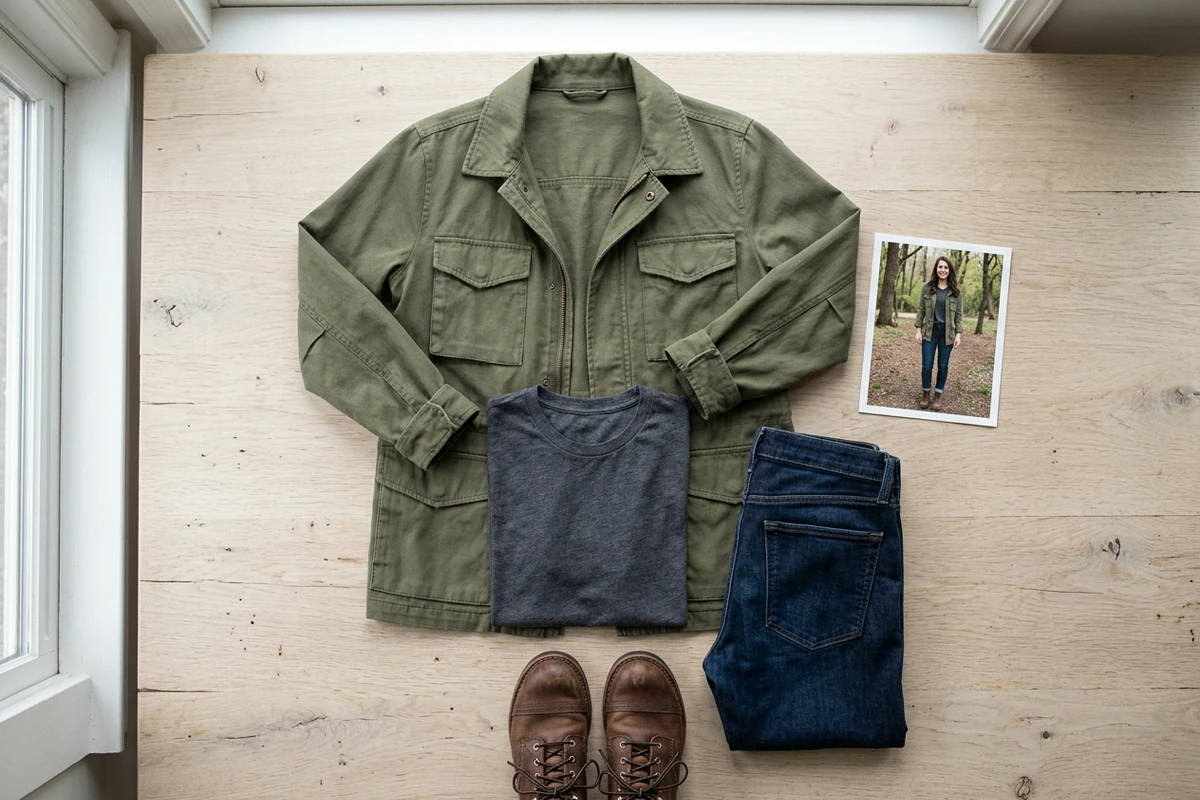
Write a Garment Brief, Then a Preservation Line
Name garment type, fabric, color, fit, and length. "Olive cotton field jacket, boxy, hip length, buttoned" gives the edit something concrete to build. Then add the anchor: keep face, hair, pose, hands, and background unchanged. Change one area per pass, and use the How to Write AI Prompts That Actually Work to keep each instruction short.
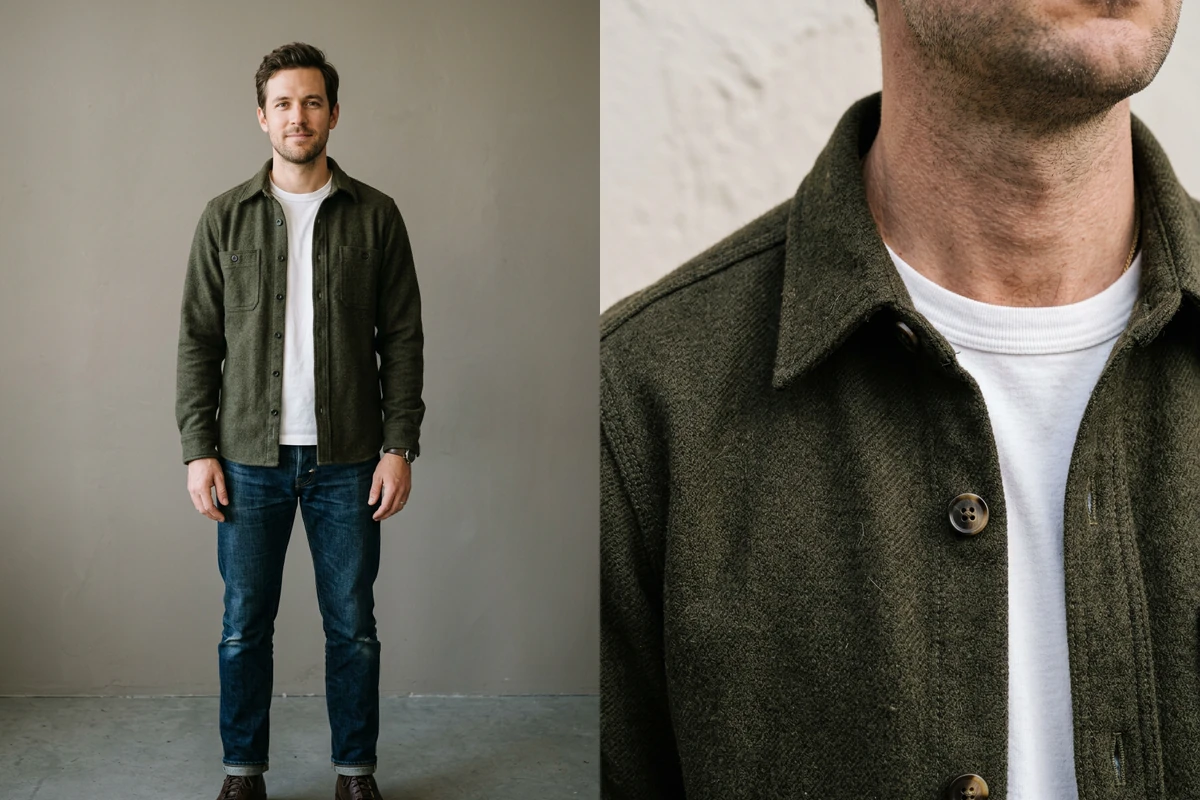
Review Fabric and Fit at Full Size
Open the result at full size and inspect the collar, sleeve length, buttons, shoulder seam, and fabric weight. Check where skin meets the new color, then check what should not have changed: hands, shoes, background lines, floor shadow. Fix one fault in the AI Image Editor and compare again instead of restarting.
What you can do with Ottermind
Test a silhouette before ordering
Try a dress, blazer, or coat shape on a photo of yourself so a size chart is not your only evidence.
Refresh a profile portrait
Swap a casual tee for a collared shirt while keeping the face and background people already recognize, or pass the result to Resume Photo Editor when the portrait is for an application.
Plan a costume or character
Preview a fantasy or period silhouette on your own frame before buying fabric or booking a fitting.
Build a week of outfit posts
Generate several outfit directions from one shoot, then keep the versions that hold up at full size.
Change an Outfit in Three Steps
Step 01
Choose a Readable Photo
Upload one clear frame with even light, a plain background, and the full outfit visible. Arms away from the torso and hands inside the frame give the edit clean edges to work with.
Step 02
Name the New Outfit
Describe garment type, fabric, color, fit, and length, then list what must stay: face, hair, pose, and background. The example prompt above follows that order.
Step 03
Compare, Then Refine
Place the result beside your source and inspect collar, sleeves, buttons, hands, and shoes. Change one variable per pass and keep the version that reads correctly.
Why creators choose Ottermind
Garment Before Mood
Name the garment, not the vibe, so the edit has a tangible shape to build.
Source Beside Result
Your original photo stays visible while you check identity, pose, and background.
One Change Per Pass
Correct a single mismatch and keep the version that already reads correctly.
Start Without an Account
The public experience opens without signing in and includes a limited number of free rounds.
Project Context Kept
Source images, prompts, and approved results stay together for the next outfit you test.
Stated Limits
A described outfit will not reproduce a product exactly; for a real item, use AI Product Image Generator.
Frequently asked questions
Is an AI clothing changer the same as virtual try-on?
Virtual try-on fits a specific garment photo onto a model. This page changes the outfit already in your picture from a written description, so the result resembles the garment you describe rather than reproducing a product exactly.
What should I avoid in the source photo?
Avoid cropped hands, deep shadows, heavy blur, and busy patterns near the hem. Arms pressed against the torso hide the garment edge, and a tilted camera makes the new outfit sit at the wrong angle.
Will my face and body stay the same?
They are anchors, not guarantees. State them in the prompt, keep the camera angle unchanged, and compare at full size. Identity drift, a redrawn hand, or a shifted background line means the edit went too far.
Can I change clothes to a suit for a resume photo?
You can direct a suit, but most application and ID rules forbid retouching the face. For a job portrait, start from Resume Photo Editor so framing and background suit that destination.
Can I try it without signing in?
Yes. The public experience works without an account and includes a limited number of free trial rounds, with account credits and plan limits applying afterward. If a hairstyle is next, run it as its own pass in AI Hairstyle Changer.
Why did the shoes or background change too?
Broad instructions invite a full redraw. Limit the request to the garment, repeat the list of details that must stay, and correct the largest fault first. A wider edit belongs in AI Photo Editor instead.
Discover more
AI pet portrait generatorFix Blurry PicturesGemini Watermark RemoverImage Text EditorImage TranslatorPicture Outline MakerPhoto into WatercolorPhoto to Anime ConverterConvert Photo to Oil PaintingPhoto to SketchReplace Color in ImageWatermark RemoverAI Resume BuilderImage to PromptHalloween MakeupMeme Video Generator
More from the blog
Change the Outfit, Keep the Person
Upload a clear photo, describe the garment and the details that must stay, then compare the result with your source before refining it in Studio.
Change My Outfit