Cursive Generator

Turn any text into a handwritten visual with natural ink strokes. Choose the style, texture, color, and composition. Keep the lettering on its own or build it into symbols, graphics, and lifelike scenes for any project.

What do you want to turn into cursive?

From Handwritten Text to Complete Visuals

Start with the stroke, then add a symbol, integrate graphics, or place the words in a lifelike scene. These examples show the possibilities, not the limits.

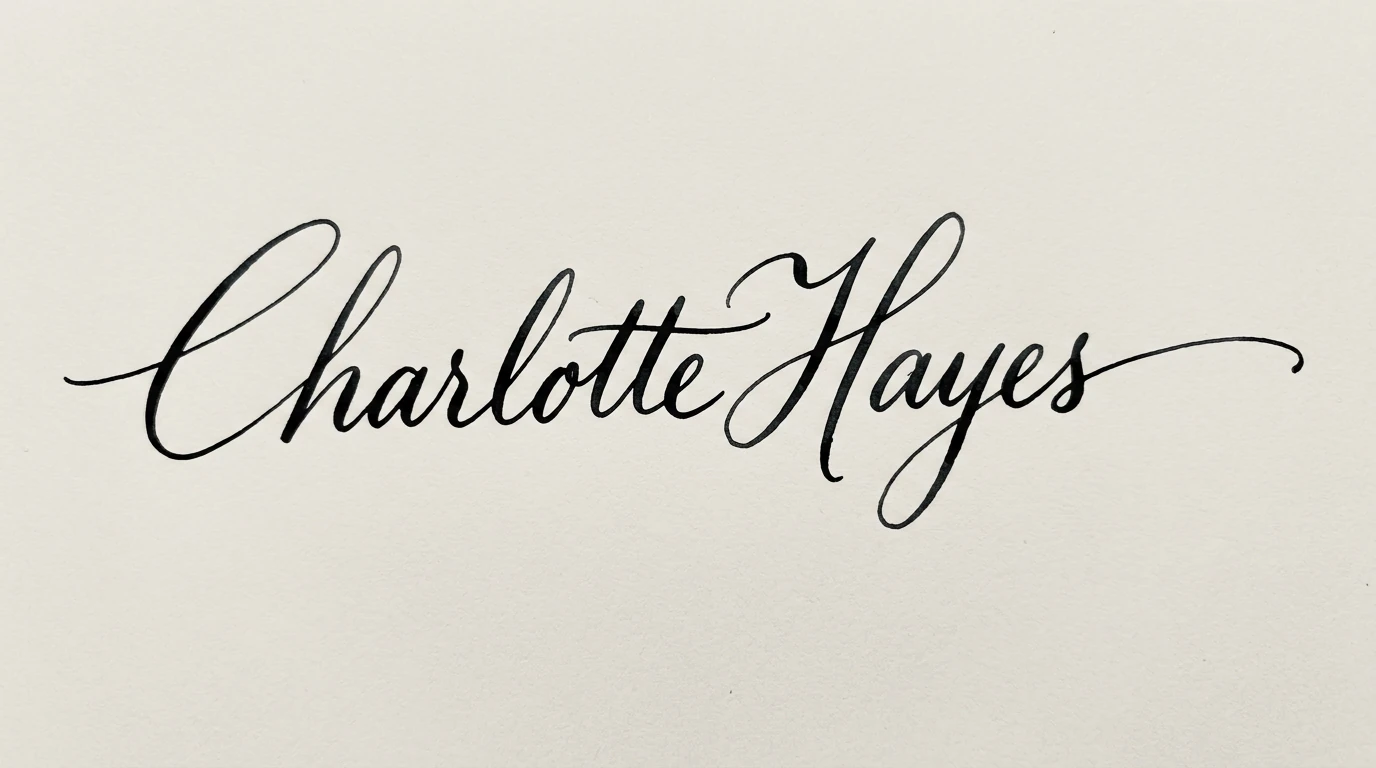
Charlotte Hayes in elegant black cursive handwriting on textured white paper

01

Start with the Handwriting: A Signature

Start with any name, word, or phrase and shape its rhythm, pressure, and finish into a handwritten mark. A signature is one example of how a clean stroke direction can give text a distinct visual voice before any symbol or scene is added.

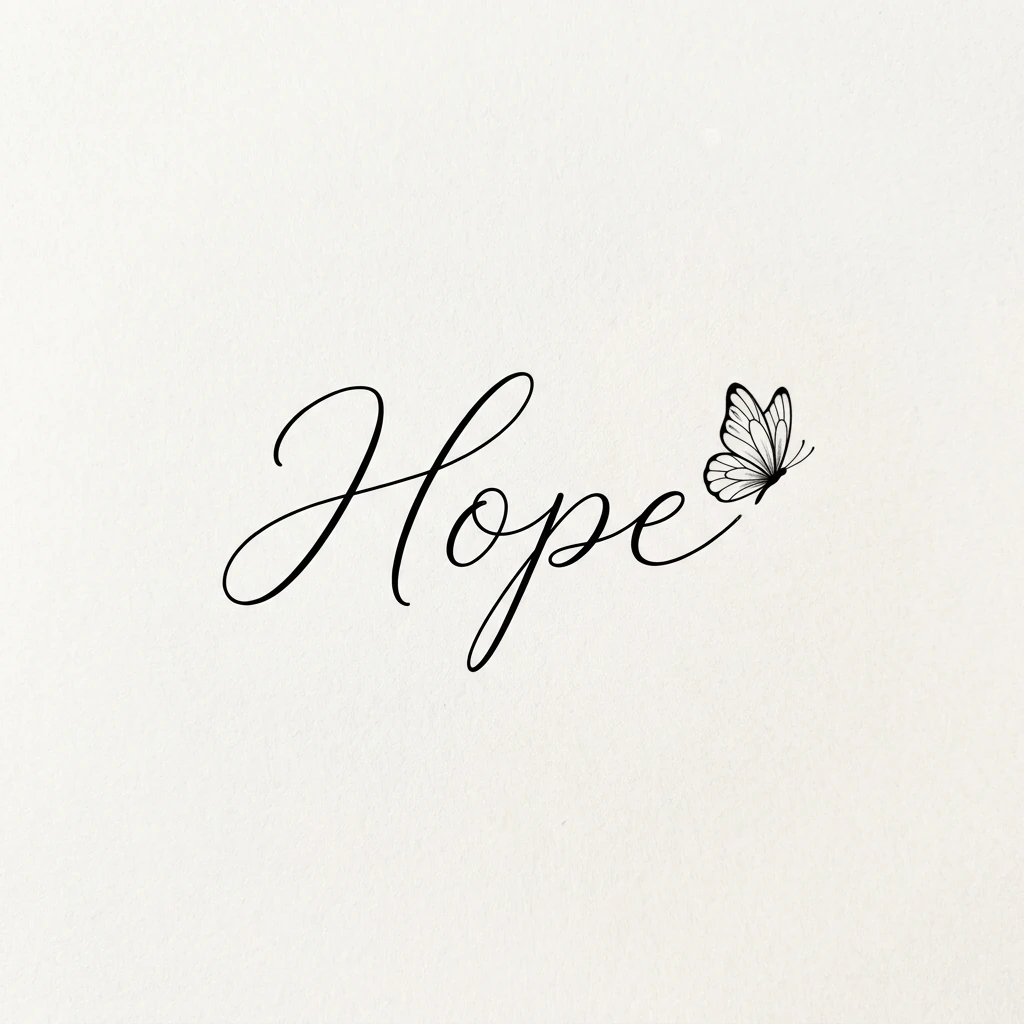
Hope in delicate black cursive lettering with a small butterfly illustration

02

Add a Simple Symbol: Tattoo Lettering

Once the lettering works on its own, add a restrained symbol to reinforce its meaning. A tattoo concept shows how a small motif can support the words without taking over the composition; use Graphic Design AI to develop the surrounding layout further.

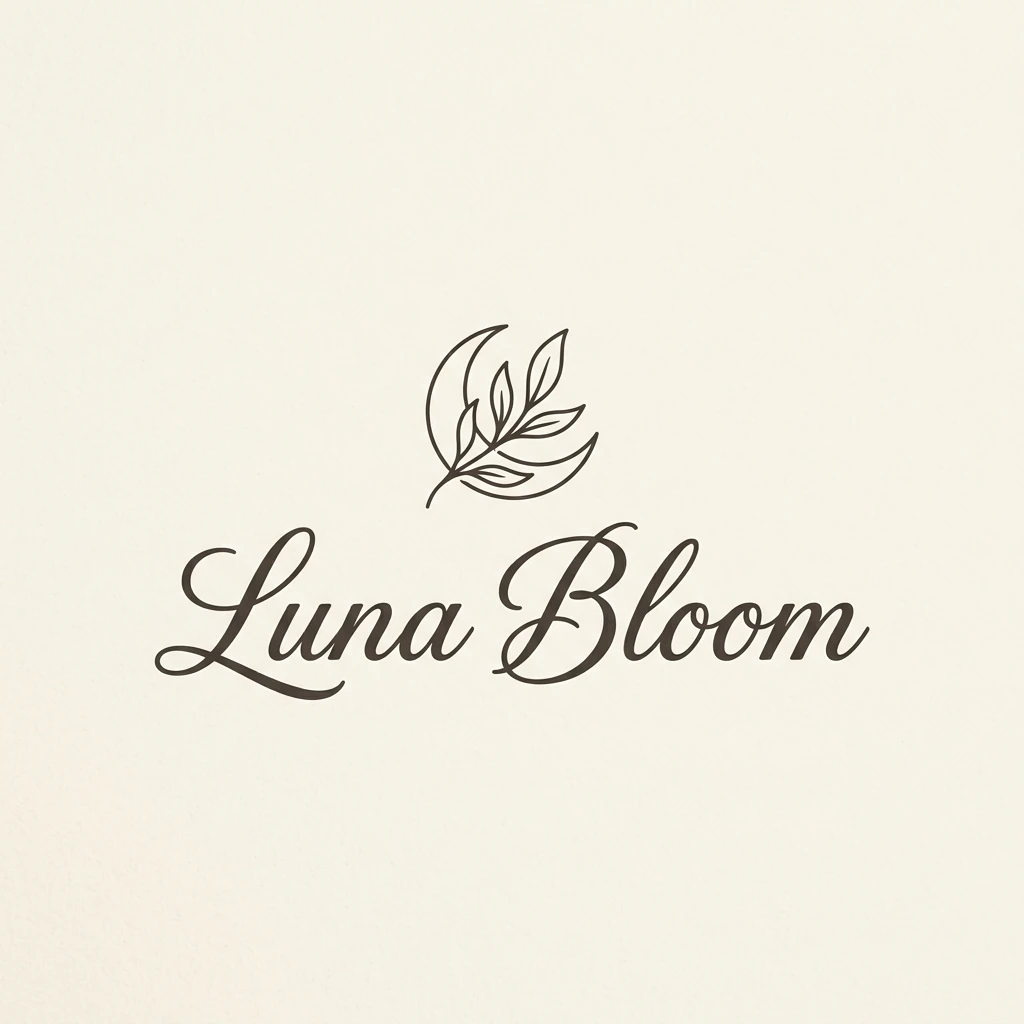
Luna Bloom cursive wordmark with a crescent moon and botanical leaf icon

03

Integrate Graphics: A Brand Logo

Take the lettering further by combining the handwritten wordmark with an icon, shape, or brand element as one visual system. A logo is only one route; explore broader identity directions with the AI Logo Generator.

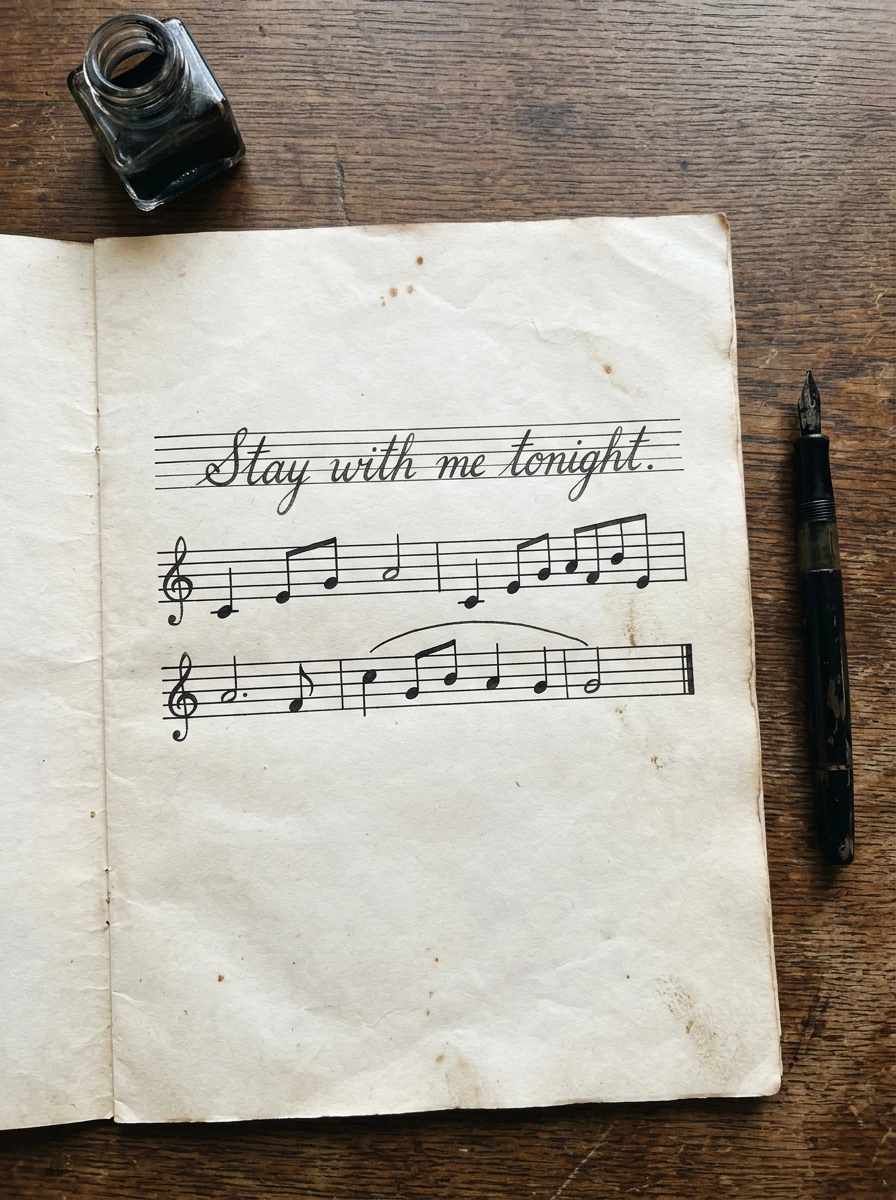
Stay with me tonight handwritten in cursive above musical notes on an ivory manuscript page

04

Build a Lifelike Scene: Handwritten Lyrics

Place the words inside a complete scene with paper, staff lines, notes, texture, and atmosphere. A handwritten music manuscript shows how lettering can become part of a believable visual world, with the surrounding materials carrying as much mood as the strokes.

How to Build a Handwritten Visual with AI

Step 01

Start with the text

Enter the name, word, phrase, or lyric exactly as you want it to appear. Keep the first pass focused on the letterforms and their natural stroke rhythm.

Step 02

Set the visual direction

Describe the pen or brush feel, pressure, mood, color, space, and intended use. Decide whether the lettering should stand alone or gain symbols, graphics, or a full scene.

Step 03

Refine one layer at a time

Review the text first, then adjust spacing, stroke detail, symbols, graphic elements, or scene composition one change at a time.

Step 04

Carry the visual into a project

Choose the direction that works, then review the available Studio save and export options before using the design in a personal or creative project.
From Handwritten Text to Complete Visuals

Style Before the Font

Choose whether the strokes feel elegant, loose, bold, quiet, or natural; the visual direction is more than selecting a preset.

Text and Symbols in Balance

Add a small motif when it strengthens the idea, while keeping the lettering readable and central.

A Clear Visual Progression

Move from a standalone handwritten mark to symbols, graphic elements, or a complete scene as the project calls for.

Focused Refinement

Adjust one layer at a time—letterforms, spacing, color, symbols, graphics, or composition—without rebuilding the whole direction.

Complete Visual Worlds

Build a full setting around the words, then refine one detail at a time in Studio or use the AI Image Editor.

Continue in Ottermind Studio

Open the chosen direction in Ottermind Studio to compare versions, refine the details, and develop it into a larger creative project.

Frequently asked questions

What is a cursive generator?

A cursive generator turns text into a handwritten visual. With Ottermind, you can choose the stroke style, texture, color, layout, and surrounding visual elements instead of applying one preset font.

How do I keep the lettering accurate?

Enter the name, word, phrase, or lyric exactly as it should appear, then ask for the lettering to stay readable and unchanged. Review the result before refining the surrounding style or composition.

Can I turn a name into a handwritten signature?

Yes. Enter the name and describe the stroke direction you want, such as elegant, minimal, bold, or natural. Then refine the spacing, pressure, and finish until the mark feels right.

Can I add a symbol or graphic element?

Yes. Start with the lettering, then add a restrained symbol or combine it with broader graphic elements such as flowers, icons, or shapes. Develop the larger composition with Graphic Design AI.

Can I turn lettering into a brand mark?

Yes. Enter the name and describe the relationship between the wordmark, graphic elements, color, and layout. Use the result as a direction for a brand concept, then explore more identity routes with the AI Logo Generator.

Can I refine one part without changing everything?

Yes. Ask for a focused change to the letterforms, spacing, color, symbol, graphic element, or scene while keeping the parts that already work. Continue in Ottermind Studio, or make focused visual changes with the AI Image Editor.

Can I download my cursive design?

Download and export options depend on the workflow and output available in Ottermind Studio. Once your design is ready, check the available export options for the format you need.

Can I use the result commercially?

Commercial use depends on the applicable Ottermind terms, your account or workflow, and any third-party elements included in the final design. Review the relevant usage terms before using generated content for products, branding, advertising, or resale.

Discover more

More from the blog

Create a Handwritten Visual with Ottermind

Bring any text, visual direction, and intended context to Studio. Start with the strokes, then add the layer of symbols, graphics, or scene detail that fits your project.

Create Handwriting