AI Texture Generator

Turn a surface brief into a material texture you can reuse: wood, stone, fabric, or metal, checked for repeat and scale before it reaches a render.

Claude
GitHub
Google
Linear
Microsoft
Monday
Netlify
Notion
OpenAI
Sentry
Slack
Stripe
Supabase
Claude
GitHub
Google
Linear
Microsoft
Monday
Netlify
Notion
OpenAI
Sentry
Slack
Stripe
Supabase

From a Surface Brief to a Texture You Can Tile

An AI texture generator is useful when it returns a surface, not a photograph of a table or a wall. Describe the material, finish, wear, and scale, generate a few controlled directions, then check how the image repeats. That repeat check is what turns a picture into a usable texture. AI image generation covers the wider image workflow.

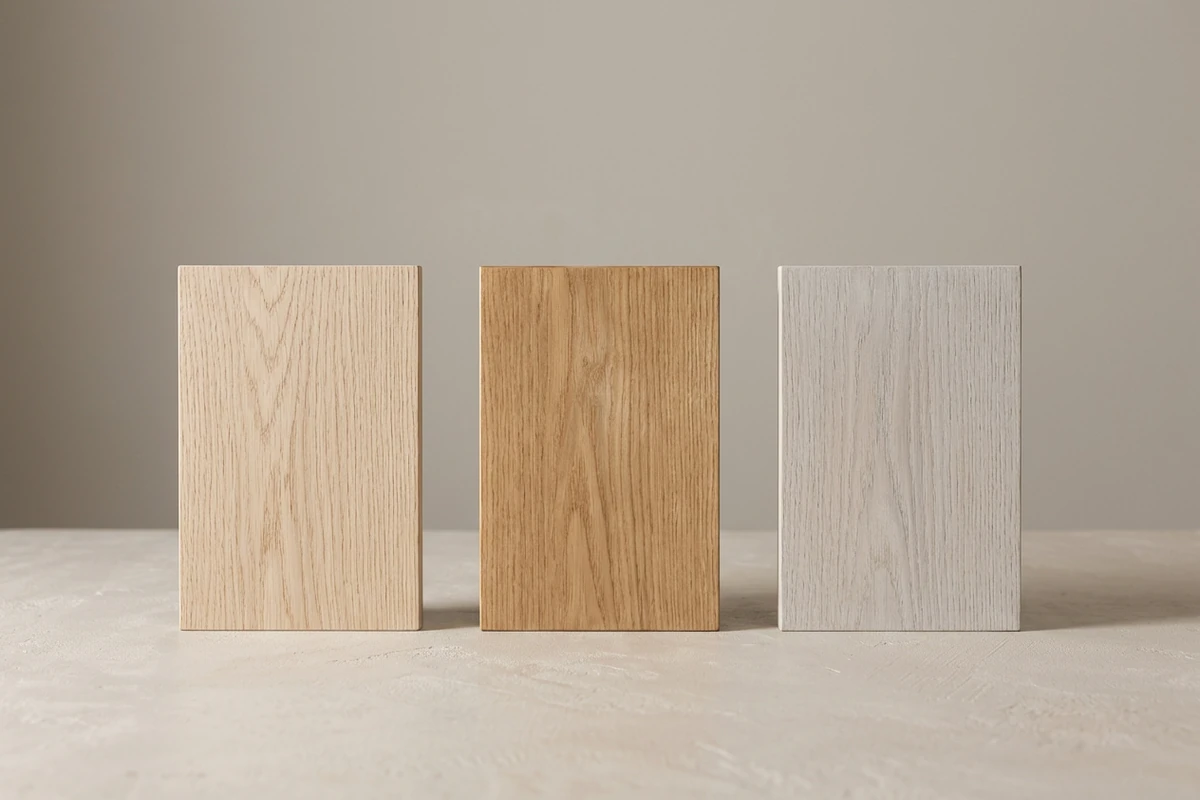
Three oak surface samples in raw, oiled and limewashed finishes standing side by side on a pale studio table.

Brief the surface, not the object

Weak texture prompts describe a thing: an oak table, a brick wall, a leather sofa. Describe the material instead: surface, finish, wear, colour, and tile span. Ask for white-oak planks, matte oil, fine straight grain, warm brown, 2 m tile. Or upload a photo of a real surface as a reference. AI Image Generator covers the broader prompt-and-reference image workflow.
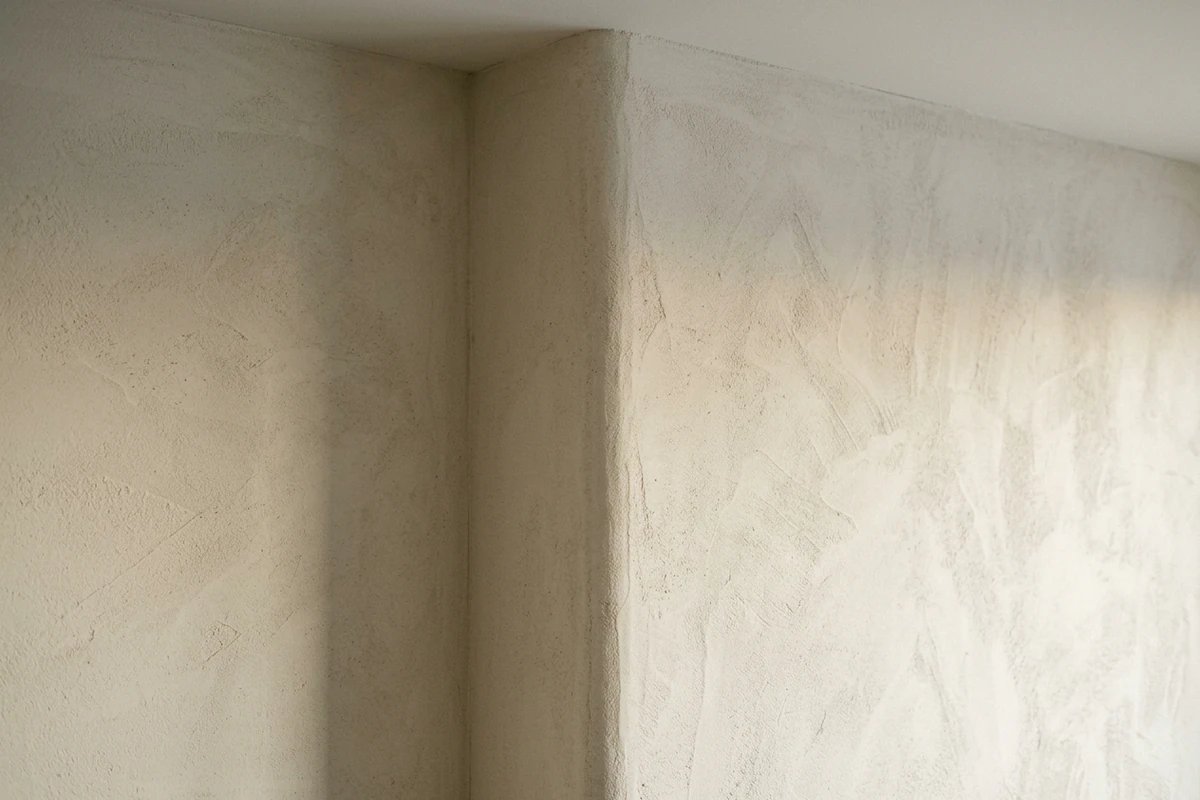
A textured lime-plaster wall continuing around an interior corner, with raking daylight showing the surface relief and no visible join.

Check the repeat before you commit

Duplicate the texture into a 2×2 grid, then offset one row and one column by half so the joins fall in the middle of the frame. A clean repeat disappears; a bad one shows a bright edge, a doubled motif, or a lighting gradient. Name the seam when you regenerate, or crop the texture so the defect sits outside the tile.

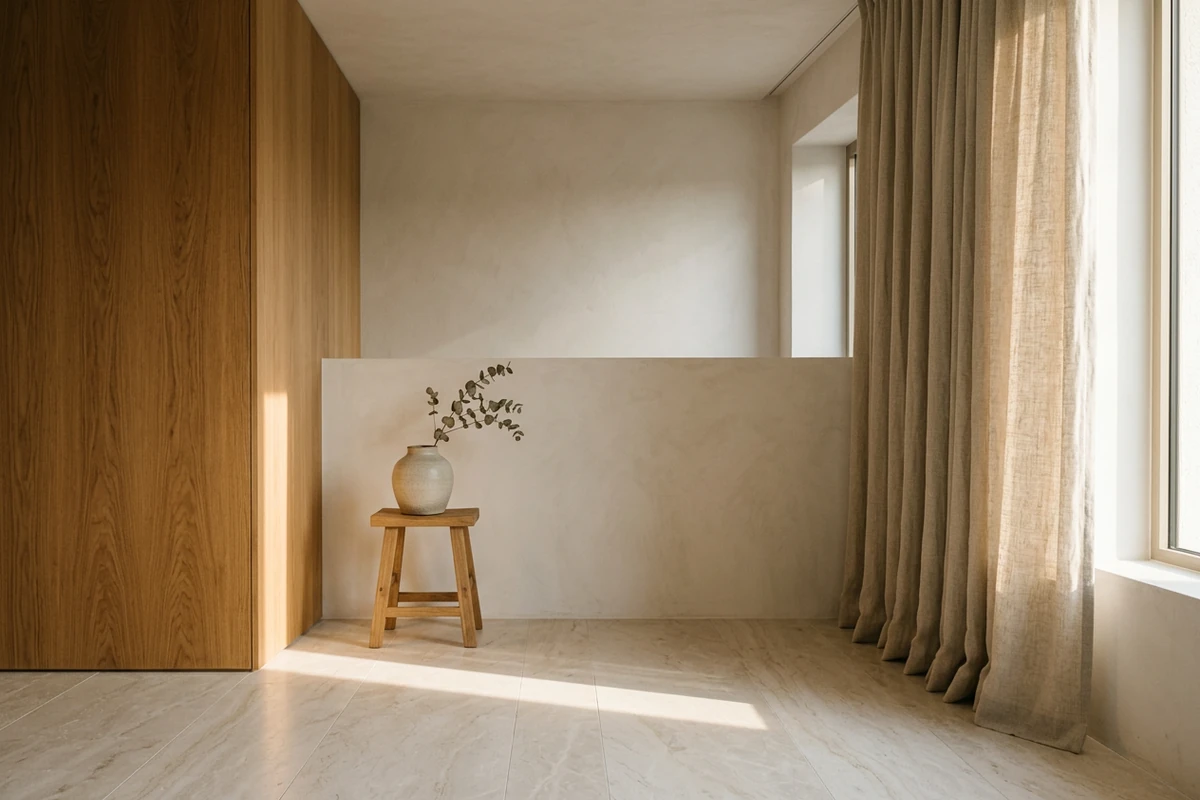
A calm interior with a pale stone floor, oiled oak wall panelling and a linen curtain, shown at room scale in warm daylight.

Set the tile span before the scene

A texture has no scale until you give it one. Decide how much real surface one tile covers: 2 m of oak flooring, 40 cm of terracotta, 30 cm of brass. Check that span against a chair, door, or product before use, then export at the pixel size the render needs. AI Image Upscaler can enlarge a texture for close-up work.

What you can do with Ottermind

Build a game environment set

Generate stone, plaster, and timber surfaces that share one light direction, then repeat them across modular walls without a visible join at the level edges.

Finish an interior visualisation

Produce a limewash, oak, and limestone family for a room render, and match tile spans to the furniture so the floor reads at the right scale.

Style a product surface

Create brushed metal, glazed ceramic, or woven fabric for a product mockup, then check the repeat before the surface wraps a curved object. Pair it with AI Product Image Generator when the product shot itself still needs work.

Explore a textile direction

Test linen, bouclé, and knit surfaces for a collection concept, keep the brief constant, and compare weave and finish side by side.

How to Use the AI Texture Generator

Step 01

Write the surface brief

Name the material, finish, wear, colour, and how much real surface one tile should cover. Leave objects and lighting moods to the scene; the texture only needs the surface.

Step 02

Generate controlled variants

Change one variable at a time, such as finish or colour, while the rest of the brief stays fixed. Two or three directions are usually enough to choose a surface with confidence.

Step 03

Run the repeat test

Tile the chosen image 2×2 with a half offset and inspect the joins. Then confirm the tile span against something at real scale before the surface goes into the render.

Why creators choose Ottermind

Surface-first prompts

Describe the material and its finish instead of an object, so the output stays usable as a surface.

Reference surfaces

Upload a photo of a real material to guide grain, tone, and weave before you generate.

Controlled variation

Hold the brief steady and change one property at a time, then carry the chosen surface into Image Effects for tone work.

Focused revision

Fix one seam, finish, or colour note without regenerating details you already accepted.

Repeat and scale check

Test the tile and confirm the real-world span before the surface reaches a model or a render.

Context stays in one project

Keep the brief, reference, chosen texture, and review notes together in Studio.

Frequently asked questions

Can it make seamless textures?

It can produce surfaces that look seamless, but test one before you trust it. Tile the image 2×2 with a half offset and inspect the joins; if a bright edge or doubled motif appears, regenerate with the seam named or crop so the defect falls outside the tile. A perfectly tileable result is not guaranteed.

How do I write a good texture prompt?

Name the surface, finish, wear, colour, and tile span, then state the target use. “Weathered white-oak planks, matte oil finish, fine straight grain, warm honey brown, 2 m tile for an interior wall” gives the model far more to work with than “a wooden wall”.

Can I start from a photo of a real surface?

Yes. Upload a photo you own or have permission to adapt and ask for the same material with a cleaner, more even finish. Reference input helps with grain, tone, and weave, but check the repeat again because a photographed surface often carries its own lighting and shadow.

Does it generate PBR maps?

No. The output is a raster texture image, not a set of albedo, normal, roughness, and height maps. When a render engine or 3D tool needs those maps, take the approved texture into a dedicated material pipeline and keep this image as the colour reference.

What resolution and tile span should I use?

Choose the real-world span first, then match pixels to the final use; 40 cm of terracotta and a 2 m oak floor need different densities. When the texture sits behind type or shapes in a layout, Graphic Design AI covers that design step.

Can I use the textures in commercial work?

Use reference photos you own or have permission to adapt, and confirm the terms of your Ottermind plan for commercial use. Keep brand work generic rather than reproducing a competitor's material, pattern, or trademarked finish.

Discover more

More from the blog

Build a Texture You Can Actually Tile

Describe the surface, generate two or three controlled directions, run the repeat test, and set the tile span before the material reaches your render.

Generate a Texture