Gesichter prüfen, bevor Unschärfe wächst
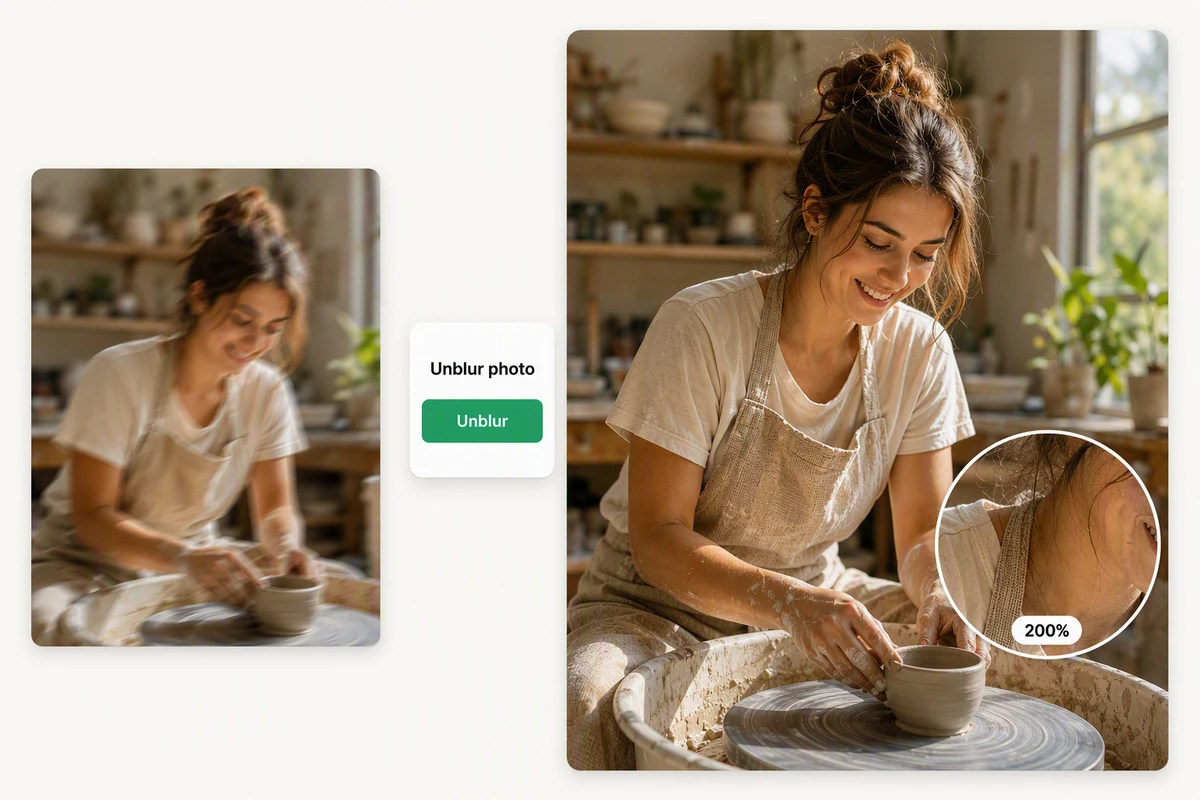
Beschreiben Sie die Schwächen der Quelle: weiche Gesichtszüge, unlesbare Oberflächentexte, Kompressionsartefakte oder Bewegungsunschärfe. Bei einem Standbild hilft Unscharfe Bilder korrigieren.
MP4, MOV, WebM · 200 MB · 2 Minuten · bis 4K
Verbessern Sie niedrig aufgelöstes Material mit einem klaren Arbeitsablauf. Prüfen Sie die Quelle, definieren Sie das Ausgabeziel und arbeiten Sie in Ottermind Studio weiter.
Beim Hochskalieren zählt mehr als ein größeres Bild. Ein sinnvoller Auftrag benennt Zielauflösung, wichtige Details und Fehler, die nicht verstärkt werden dürfen. Öffnen Sie die Quelle in Studio, beschreiben Sie den Einsatzort und prüfen Sie Gesichter, Text, Kanten, Texturen, Rauschen und Bewegung vor der Exportfreigabe. Für ein Standbild mit höherer Zielauflösung nutzen Sie den HD-Foto-Konverter.
Beschreiben Sie die Schwächen der Quelle: weiche Gesichtszüge, unlesbare Oberflächentexte, Kompressionsartefakte oder Bewegungsunschärfe. Bei einem Standbild hilft Unscharfe Bilder korrigieren.
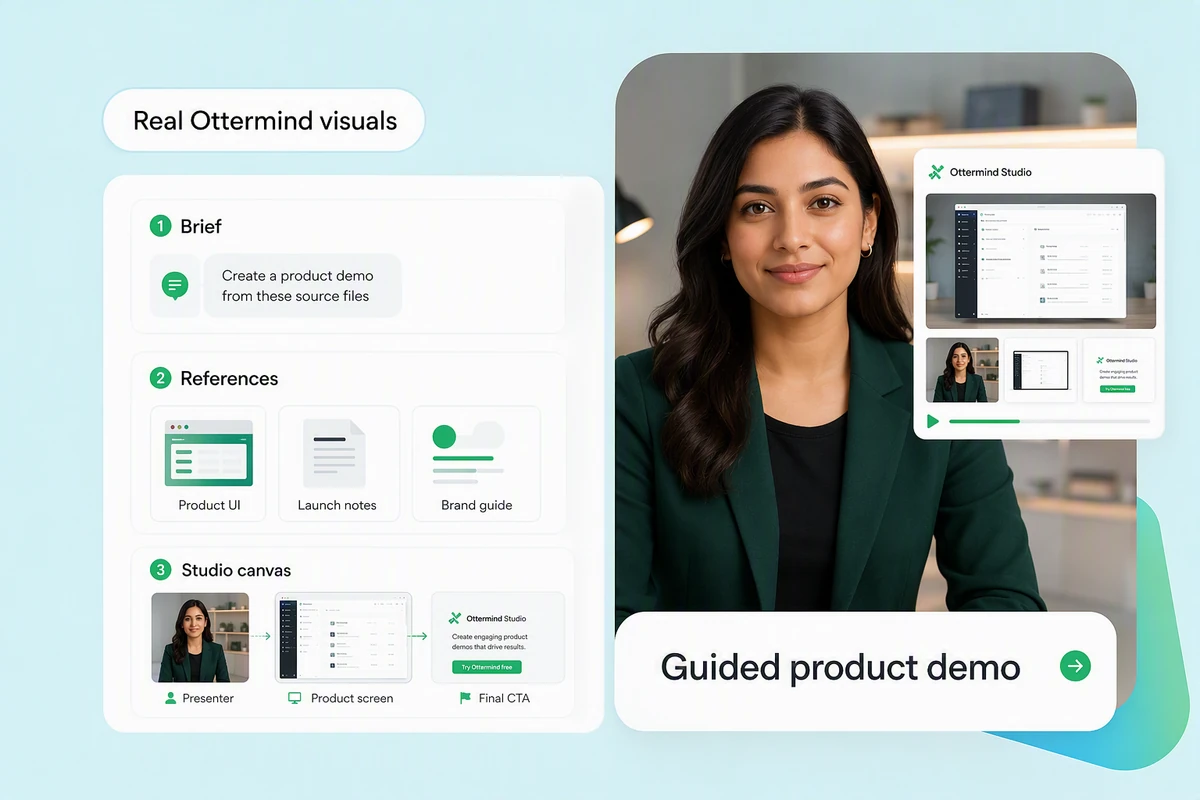
Benennen Sie Produktetiketten, Untertitel, Oberflächentexte, Gesichter und Markenelemente vor der Bearbeitung. Ein größeres Bild hilft nicht, wenn künstliche Kanten entstehen, Personen verändert werden oder kleine Schrift unzuverlässig wird.
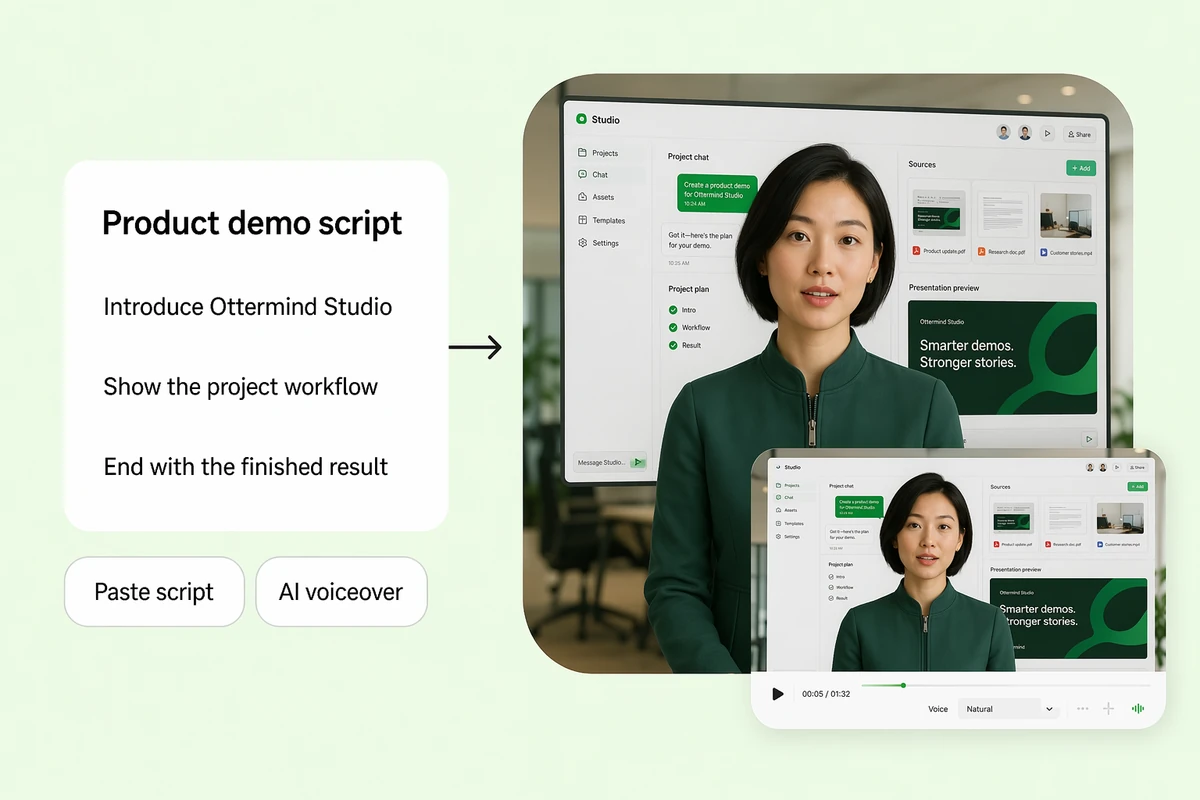
Legen Sie Bildschirm, Bildausschnitt und Auslieferung fest, bevor Sie das Verbesserungsziel wählen. Wenn neue Bewegung entstehen soll, nutzen Sie Bild zu Video.
Der passende Ablauf hängt vom Ausgangsmaterial, den zu bewahrenden Details und dem späteren Bildschirm ab. Entdecken Sie Anwendungen für Produktclips, Archivmaterial und Tutorials. Für eine neue kurze Social-Media-Sequenz nutzen Sie den KI-Reel-Generator.
Bereiten Sie einen weichen Produktclip für einen klareren Export vor und bewahren Sie Verpackungstext, Oberflächen, Farben und Markenelemente. Prüfen Sie, ob Schärfen Lichthöfe erzeugt oder kleine Etiketten verändert. Für einen neuen kurzen Werbeclip nutzen Sie KI-Produktvideoanzeigen.
Quelle prüfen, Ausgabe festlegen, Einzelbilder vergleichen.
Notieren Sie Auflösung, Unschärfe, Rauschen, Text, Gesichter und alle wichtigen Details, die während der Bearbeitung unverändert bleiben sollen.
Beschreiben Sie den Einsatzort und die Priorität: Klarheit, Rauschminderung, Schrift, Gesichter oder Stil.
Vergleichen Sie Quelle und Ergebnis Bild für Bild. Prüfen Sie Kanten, Texturen, Identität, kleine Schrift, Flackern und gleichmäßige Bewegung vor dem Export.
Die Quelle verstehen, den Bildschirm festlegen und entscheidende Details erhalten.
Berücksichtigen Sie die tatsächlichen Grenzen des Materials vor dem Schärfen.
Wählen Sie die Auflösung passend zu Bildschirm und Ausschnitt.
Schützen Sie Gesichter, Etiketten, Schrift und Markendetails.
Prüfen Sie repräsentative Einzelbilder vor der Exportfreigabe.
Übernehmen Sie den Verbesserungsauftrag in die nächste Videoaufgabe.
Halten Sie Quellnotizen, Ausgabeanforderungen und Prüfergebnisse zusammen.
Dabei werden die Pixelabmessungen vergrößert; zusätzliche Verfahren können die wahrgenommene Klarheit verbessern. Prüfen Sie auch, ob Schärfen, Rauschminderung oder rekonstruierte Details Artefakte zwischen Bildern erzeugen. Für Standbilder nutzen Sie Unscharfe Bilder korrigieren.
Nein. Nicht aufgenommene Details lassen sich nicht zuverlässig zurückholen. Starke Kompression, Unschärfe, ausgefressene Lichter und instabile Bewegung begrenzen das Ergebnis. Prüfen Sie es in der vorgesehenen Anzeigegröße, statt eine höhere Auflösung automatisch für besser zu halten.
Wählen Sie die kleinste Ausgabe, die den tatsächlichen Anforderungen genügt. Entscheidend sind Quellauflösung, Ausschnitt, Ziel, Betrachtungsabstand sowie kleine Schrift und Produktdetails. Für neue Bewegung statt Vergrößerung nutzen Sie Bild zu Video.
Manche Abläufe verbinden Skalierung mit Schärfen oder Rauschminderung. Diese Verfahren lösen unterschiedliche Probleme und können echte Texturen entfernen oder Lichthöfe erzeugen. Bestimmen Sie zuerst den Fehler und prüfen Sie Beispiele aus dem gesamten Clip.
Vergleichen Sie Quelle und Ergebnis an denselben Zeitpunkten. Prüfen Sie Gesichter, Haare, wiederkehrende Muster, Schrift, dünne Kanten, Verläufe, Flackern und schnelle Bewegung. Betrachten Sie das Endergebnis auf dem vorgesehenen Bildschirm.
Verwenden Sie nur Material, das Ihnen gehört oder dessen Bearbeitung erlaubt ist. Prüfen Sie Lizenzen, Persönlichkeitsrechte, Markenanforderungen und Plattformregeln. Bewahren Sie das Original für spätere Vergleiche auf.
Bringen Sie das Quellvideo mit, beschreiben Sie seinen Einsatz und die Details, die erhalten bleiben müssen. Arbeiten Sie in Ottermind Studio weiter.
Video in Studio hochskalieren