Workflow Guide
10 ChatGPT Image Prompts for Product Photos, Marketing, and Everyday Work

A useful ChatGPT image prompt explains the job, the subject, the composition, and the details that matter. The ten templates below cover common creative tasks and include a review step for each. They are written as starting points for Images 2.5, not tested performance claims; replace the bracketed fields and check each output before using it.
Sources: Official reference 1. Reviewed September 11, 2026.
OpenAI’s image prompting guide documents generation and editing examples. The templates here are original editorial material. Their value is a concrete brief you can adapt, not a promise that a particular phrase produces a perfect image.
1. A product photograph with space for copy
Use a real reference when the item must match something you sell.
Create a landscape product composition using the uploaded [PRODUCT].
Position it in the left third on a warm stone surface.
Use a quiet studio background with generous empty space on the right.
Keep the product's proportions, packaging, colors, and printed details.
Do not generate a headline; I will add the approved copy separately.
Check: Inspect the product against the source before judging the styling. A changed package is a failed product image.
2. A blog illustration with a clear idea
Create an editorial illustration about [ARTICLE'S CENTRAL IDEA].
Show [CONCRETE SUBJECT] performing [VISIBLE ACTION].
Use a restrained paper-cut style with three flat colors.
Make the main relationship understandable at thumbnail size.
Avoid lettering, decorative charts, and tiny secondary objects.
Check: Ask someone who has not read the article what the picture suggests. If the idea is unclear, simplify the visual metaphor.
3. An event poster concept
Design a poster concept for a neighborhood book exchange.
Include exactly these three lines:
"Bring a Book"
"Take a Story"
"Saturday at 10 AM"
Use bold readable type, a simple stack-of-books illustration,
and generous margins. Do not invent a venue, sponsor, or extra copy.
Check: Read every character. Treat the generated poster as a concept if you need editable typography or print production files.
4. A believable background replacement
Edit the uploaded photograph of [OBJECT].
Replace the surroundings with a tidy home workspace at midday.
Keep the object and its visible identifying details.
Make the surface contact and shadow fit the new scene.
Add no people, devices, or text that were not requested.
Check: Look for floating objects, inconsistent reflections, and perspective that disagrees with the source.
5. A presentation divider image
Create a wide visual for a presentation section about [TOPIC].
Use one large [OBJECT OR SCENE] toward the lower right.
Keep the upper-left half visually calm for a slide heading.
Use a professional editorial style suitable for [AUDIENCE].
Do not draw a slide border, title, logo, or fake interface.
Check: Place the result behind your actual slide heading. Empty space is useful only if the text remains legible there.
6. A thumbnail with one focal point
Create a thumbnail concept for a video about repairing a bicycle.
Show a clearly visible bicycle wheel and a hand holding a tire lever.
Use a simple workshop setting and strong separation from the background.
Keep the image focused on the repair; omit text and extra tools.
Make the subject readable when the image is displayed very small.
Check: Inspect the hand, tool, and wheel geometry. Zoom out to the intended display size before approving the composition.
7. A portrait illustration for a team page
Use the uploaded portrait as a reference for a warm editorial drawing.
Keep the person's recognizable facial features and hairstyle.
Use visible pencil texture, a plain background, and natural proportions.
Frame the head and shoulders with consistent space above the head.
Avoid changing age, expression, or adding clothing accessories.
Check: Let the subject review whether the illustration is recognizable and suitable for the intended use.
8. A single controlled color change
In the uploaded room image, change the lampshade from red to muted olive.
Keep the lamp base, surrounding furniture, camera view, and room layout.
Make no other decorative changes and introduce no additional objects.
Check: Compare the entire frame, not only the lamp. Small changes elsewhere can matter if you are revising an approved design.
9. A storyboard frame for a real script
Create one storyboard frame for this shot: [SHOT DESCRIPTION].
Use the attached character reference for [CHARACTER].
Show [ACTION] from [CAMERA POSITION].
Use a simple grayscale drawing with clear staging.
Do not add dialogue, captions, extra characters, or later story events.
Check: Compare the frame with the script. For a sequence, review clothing, props, and positions across frames rather than assuming continuity.
10. A visual for a customer onboarding email
Create a friendly illustration for an onboarding email about [FIRST TASK].
Show one person completing [SPECIFIC ACTION] with a clear result.
Use a simple rounded illustration style and a light background.
Keep small details minimal so the image works on a narrow phone screen.
Do not invent product screenshots, logos, or interface text.
Check: Confirm that the image supports the task described in the email. An attractive generic scene may still communicate the wrong action.
Keep the parts that help review
When a template fails, identify what failed: composition, subject identity, exact text, or an unintended change. Revise that requirement before adding more style adjectives.
Keep a small record for prompts you reuse: the task, reference, exact prompt, output, and reason you accepted it. These examples can also be adapted to other image tools, but results and available controls will vary.
For inspiration from an earlier model, explore our GPT Image 2 use-case collection. Then choose one template above and replace its generic brief with a real asset you need this week.
Continue your image workflow
For release context, see what changed in Images 2.5. For an existing photograph, follow our image editing walkthrough.
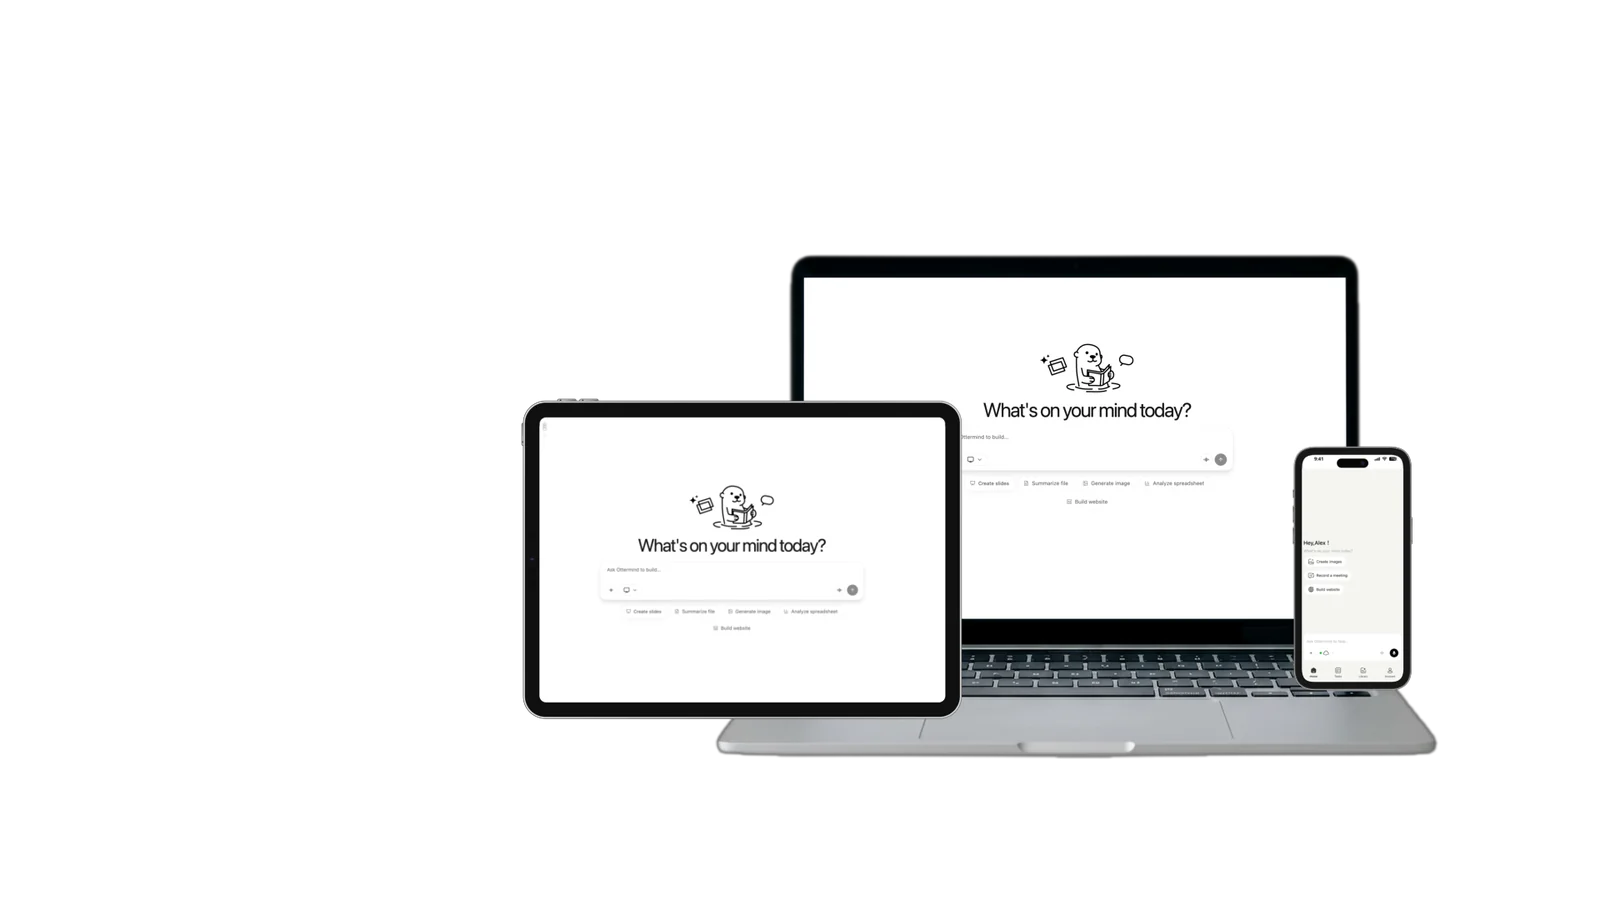
Take your brief to Ottermind’s image workspace and check the models currently available there. The supplied Ottermind screenshot shows Flare and Sunburst in the model menu, both marked Premium, with Sunburst selected.