Model Guide
GPT Image 2.5 Flare vs. Sunburst: How to Choose for Your Workflow
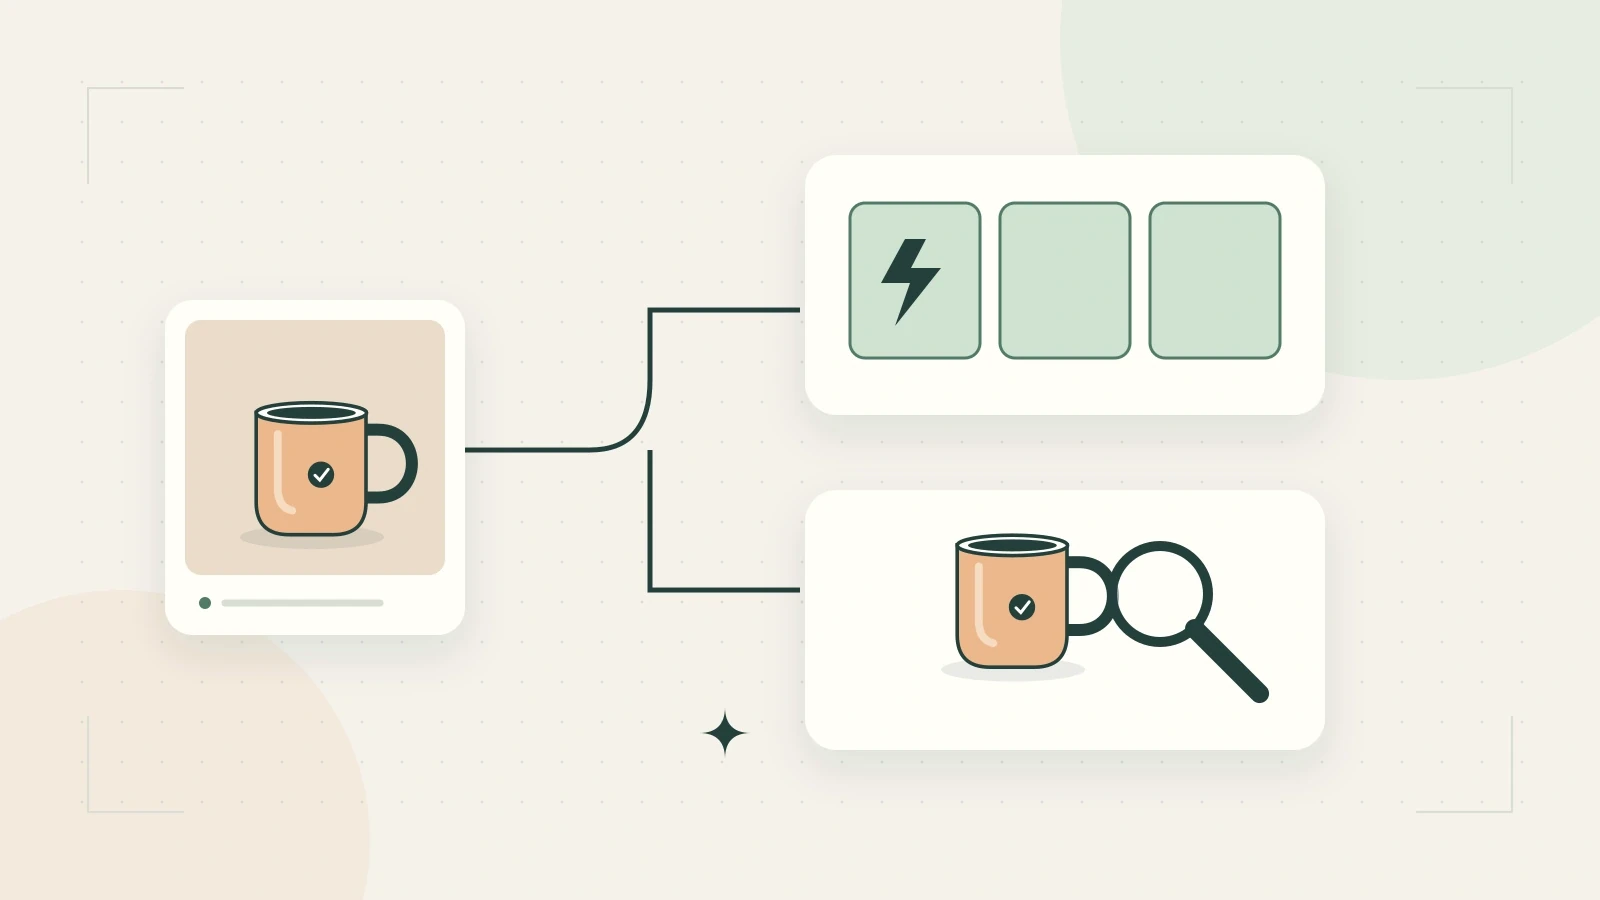
Choose GPT Image 2.5 Flare when you want to evaluate fast, everyday image generation; consider Sunburst when precise editing is central to the job. OpenAI positions the models differently, but the right choice depends on your actual assets. Compare accepted results, revision effort, and total cost using the same brief before standardizing a workflow.
Sources: Official reference 1; Official reference 2. Reviewed September 11, 2026.
The official Flare model page describes its focus on fast generation. The Sunburst model page emphasizes editing precision. This guide turns that positioning into an evaluation method; we have not run a controlled comparison for this article.
Which should you try first?
Use the following as a starting hypothesis, then test it against your own requirements.
| Your task | Suggested starting point | What to inspect |
|---|---|---|
| Explore several visual concepts | Flare | Whether it produces enough distinct, usable directions |
| Draft illustrations for internal discussion | Flare | Clear meaning and acceptable turnaround time |
| Revise an approved campaign image | Sunburst | Whether protected details survive the requested edit |
| Prepare a product image for close review | Sunburst | Label, silhouette, material, and unwanted changes |
These are editorial recommendations based on the models’ documented positioning. They are not measured rankings. Flare may satisfy a demanding brief, and Sunburst may still produce an unacceptable output.
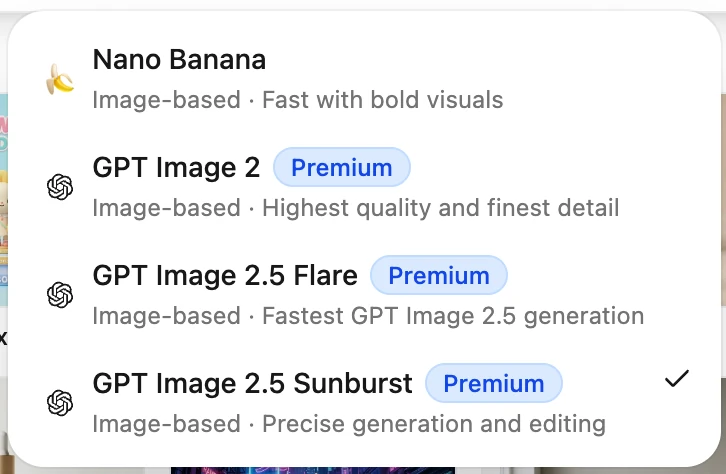
The supplied Ottermind screenshot shows Flare and Sunburst in the model menu, both marked Premium, with Sunburst selected.
Keep model choice separate from quality settings
Both model pages list low, medium, high, xhigh, max, and auto quality settings. A model name and a quality setting are separate controls. When comparing the two, use matching settings wherever your platform allows them.
If you change the model, output size, reference, and prompt at once, you will not know which change affected the result. Begin with a controlled pair. After choosing a promising setup, vary one setting to see whether the additional effort buys a meaningful improvement.
Record the exact model identifier shown by your provider. A platform may rename options or hide controls, so a label such as “best quality” is not enough to reproduce a test.
Identical rates do not guarantee identical image costs
As checked on September 11, 2026, the official model pages list the same token rates for both variants: $5 per million text input tokens, $8 per million image input tokens, and $30 per million image output tokens. Cached input rates are lower. These are API token prices, not third-party subscription or credit prices.
A practical budget should also account for failed attempts and human repair. Use this calculation:
Cost per accepted image = total generation and editing charges ÷ number of outputs that pass review.
Then track review minutes separately. A cheaper request is not necessarily a cheaper finished asset. Conversely, paying for a more demanding configuration is wasteful if a simpler one already meets the brief.
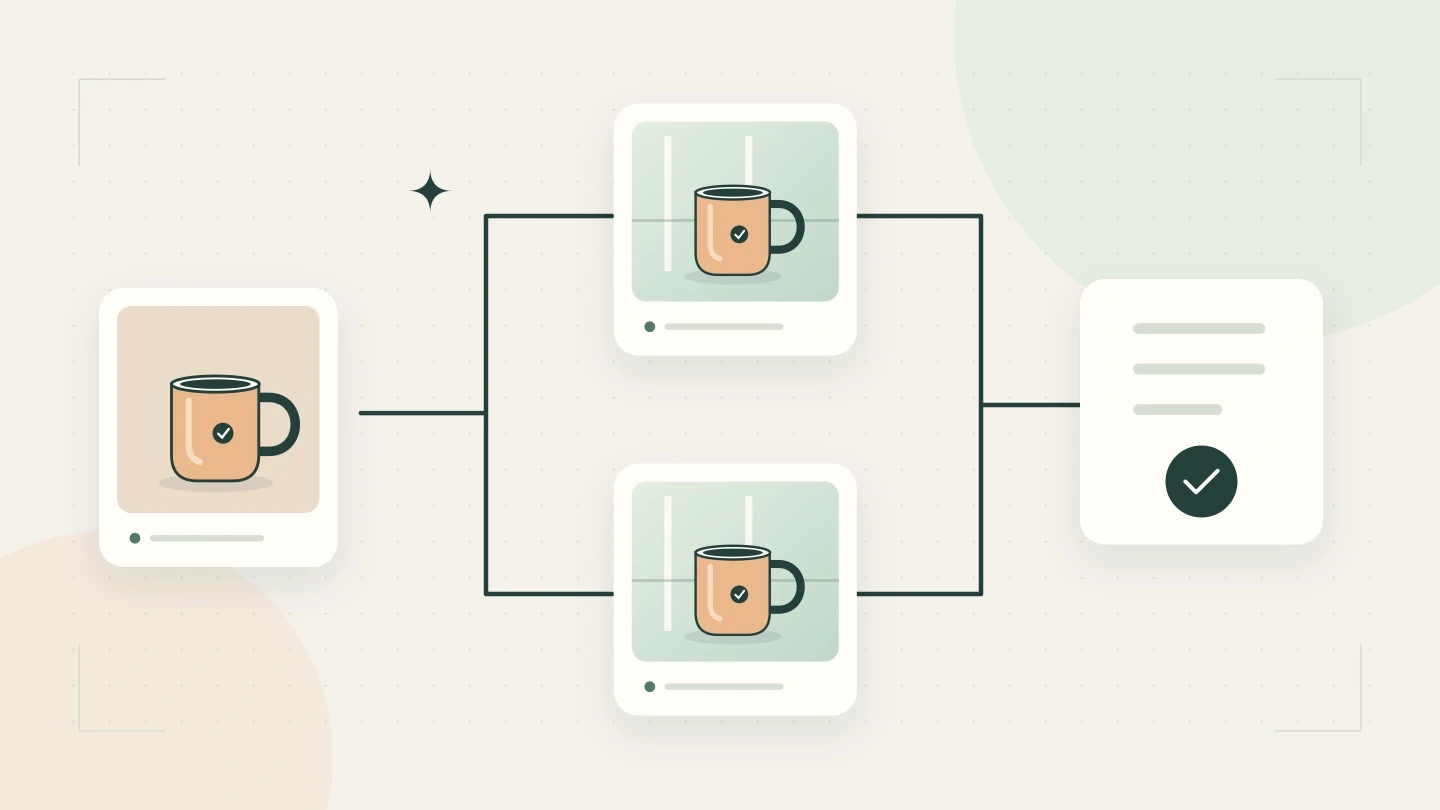
Original workflow illustration, not a model output or benchmark.
A comparison worksheet you can reuse
Select three jobs from your real work: a new illustration, a focused edit, and a second revision of that edit. Use the same source material for both variants and retain every output, including failures.
| Record for each attempt | Why it matters |
|---|---|
| Prompt, source files, and model | Makes the attempt reproducible |
| Quality and output dimensions | Helps separate model effects from settings |
| Elapsed time and billed amount | Captures actual operational cost |
| Requested change completed? | Tests the purpose of the request |
| Protected details preserved? | Finds hidden repair work |
| Accepted, rejected, or repaired? | Prevents attractive failures from skewing the result |
Define acceptance before looking at results. For a product photograph, this might mean correct label text, no change to the cap, and a believable contact shadow. For a blog illustration, the priority might be an understandable concept and enough space for the page heading.
Run more than one attempt before drawing a conclusion. A single lucky output is weak evidence for a default choice. Keep the reviewer’s criteria constant and record why each rejected image failed.
Choose a default and a reason to switch
Write a rule that your team can apply: start with the configuration that meets the brief reliably, and switch when a named requirement fails. “Try the other model because the label changed twice” is actionable. “Use the premium one because it sounds better” is not.
Save the rule alongside an accepted example and its prompt. Revisit it when the model or your workload changes. That gives you a repeatable selection process without assuming one variant wins every task.
Continue your image workflow
See the Images 2.5 release overview for context, then adapt a practical image prompt for your comparison.
Take your brief to Ottermind’s image workspace and check the models currently available there. The supplied Ottermind screenshot shows Flare and Sunburst in the model menu, both marked Premium, with Sunburst selected.