Faceless Reels: How to Make Short Videos Without Going On Camera
A faceless reel is a short vertical video that never puts a presenter on camera. Choose a format, script three beats, build the visual bed, then finish voice and captions in an editor.
Optional
JPG / PNG / WebP
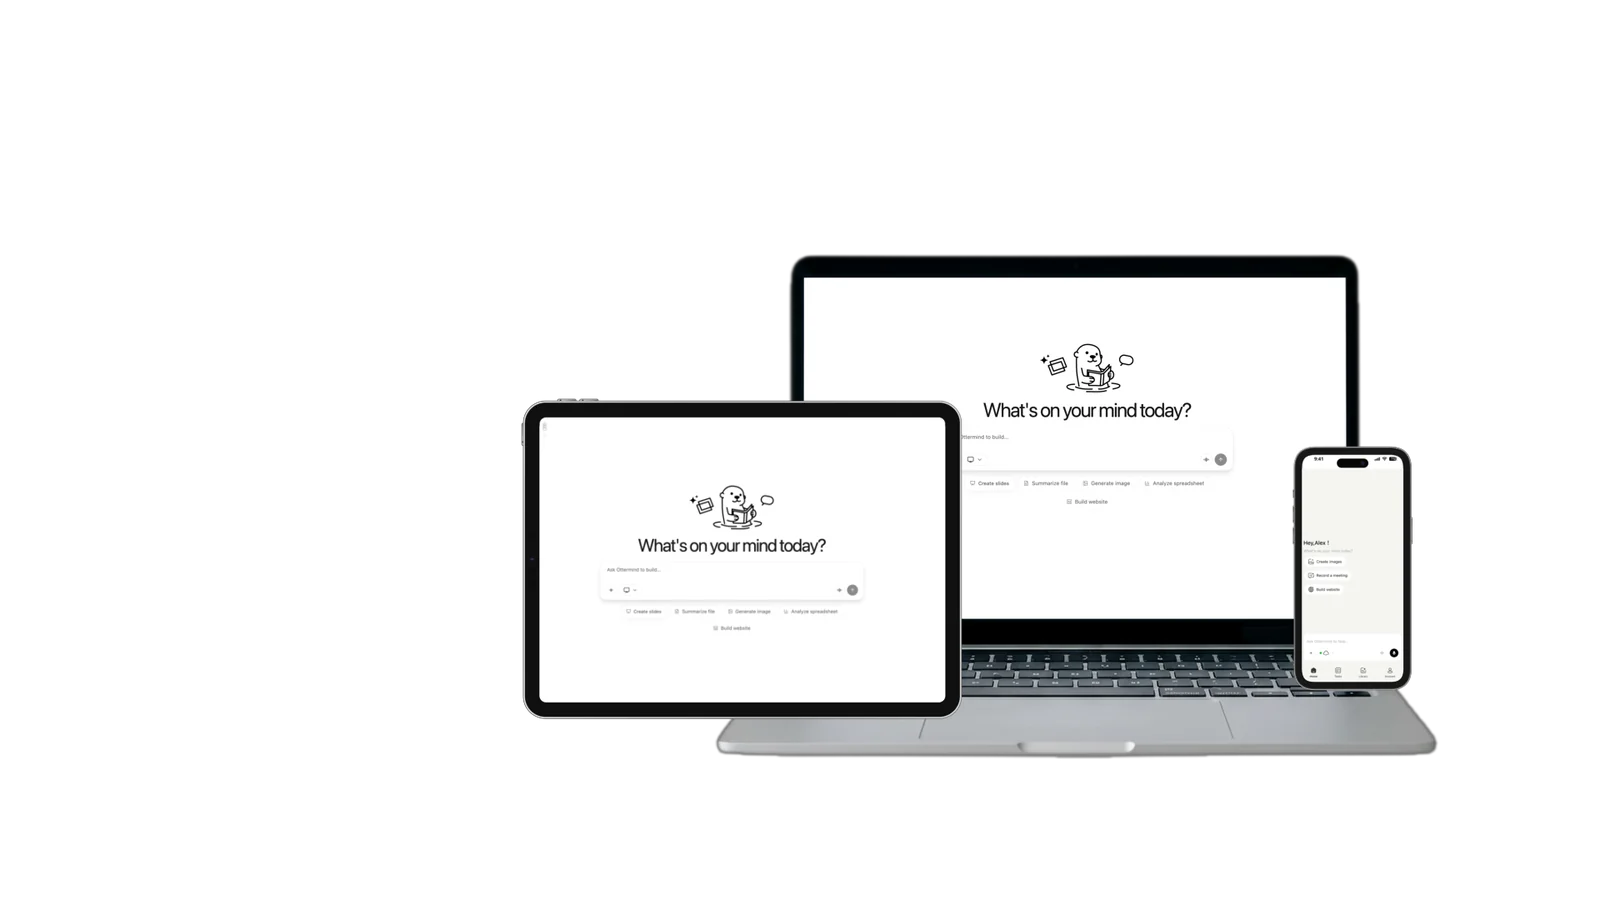
This is Ottermind's composer. The brief and any reference stay in draft until you send them; the round arrow hands the request to Studio for review.
November 9, 2026 · 12 min read
Faceless reels are short vertical videos built without a presenter on camera. That is the only fixed rule. A faceless reel can still use hands, a product, a screen recording, a voiceover, animated text, or generated scenes.
The loose definition is why "faceless reels" is a weak tool query. It names a format, not a workflow. The useful decision is what carries the video: footage you can shoot, a demonstration you can screen-record, or scenes you have to generate. Choose that first and the tool list becomes much shorter.
This guide is a production order rather than another idea dump. It covers four repeatable formats, a three-beat script, the visual routes worth testing, and the edit pass that still has to happen outside a generator. If you want to test the generation route now, the composer above accepts a brief and an optional reference image.
How this guide was prepared: Official pages were checked on November 9, 2026: Dreamina's faceless reels page and Ottermind's AI Reel Maker, AI Product Video Ads, and AI Lip Sync pages. This is a workflow guide based on those pages, not a speed or quality benchmark. No reel was generated for this article. The cover is an Ottermind design, the composer figure is a real screenshot of this page, and no AI image is presented as product output. Format rules that differ by app are left to each platform's current upload screen.
What a faceless reel is, and what it is not
A faceless reel removes one production dependency: a person has to be on camera. It does not remove the need for a reason to watch. The frame still needs a subject, the audio still needs a point of view, and the first second still has to earn the second one.
Three constraints define the format:
- No on-camera presenter. Hands, products, screens, text, and generated scenes are all allowed.
- A vertical frame. The composition has to work on a phone, not as a cropped landscape video.
- Short-form pacing. One idea, a fast opening, and a clear end.
People choose the format for practical reasons: privacy, a repeatable production routine, no lighting setup, and the ability to publish while a topic is current. Those are production advantages. They do not guarantee distribution, and this guide makes no claim about reach.
It also helps to separate faceless from two neighbouring ideas. A reel with a generated presenter is not faceless, even if nobody filmed themselves. A silent reel is not automatically faceless either; it is a choice about audio, not about who appears. Decide both deliberately.
Choose the format before the tool
Four formats cover most faceless accounts. Pick the one that matches what you can show today, then decide whether generation helps.
| Format | What you need | What carries the video | Main risk |
|---|---|---|---|
| Object or product b-roll with voiceover | A product, a surface, decent window light | Texture, scale, and a spoken explanation | Pretty shots with no argument |
| Hands-only demonstration | Hands, tools, ingredients, a clean surface | The action and the result | Inconsistent framing between takes |
| Screen or interface walkthrough | A screen recording and a reason to watch it | The change on screen | Private data or unreadable UI |
| Generated scene sequence | A written brief and, ideally, a reference image | Continuity of subject, style, and motion | Product drift, odd hands, accidental text |
If you can film the real thing, formats one to three usually give you more control for less review work. Generated scenes are most useful when the subject is hard to film, when you need a visual world you do not have access to, or when you want to test several directions before committing to a shoot.

The four setups, loosely arranged: a phone framing an object at the top left, hands performing the demonstration at the top right, and a storyboard notebook with blank scene cards at the bottom for planning the shots. AI-generated concept illustration; it is not a screenshot of any product or a sample output.
A fifth option, text-led motion, sits between formats: a short lesson or quote over a moving background. It is the easiest to produce alone and the easiest to make static. Use it when the sentence itself is the hook, not as a default for every post.
Why a tool page is not a production plan
Dreamina's faceless reels page, checked on November 9, 2026, is a clear example of the genre. It presents three topic-specific concept prompts, a three-step image workflow, reference-image support, and a handoff to its video generator. That is useful if you need visual directions to react to.
It is not a plan for a finished reel. The page does not lay out the script, the voice track, caption timing, music rights, or the final edit. Those are the parts that decide whether a viewer stays. Its prompt templates even specify a wide 16:9 frame, which is a useful reminder to decide your output shape before you reuse any prompt. Treat generator pages as a source of visual options, then return to the format and script decisions above.
Write the three-beat script first
A faceless reel fails most often at the script, not the camera. Write the spoken track before you collect a single shot. If you cannot state the promise in one sentence, you have two reels.
Use three beats:
- Hook. The first line names a specific outcome, problem, or surprise. Skip the greeting and the setup.
- Proof. Show the thing working. Two to four shots are usually enough: the object, the action, and the result.
- Payoff. End on the takeaway or one next action. Do not stack follow, save, comment, and visit-link requests in the same breath.
Here is a complete example for a ceramics studio, written for a hands-only format:
Hook: Three things I check before I buy a handmade mug.
Proof: Close-up of the rim against a straight edge. The base rocking on a table. A hand wrapping the handle, then lifting the mug.
Payoff: If the rim is uneven, put it back on the shelf.
The script does three jobs at once. It tells you which shots you need, it gives the voiceover a natural length, and it exposes claims you cannot support. "Three things" commits you to exactly three; a vague "things to know" does not.
Read the draft aloud and cut every sentence you stumble over. Then cut any line the visuals already say. A faceless reel is not a podcast with pictures; the audio and the image should carry different halves of the same idea.
Build the visual bed: three routes
Route 1: Use footage you already have
Start with clips of two to four seconds. Shoot vertical when you can, keep the subject away from the bottom edge where app controls sit, and record a little extra before and after each action so you have room to trim.
The limit is usually rights, not gear. Use footage you shot yourself. Get permission for identifiable people, private locations, and branded products that are not yours. Save the permission with the project rather than trying to reconstruct it later.
Route 2: Generate a scene sequence
Generation is a good fit when the visual world is the hard part. Describe the subject, setting, action, camera movement, light, and pace. Add two constraints that are easy for a generator to miss: no visible face, and no on-screen text.
Ottermind's AI Reel Maker turns a written brief and an optional image reference into a short-form video. The documented workflow asks you to define the message, audience, destination, length, and visual mood, then review and refine the take in conversation. A reference image helps when a specific product, palette, or setting has to survive the generation.
Review generated shots against the same checklist every time: the opening frame, subject continuity between cuts, hands and fingers, product shape and label, background warping, and any text the model invented. Reject a take that fails the product check even if the light is beautiful. A beautiful wrong shot costs more than a plain correct one.
For longer motion directions, the image-to-video prompting tutorial covers camera moves and subject motion in more detail. The principle is the same: one clear action per shot beats five competing instructions.
Route 3: Turn one product photo into a product-only cut
If you sell a physical product, start from the photo rather than a blank prompt. Ottermind's AI Product Video Ads accepts a product photo and an optional person photo. Skip the person photo and you get a faceless, product-only cut; add one and the result becomes presenter-led.
The tool page describes a short UGC-style ad with a hook, a demonstration beat, and a call to action, shaped for vertical feeds. That structure is useful even if you rewrite the words: it forces a beginning, a middle, and an ask.
The source photo sets the ceiling. Use a clean, accurately coloured image with the product large in frame. If the photo is soft, badly lit, or shows three products at once, fix that first; a generator will not recover detail that was never there.
Voice, captions, and the edit pass
This is the part that most tool-led guides skip. It is also where a faceless reel becomes watchable.
Voice. Recording your own voice gives you the most control over emphasis and pace. Use a quiet room, keep the phone close, and record one sentence at a time so a mistake costs one line instead of the whole track. If you use a text-to-speech tool, use one whose licence covers your intended distribution and listen for mispronounced names and numbers.

The voice pass, as a desk rather than a dashboard: headphones, the phone you record on, and a notebook with one line per beat. AI-generated concept illustration; it is not a product interface or an Ottermind screen.
Ottermind's documented voice generation belongs to its portrait-based speaking-video workflow. That workflow is not a standalone faceless narrator, so do not plan a faceless voiceover around it. Record yourself or use a separate voice tool you have checked.
Captions. Add captions in your editor, then correct them by hand. Product names, numbers, and technical terms are the usual place auto-caption errors survive. Keep each caption to one or two lines, place it above the app's interface zone, and check contrast on a phone at arm's length. If the caption repeats the voiceover word for word, consider shortening it; the viewer can hear the rest.
Music and the timeline. Use music you can license for the destination, keep the voice clearly above the bed, and cut on movement rather than on a fixed timer. Export using the destination's current specification rather than a number remembered from an old guide.
| Step | Where it happens | Why it belongs there |
|---|---|---|
| Script and shot list | A notes app, document, or Ottermind chat | The idea needs to be editable before it becomes expensive |
| Visuals | Your footage or Ottermind generation | Match the route to what you can actually show |
| Voice | A recorder or a licensed text-to-speech tool | Delivery and pronunciation need a direct listen |
| Captions, music, and cuts | A video editor | Frame-exact timing and audio mixing are editor work |
| Publishing | The destination app | Upload rules, labels, and scheduling live there |
The table is the honest boundary. Ottermind generates a video concept from a brief and supports conversational revision; it is not a substitute for frame-exact caption timing, music licensing, or a platform upload flow. If your main task is editing an existing recording, plan that edit separately instead of expecting the generator to do it.
A 30-minute production pass
Use this when you want one finished reel, not a content system.
- Choose one format and write the promise in one sentence. If the sentence needs a comma and an "and", split it.
- Draft the three beats and read them aloud. Cut anything you stumble over.
- List five to seven shots and label each one film, screen-record, or generate. This is where you discover that the idea needs a shot you cannot get.
- Capture or generate the visuals. Keep only takes that pass the product and continuity check.
- Record the voice, assemble the clips, and add corrected captions.
- Watch it muted on a phone, fix the first two seconds, then export and publish.
A reel is ready when the first frame makes sense without sound, the subject looks the same in every shot, no unintended text appears, the captions spell the product correctly, the audio does not clip, and you can name the rights status of every clip and track. Those checks are boring. They are also the difference between a publishable reel and a folder of experiments.
Try this faceless brief in the composer
The brief below describes a ceramics reel in the hands-only format. Replace the product, surface, and light with your own, but keep the constraints: vertical, no visible face, no on-screen text, one clear action per shot.

The opening frame described by the brief: the mug, the windowsill, the steam, and no face. This is an AI-generated concept frame made for the article, not an Ottermind output. You can attach a frame like this as the visual reference if it matches your own product.
Create a 15-second vertical faceless reel for a small ceramics studio. Open on a close-up of steam rising from a stoneware mug on a windowsill, cut to two hands lifting the mug, then a slow orbit of the mug on a linen cloth. No visible face, no on-screen text, no logo. Warm morning light, muted earth tones, calm pace.Use the button to fill the composer at the top of this page. Filling is not sending: the text and any attached reference stay in draft until you choose the round arrow. An empty composer with no attachment cannot send, so the placeholder never becomes an accidental request.
Attach a product photo if the mug's shape, glaze, or label has to stay consistent. The reference guides the generation; it does not lock the result to an exact copy. If you are signed out, the reference is kept with the draft on this device and carried into the Studio handoff when you send; selecting it does not upload anything to an account from this page.
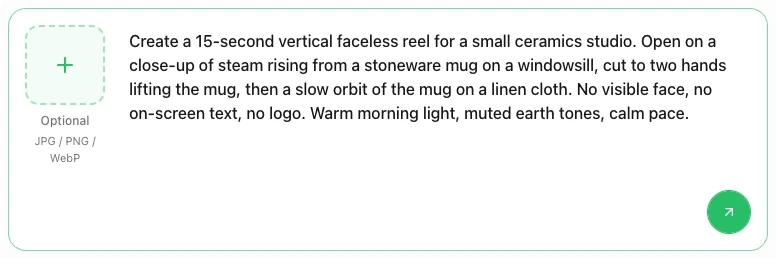
The composer on this page after using the brief. The reference tile is optional and the arrow sends the request to Studio for review. The screenshot shows request preparation, not a generated result.
Once the request reaches Studio, check the current plan eligibility, model choice, and displayed credit cost before generating. Those conditions belong to the account, not to this article. If the first take misses, ask for one specific change: a slower orbit, less steam, a paler background, or the same mug on a different surface. Keeping the rest of the brief fixed makes the comparison useful.
When the faceless rule is worth breaking
Sometimes the explanation needs a person: a direct appeal, a lesson with eye contact, or a scripted response that a product shot cannot carry. That is a legitimate reason to change the format, not a reason to blur it.
Ottermind's AI Lip Sync Tool starts from a portrait and a written script, generates a voice and a speaking-video concept, and leaves the performance for you to inspect. Its documentation warns against assuming frame-accurate matching. Get permission for the portrait, avoid implying a real person said something they did not, disclose synthetic media where required, and review the performance before publishing.
If you use that route, the result is presenter-led. Label it that way in your own planning and do not market it as faceless. The distinction matters to viewers and to the platform rules you are publishing under.
Faceless reels FAQ
Do faceless reels need a voiceover?
No, but silence needs a reason. A text-led reel, a satisfying process clip, or a music-driven edit can work without narration. If the value is in the explanation, record the voice; captions alone make the viewer read instead of watch.
Can I make a faceless reel entirely with AI?
You can generate the visual sequence, and you can generate a voice with a separate tool. What you cannot automate is judgement: product accuracy, continuity, rights, disclosure, and whether the first two seconds are worth watching. Plan review time for every generated take.
How long should a faceless reel be?
Use the destination's current upload screen as the authority. A tighter cut is easier to hold together, especially when you are working with generated shots, but this guide does not set a platform limit that may already have changed.
Do I have to disclose that the visuals are generated?
Rules differ by platform, market, and subject. Check the current policy for the destination and label the work when it requires it. Do not present a generated scene as documentary footage of a real event or a real customer.
Can Ottermind handle the editing and captions too?
The documented reel workflow is prompt-based generation with conversational revision. Frame-exact cuts, caption styling and timing, music licensing, and the upload itself belong in an editor and the destination app. Build that pass into your schedule instead of assuming the generation covers it.
What does it cost?
This article does not quote a price or a generation quota. Plan eligibility and the displayed charge are shown in Studio for the request you actually make.
What to do next
Start from the material you have, not from the tool you saw first.
- You have footage and a clear idea: write the three beats, record the voice, and edit. The generator is optional.
- You have one product photo: open AI Product Video Ads, skip the person photo, and build a product-only cut.
- You have a brief but no footage: use AI Reel Maker, attach a reference if identity matters, and review the take against the shot checklist.
- You need motion language first: read the image-to-video prompting tutorial, then come back with one action per shot.
The format is flexible. The production order is not: decide what carries the video, write the promise, build only the shots that prove it, and finish the audio and captions where they can actually be finished.